
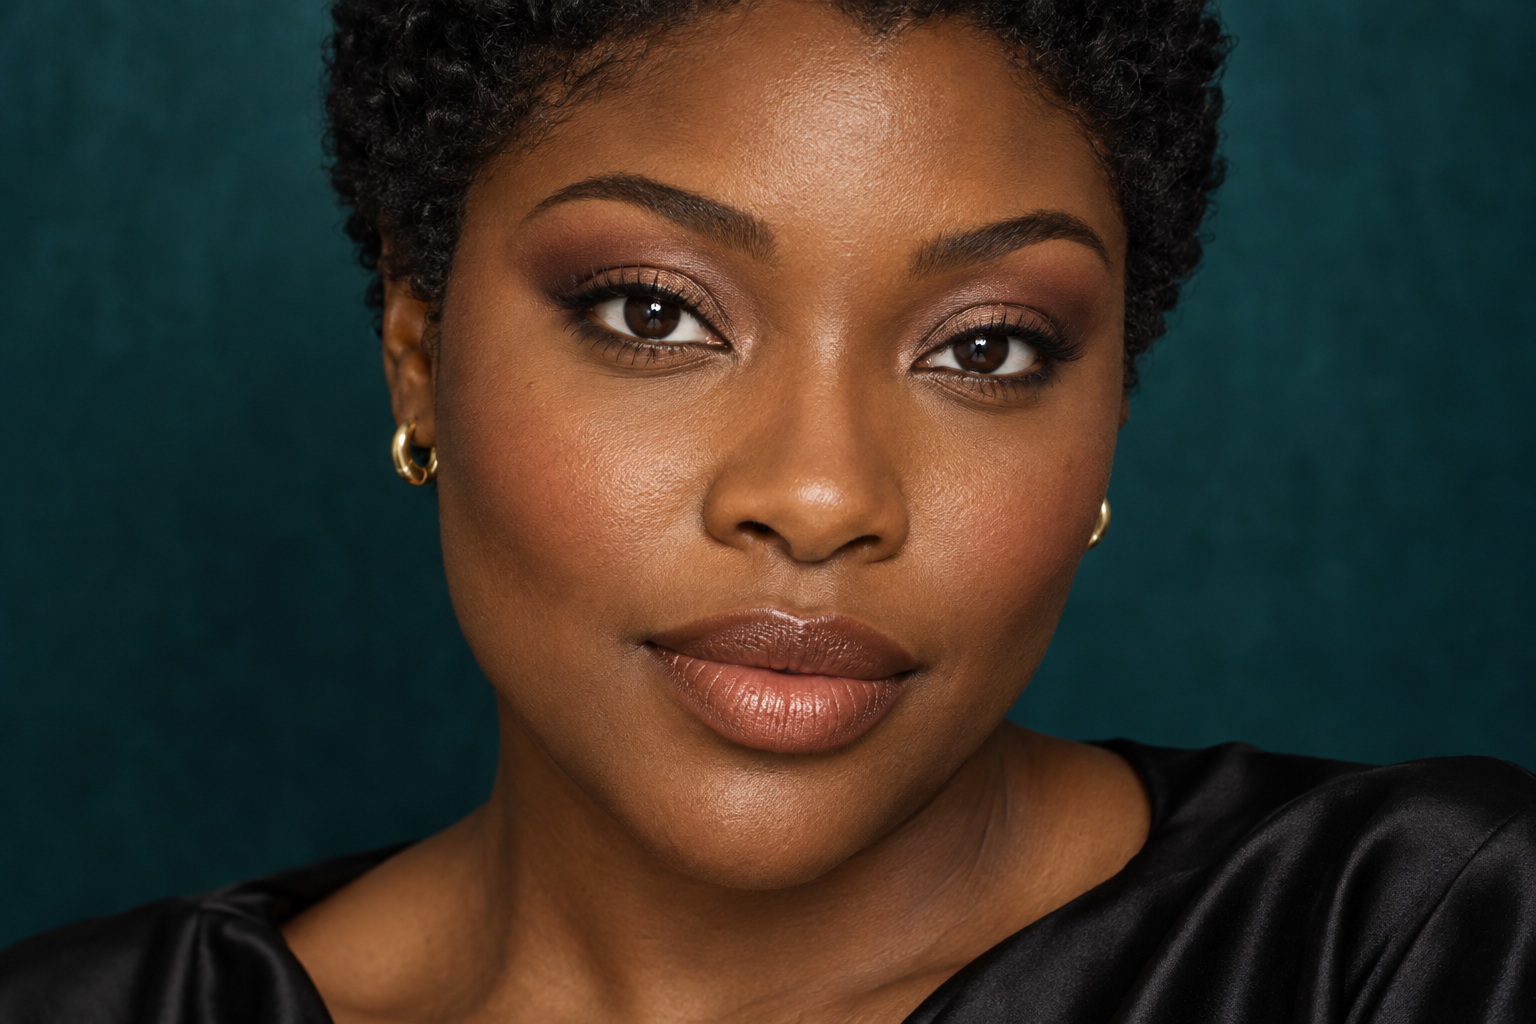
You blend your shadow, admire it with your eyes lowered, then look straight ahead and most of the color disappears. The answer isn’t necessarily more shadow. It’s checking where you’re putting it.
This hooded eye makeup tutorial builds a soft, wearable look around your relaxed, open eyes. You’ll map visible color first, add depth in small amounts, and keep liner close to the lashes. You can lower your eyes while applying makeup; just reopen them before deciding what to add.
Quick answer: Place a soft shadow edge where you can see it with your brows relaxed. Build outer-corner depth gradually, keep upper liner narrow, and check the finished look after blinking.
Find your visible space before choosing placement
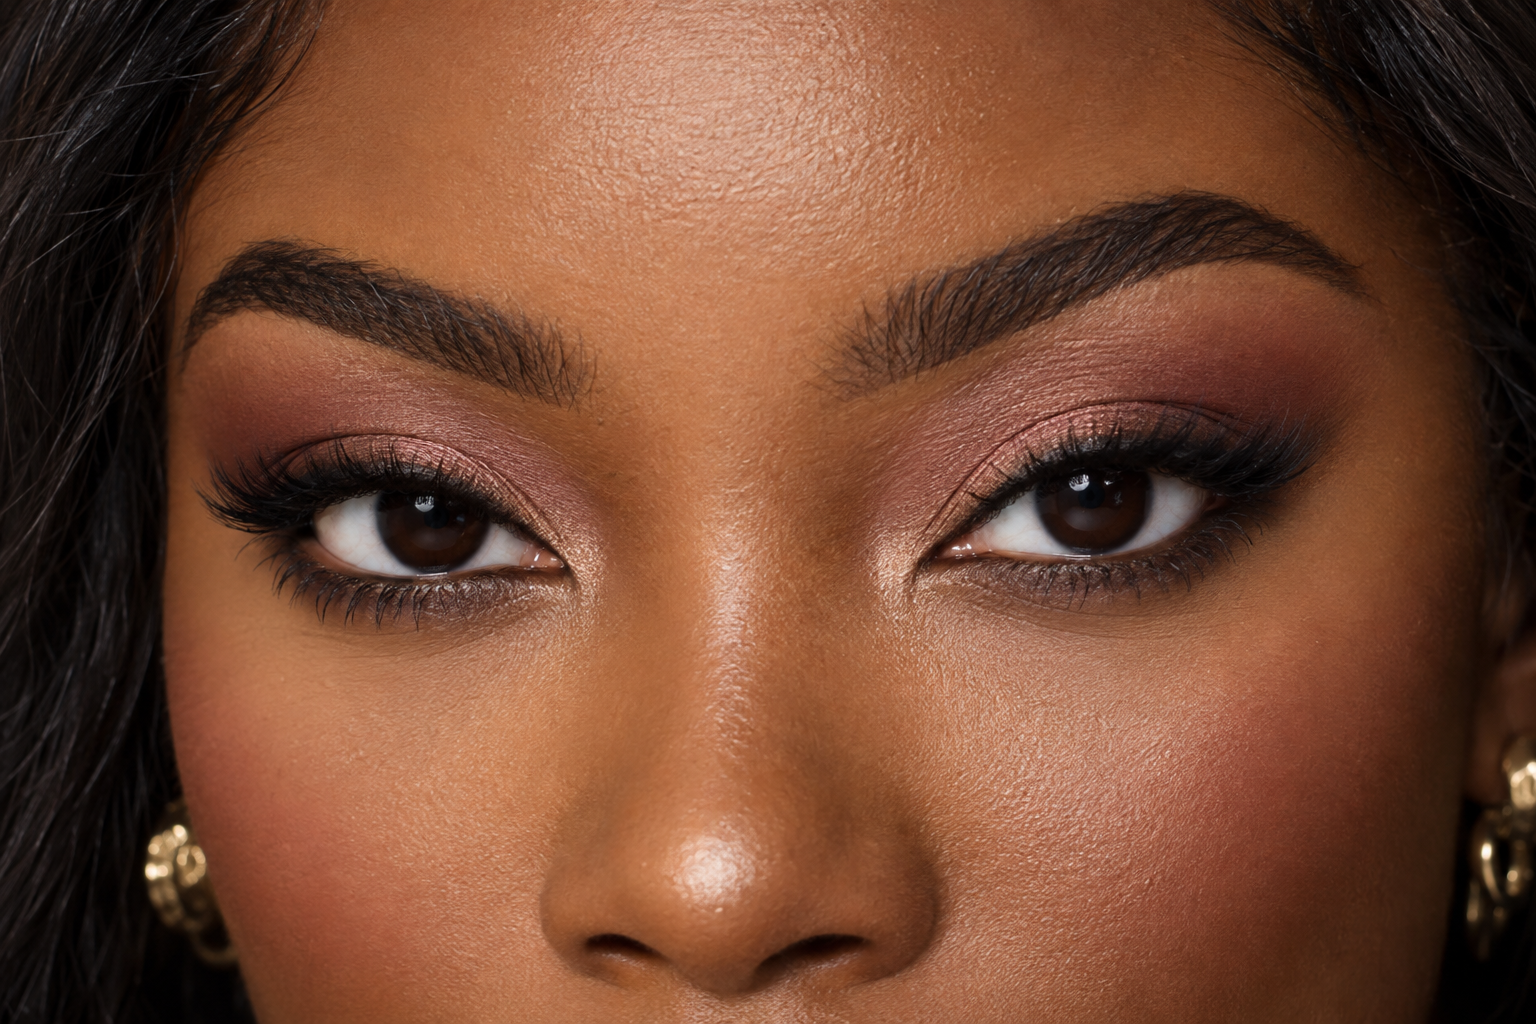
With hooded lids, a fold of skin can cover part of the mobile lid when your eyes are open. How much lid shows can differ at the inner corner, center, and outer corner, even between your two eyes.
Set your mirror around eye level and look straight ahead without lifting your brows. Notice which areas remain visible. That’s your starting map, not a template you need to copy from someone else.
Open-eye placement is also a principle in Bobbi Brown Cosmetics’ hooded-eye tutorial. The useful part is letting your everyday expression guide the makeup, rather than relying only on the closed-eye view.
For this look, gather:
- A medium-depth shadow and an optional deeper shade.
- An optional satin or shimmer lid shade.
- A small blending brush and a small flat or angled brush.
- Eye pencil, liner, or dark eye shadow, plus mascara.
“Medium” means noticeable against your skin without being your darkest color. Taupe, rose-brown, plum, copper, or richer cocoa can all work. Choose contrast for your complexion, not a compulsory beige.
Hooded eye makeup tutorial: build a soft, complete look
- Prepare for the formula you’re using.
Start with lids free of excess skincare residue. If your shadow directions recommend primer, smooth on a small amount rather than building a thick base.
Primer, concealer, and setting powder aren’t three compulsory layers. Some creams are designed to go directly onto the lid; others have different preparation instructions. Follow those rather than assuming more layers mean better wear.
- Place your first shadow where it shows.
Pick up a little medium shadow with your small blending brush and tap off loose excess. With your eyes relaxed, place a light touch at the outer area where you want visible color.
Lower your gaze if you need easier brush access. Blend with short strokes, then look straight ahead again. If the color has vanished beneath the fold, place the next small amount slightly beyond that hidden area.
This is the detail that matters: adjust the location before increasing the intensity. More pigment in a covered crease may simply create a darker closed-eye look.
- Connect the color into a soft shape.
Gradually carry the medium shade inward along the visible edge you’ve established. Start with the outer half, then decide how far toward the center you want the color to travel.
Use the brush with little or no extra product to soften the upper border. Keep some separation between shadow and brow if your available space allows it; there’s no required height to reach.
A small brush helps here because you can blend one edge without spreading the whole shape. Check both eyes open before adding another pass.
- Add a little outer depth.
With a smaller brush, press your deeper shade near the outer upper lash line. Start with a compact patch, then soften its edge into the medium shadow.
Keep the first application close to the lashes rather than sweeping dark color across the entire upper area. You can expand it once you’ve seen how it reads with your eyes open.
For a softer daytime look, use another light layer of your medium shade instead. Dark shadow isn’t forbidden on hooded eyes; it’s simply easier to control when you build it gradually.
- Choose your lid finish.
Lower your gaze and press a small amount of satin or shimmer onto the center of the mobile lid, using a fingertip or flat brush as the formula directs. Reopen your eyes to judge the effect.
It’s fine if that sheen is most noticeable when you blink. Not every part of the look needs to remain fully visible all the time.
If you prefer an all-matte finish, use a complementary matte shade or leave the lid softly blended. Shimmer is an option, not a rule to follow or avoid.
- Define the upper lash line in short marks.
Make small, connected marks on the skin immediately above your upper lashes. Begin on the outer half, then extend inward if you want more definition.
Keep the first pass narrow and reopen your eyes before thickening it. You’re adding contrast at the lash roots, not trying to cover the visible lid with a solid band.
Pencil can give a softly blurred edge; dark powder applied with an angled brush gives diffuse definition; liquid or gel creates a crisper line. For a setting formula, refine it within the application window described in its directions. Waterline application isn’t needed.
- Finish with mascara, then decide on a flick.
Apply a light first coat of mascara, working from near the lash roots toward the tips. Let it set as directed before judging whether you want more.
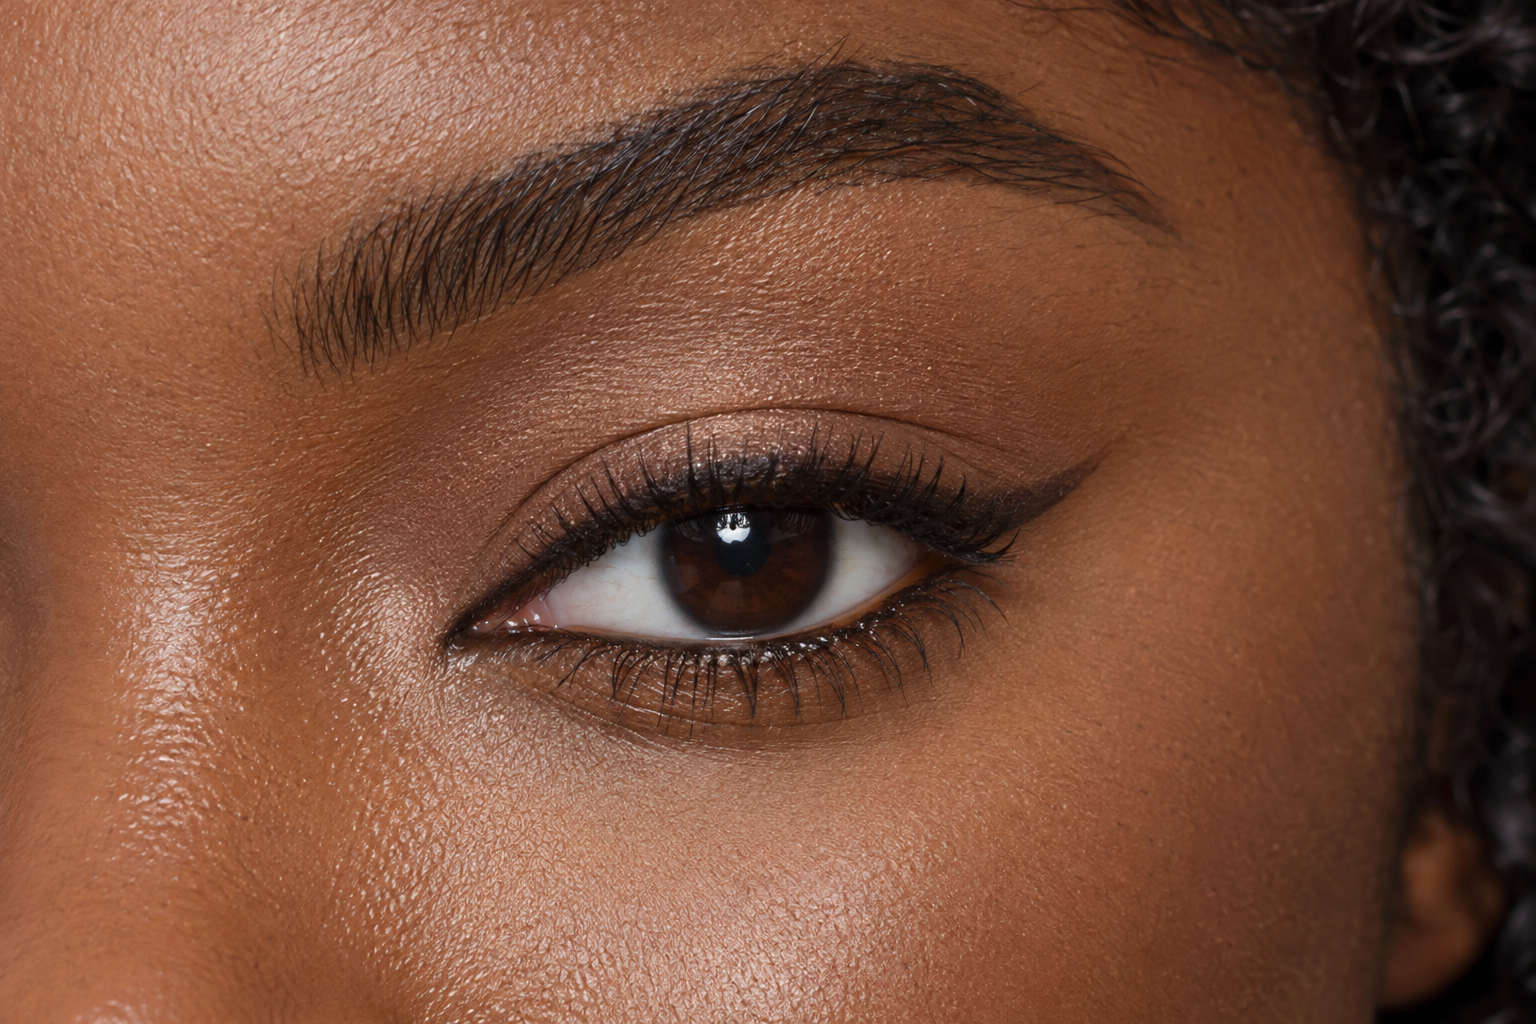
A wing is optional. If you’d like one, sketch a short extension at the outer corner while looking forward. Blink, relax your brows again, and check it before filling it in.
If the fold interrupts the line, shorten the flick or use a softly blended shadow edge instead. You don’t need an elaborate wing to finish this look.
Adjust for your folds and your formula
If you have little space between the fold and brow, try a narrower band of visible shadow rather than pushing color higher. If one eye shows more lid, map each separately. Comparable visual balance may require slightly different placement.
For powder, build with small amounts and blend the edges between passes. For cream or liquid shadow that sets, work in small sections and soften each section according to its directions before moving on. Don’t assume every cream has the same blending time or primer needs.
Also separate two different frustrations:
- Color disappears immediately: Reassess placement with your eyes open.
- Color creases or transfers during wear: Reassess preparation, product amount, and formula directions.
Moving shadow changes what you can see. It doesn’t guarantee crease-free wear, and a waterproof label doesn’t settle every transfer question.
Do a relaxed-eye mirror and photo check
Step back from the mirror, blink normally, and let your face settle. A straight-on photo in even light can help you assess the overall balance without leaning close or unconsciously raising your brows.
Check three things:
- Can you see the soft shadow edge where you intended?
- Does the liner leave the amount of visible lid you want?
- Does the outer edge look intentional after blinking?
Change one small area at a time. Add a touch of medium shadow where it disappeared, soften an overly broad edge with a clean brush, or shorten a flick before it sets.
For your next attempt, keep the shades simple and focus on the first visible shadow edge. Once that sits where you like it, the rest of the look is much easier to build.
