
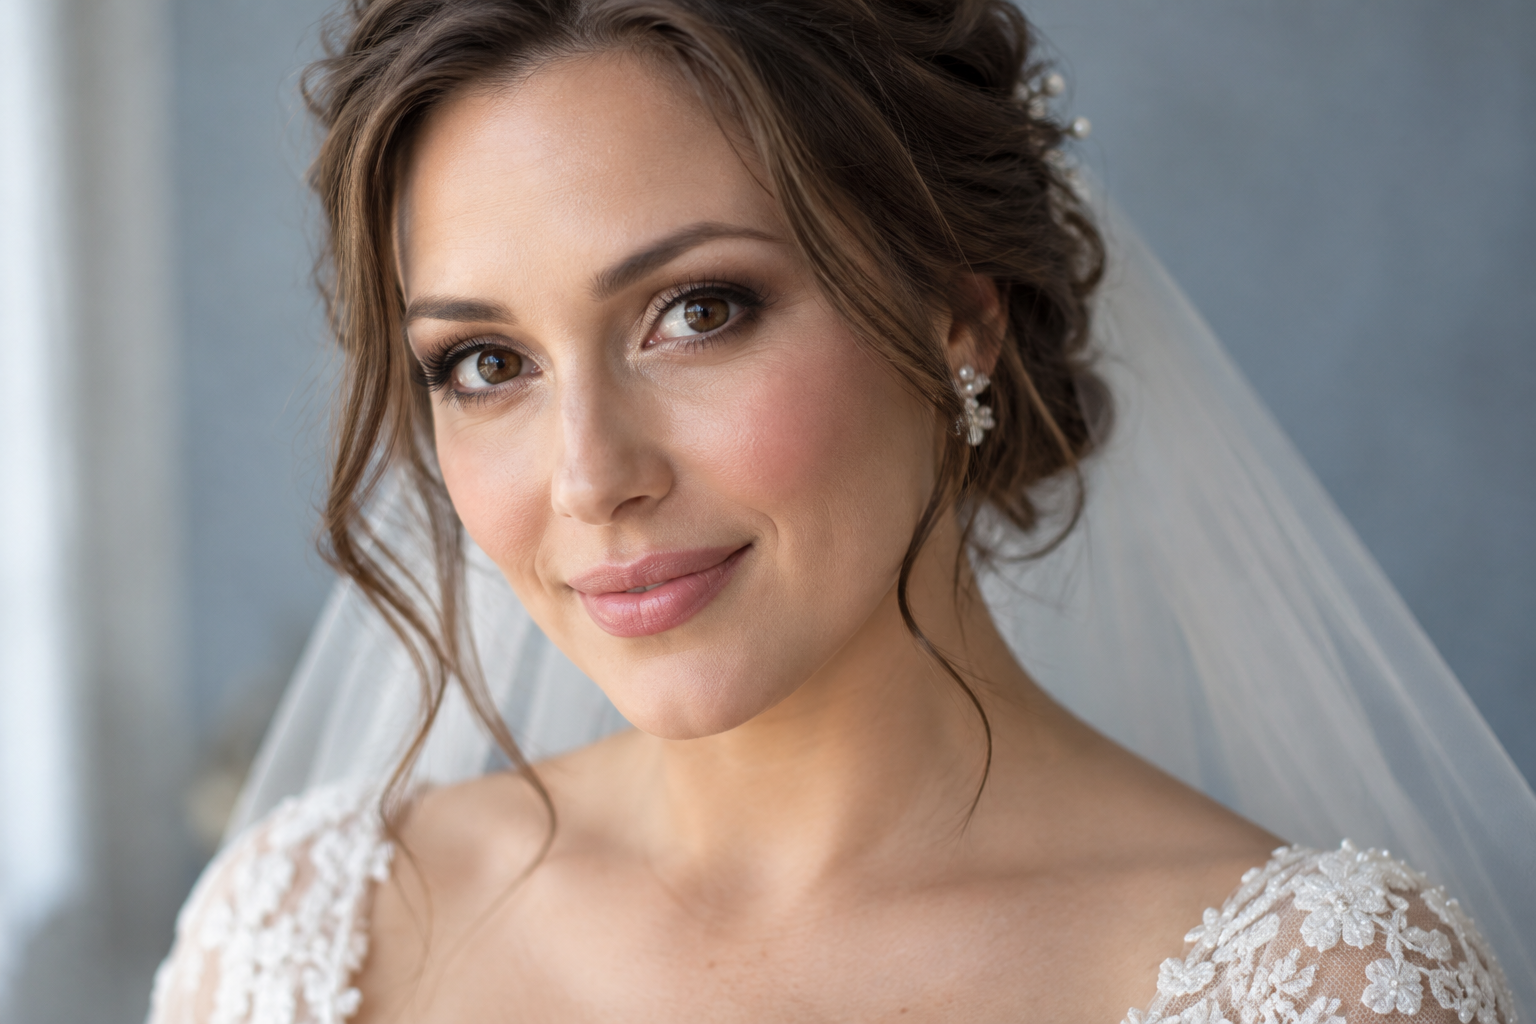
That softly blended eye look can be lovely in the mirror, then barely visible in a wedding photo. The answer isn’t automatically more shadow. For wedding makeup for brown eyes, start with a midtone that shows when your eyes are open, a deeper shade close to the upper lashes, and an optional satin accent on the lid.
Whether you’re the bride, in the wedding party, or a guest, the staying-power plan is the same: use compatible formulas, rehearse the complete look, and prepare for small touch-ups rather than promising uninterrupted wear.
Quick answer: Try brown, bronze, taupe, or rose-brown shadow with fine espresso lash-line definition. Check placement with your eyes open, test the look in different lighting, and pack lip color, blotting paper, and your rehearsed powder.
Choose a small palette, not a brown-eye rulebook
Brown eyes don’t require gold shadow. A tonal brown look, a cooler taupe combination, or a muted plum detail can all be worth trying. Choose the effect you enjoy, then assess the colors on your face.
Keep your palette to a blending shade, a lid shade, and a deeper defining shade:
- Warm and softly luminous: A caramel-brown blending shade, bronze lid, and espresso definition. If the caramel reads more orange than you want, try a more neutral brown.
- Cooler and understated: A taupe blending shade, rose-taupe satin lid, and deep brown definition. Check that the taupe looks softly shaded rather than chalky.
- A little color without a colorful eye: A neutral brown crease and lid, with muted plum along the outer upper lashes. Keeping the plum concentrated makes the accent easier to control.
“Soft” describes the edges and overall contrast, not how pale the shades are. A richer midtone may give a deeper complexion gentle definition where a light beige barely registers. Swatch your options, then try the combination on one eye before committing.
Prepare for your formulas, not an imaginary perfect layer stack
Use familiar skincare, including your usual sun protection when appropriate. Let it settle according to its directions before applying makeup; a slippery layer beneath the eye products can make application harder to control.
For lids, choose your starting point by the shadow’s instructions and your rehearsal results. Powder shadow may benefit from an eye primer. A self-priming cream may not need a separate base. Concealer, primer, and powder aren’t automatically better together.
With powder, pick up a little color, tap away excess, and build gradually. With a cream that sets, work on one eye at a time and blend while it’s still movable. Once it has set, repeated brushing can disturb the finish.
If your usual combination creases, test fewer or thinner layers first rather than adding another product. Keep setting times and application quantities specific to the formulas you own.
Apply wedding makeup for brown eyes in five steps
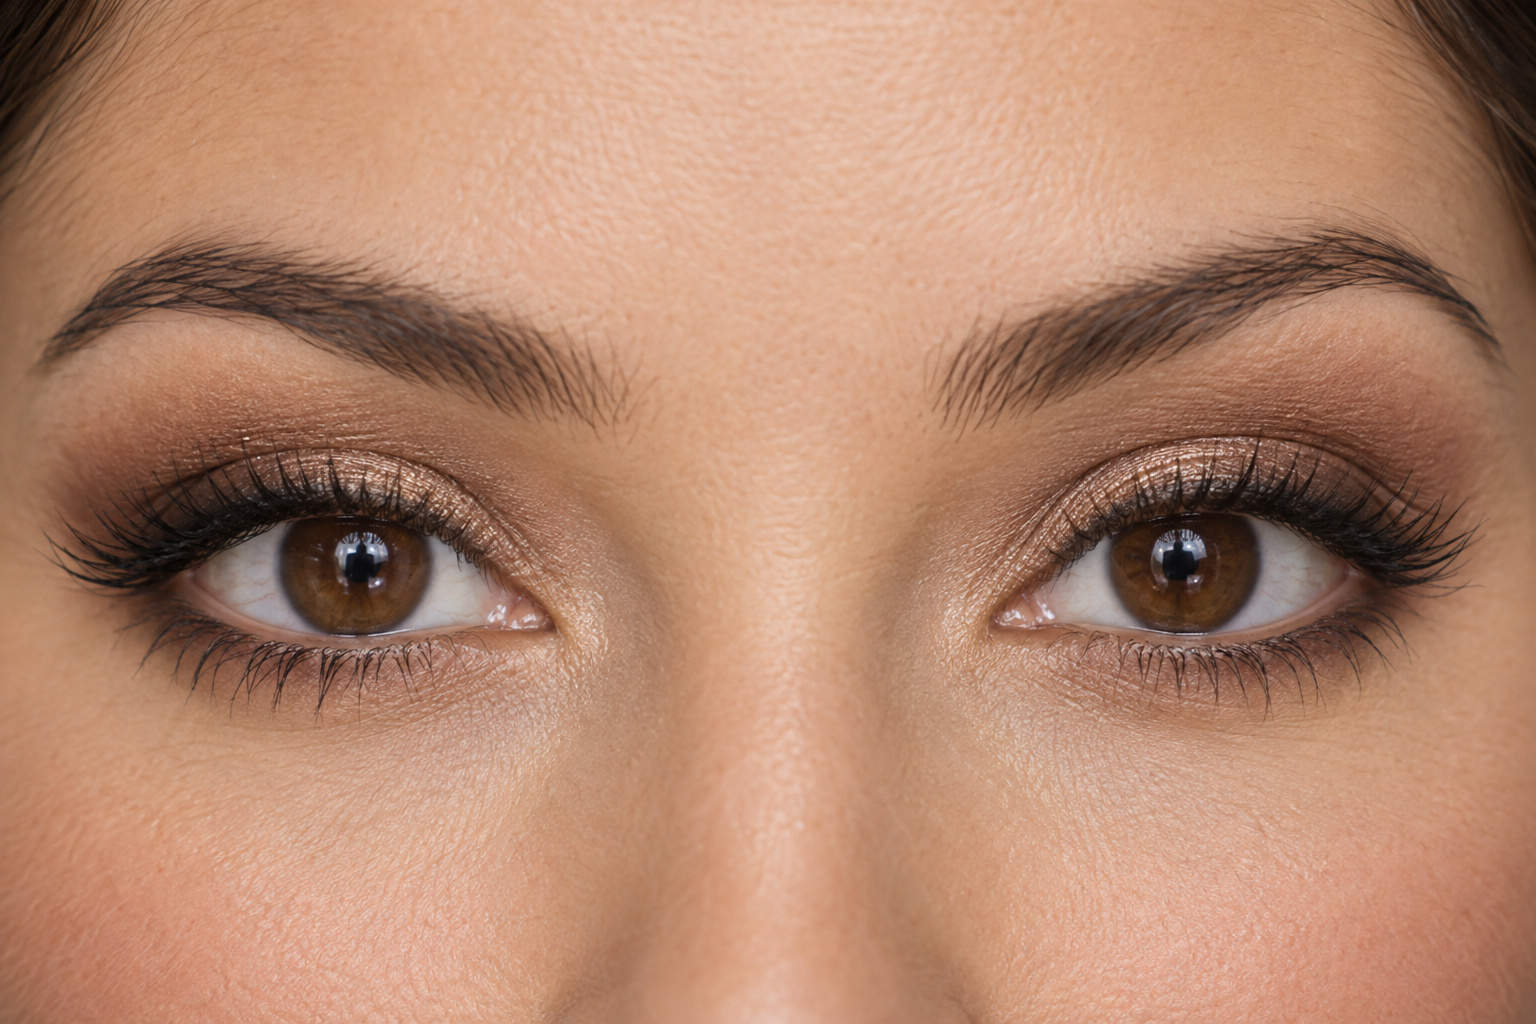
Do the eyes before your complexion if your powder shadows tend to fall onto your cheeks. Otherwise, use whichever order you can execute comfortably.
- Find the visible blending area.
Look straight into a mirror with your eyes open and eyebrows relaxed. Place your midtone so a little of its upper edge remains visible, then soften that edge with a clean brush.
On hooded lids, this may mean placing some color above the natural fold. Don’t stretch the lid or raise your brows while deciding where it belongs; that can give you a placement that disappears when your face relaxes. There’s no fixed height you need to reach.
- Keep the deeper shade near the outer lashes.
Use a smaller brush to place deep brown on the outer portion of the upper lash line and nearby outer lid. Blend inward a little, keeping most of the depth outside rather than sweeping it across the whole eye.
Check both eyes open before adding more. This gives you a defined outer edge while leaving room for the lid color to stay visible.
- Add a modest lid accent, if you want one.
Press satin or fine shimmer onto the center of the mobile lid, using a fingertip or brush if the formula’s directions allow it. Start with a small patch and check how much reflection you see when looking straight ahead.
Keep the reflective shade below the softly blended upper edge for an understated finish. An entirely matte version is equally valid, especially if you prefer it in your trial photos.
- Draw a narrow upper-lash line.
Apply brown or espresso liner immediately above the upper lashes in short sections. Keep the inner section fine; add a little thickness toward the outer corner only if you like the effect.
Blend a pencil while it remains workable, not after it has set. For powder liner, use a small angled brush to press color close to the lashes. Leave the lower lash line bare or add a trace of shadow at its outer edge rather than automatically outlining the whole eye.
- Finish with familiar lashes.
Apply mascara according to its directions, checking for clumps before the formula dries. Choose water-resistant or waterproof mascara if it suits your needs and rehearsal results, but don’t treat either label as a promise against tears, rubbing, or smudging.
Mascara alone is a complete look. If you want false lashes, practice with the exact style and adhesive beforehand rather than making the wedding your first attempt.
Balance the eyes with cheeks and lips before adding more depth
An unfinished face can make a soft eye look seem weaker than it really is. Add your chosen complexion coverage, blush, and lip color before deciding the eyes need another layer.
Apply foundation where you want coverage and blend the edges carefully around the jaw. Place blush on the cheeks and blend outward, then assess it at normal conversational distance. You don’t need heavy coverage or contour for wedding photographs.
Powder the areas that became shiny or moved during your trial, rather than giving every part of your face the same treatment. Setting spray is optional; use its directions and check compatibility during rehearsal.
For lips, choose a shade and finish you’re happy to refresh after eating. Blot excess balm before applying color. If you use liner, follow your natural lip edge and lightly fill inside it. A creamy lip may need more refreshing; a setting formula may feel less comfortable. Let your trial decide.
Rehearse for the wedding you’re actually attending
Try the complete look before the event, ideally when you can observe it through some ordinary activity. Include the actual skincare, eye base, mascara, and lip formula you plan to wear. A successful shadow test alone won’t tell you how the whole combination behaves.
Consider your schedule: makeup applied early for an afternoon ceremony has a different job from makeup applied shortly before dinner. Outdoor warmth, dancing, eating, and your usual tendency to touch your face are useful planning details.
Take photos in:
- Indirect daylight: Check shade balance and whether your face and neck look consistent.
- Ordinary indoor lighting: Check whether the eyes still have the definition you want.
- Flash: Look for distracting reflection or an unexpectedly pale-looking base.
Turn off optional beauty filters and include a portrait-distance shot, not just close-ups. Phone images help you spot issues, but they won’t predict every professional-camera result.
If the eyes look less defined than you’d like, make the outer upper lash line slightly deeper and photograph again before darkening the entire lid. If shine bothers you, adjust that area rather than powdering everything.
Note where creasing, transfer, flaking, or fading appears. Change one thing at a time so you can tell what helped.
Pack for little repairs, not a second full application
Your touch-up kit only needs the things you’re likely to use:
- Lip color and liner, if worn.
- Blotting paper or plain tissue.
- A small amount of your rehearsed powder and an applicator.
- A mirror and clean cotton buds.
Before adding powder, blot excess shine gently and reassess. If tears collect, dab moisture at the corner of the eye rather than wiping across the lashes. Lift a small smudge with a cotton bud instead of rubbing the whole area.
Plan a quick check before important photographs and refresh your lips after eating. Save a clear photo of your finished rehearsal look, too. On the day, it gives you a reference for when to stop adding makeup and get on with enjoying the wedding.
