
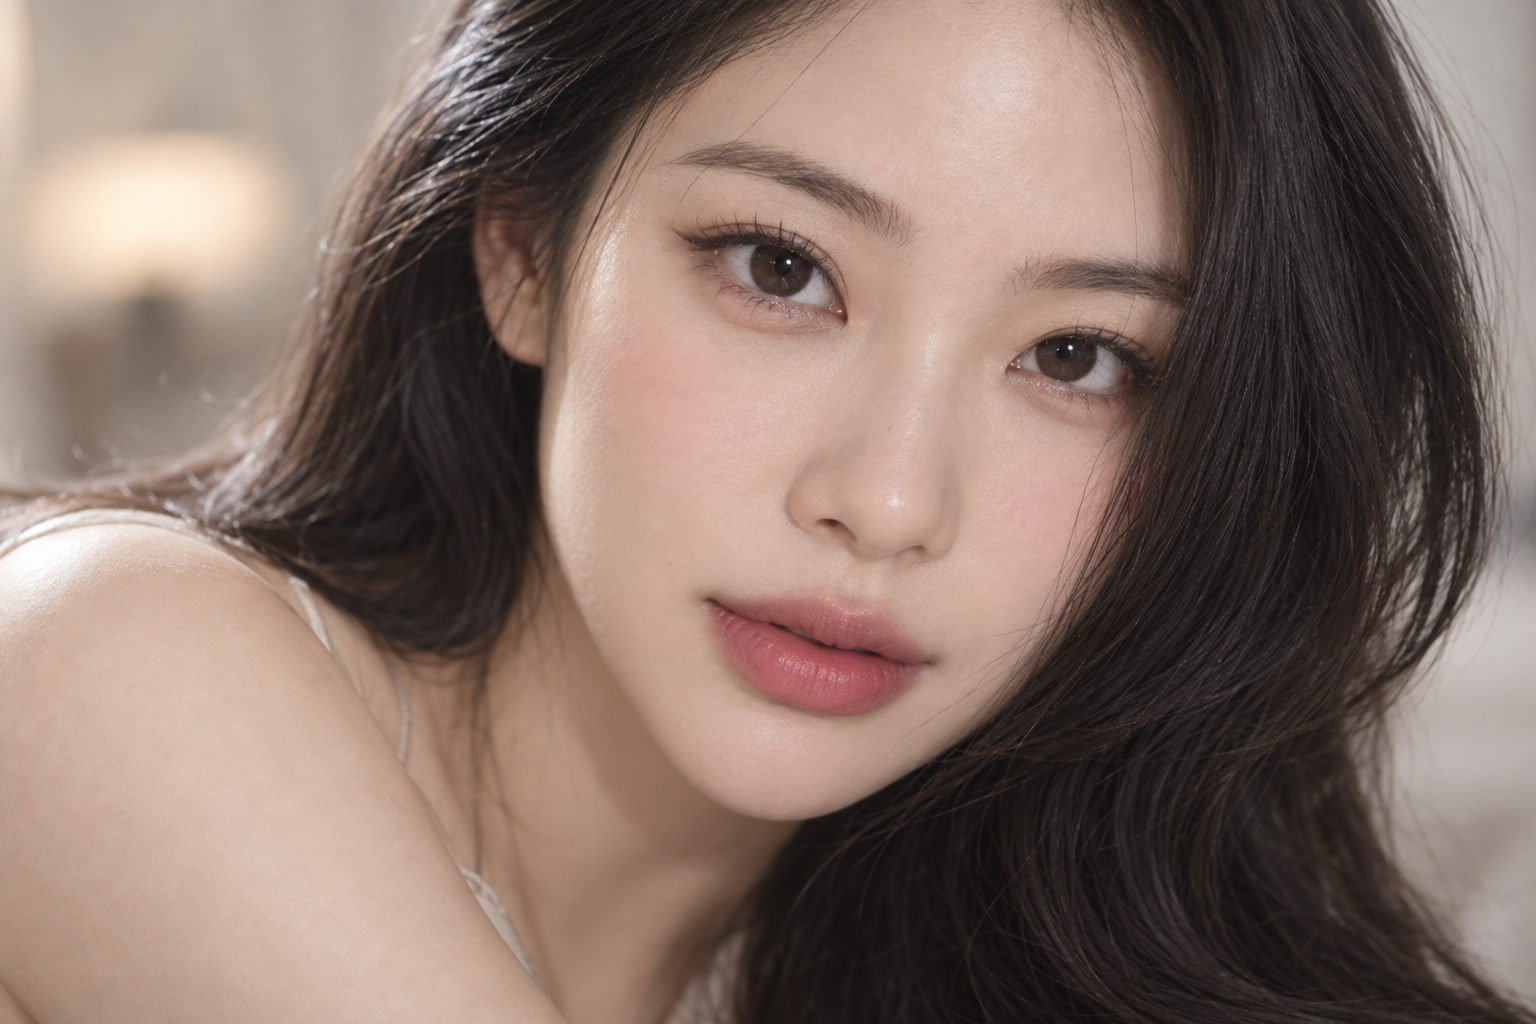
Sometimes the “soft makeup” reference looks effortless, but your version ends up with a thick eyeliner stripe and lip color that’s darkest in one stubborn spot. The adjustment isn’t necessarily less makeup. It’s choosing where definition stays crisp and where the edges soften.
For this Korean-inspired makeup look, pair a light, skin-matched base with close-to-the-lashes eye definition, diffused cheek color, and a softly blended lip outline. You can keep plenty of pigment. Soft doesn’t have to mean barely there.
Quick answer: Keep eyeliner defined at the lash roots, blend the blush perimeter, and soften your lip boundary with a nearly unloaded brush or fingertip. A blurred lip has a soft outline; a gradient lip also changes color intensity.
Choose your version of Korean makeup
Korean makeup isn’t one fixed look, and this tutorial isn’t a rulebook for how Korean women wear makeup. It’s one adaptable direction built around gentle transitions and fresh-looking color.
Recent Vogue reporting on K-beauty makeup includes diffused upper-cheek blush and blurred lip outlines. Those ideas offer inspiration, not a requirement to copy every feature of a reference photo.
Choose a color family you enjoy, then adjust the intensity:
- Rose or berry: Try rosy cheeks with a richer lip.
- Peach or terracotta: Pair warm cheek color with brown eye definition.
- Muted pink or brown-based shades: Keep the palette understated without erasing contrast.
These aren’t skin-tone assignments. If a pale shade disappears or looks chalky on you, choose a deeper or more saturated color and soften its edges instead.
Keep the base light and the brows familiar
Use your usual skin preparation, then apply a complexion product that matches your skin if you want coverage. You don’t need a cushion compact or a lighter foundation shade.
Start with a light layer where you want the most evening-out, then spread the remainder outward. Add coverage selectively rather than automatically applying a second layer everywhere. Natural texture can remain visible.
Powder where you prefer less shine, such as around the nose or through the center of the forehead. Leaving the cheeks less powdered can preserve some sheen, but a softer matte finish works too.
Brush your brows into their natural shape and fill gaps with small strokes. Before darkening the whole brow, step back: a little definition may be enough alongside the softer eye makeup. There’s no need to flatten your arch.
Define the eyes without making a heavy stripe
The useful trick is to soften the upper edge of your liner while keeping its lash-line edge more defined. Blending the entire line can leave you with a broad haze but little visible definition.
- Lay down a restrained shadow wash. Sweep a shade with gentle contrast across the visible lid. Check with your eyes open so you can see where the color actually shows, rather than following a crease diagram that may not suit your lids.
- Draw short strokes near the upper lash roots. A blendable brown pencil is an approachable option. Keep the inner section light; add a little more depth toward the outer portion if you like.
- Diffuse only the top boundary. Use a small brush with light, short movements along the liner’s upper edge. Leave the color nearest the lashes mostly undisturbed. If the pencil sets quickly, finish one eye before starting the other.
Prefer liquid liner? Keep the line narrow rather than trying to smudge it after it dries. Alternatively, press a deeper powder shadow along the lash line for a softer finish.
Finish with mascara if you want it, concentrating first at the roots. Extra length is optional; the softly defined lash line already gives the look an anchor.
Use eyeliner and shadow intended for the eye area.
Place cheek color, then blend its borders
Start your blush on the upper cheek, below the eye rather than right against the lower lashes. Look straight ahead and place a small amount where you want the color concentrated, then soften outward. Move the placement slightly higher or farther toward the temple if that’s the shape you prefer.
For cream blush, tap it onto the cheek in small amounts. Press rather than rub if your base shifts easily, and use a clean sponge or brush to soften the perimeter.
For powder blush, lightly load the brush and tap off excess. If the base feels very sticky, lightly powder that area first; otherwise, the first brush contact may deposit a patch that’s harder to diffuse.
Check both cheeks before adding more. You’re looking for visible color with an unnoticeable boundary, not a perfectly symmetrical stamp.
If blush seems to vanish, deepen the shade or add a second light layer at the center of the placement. Spreading more product over a wider area can make it look less focused.
Build a blurred lip without a harsh dark center
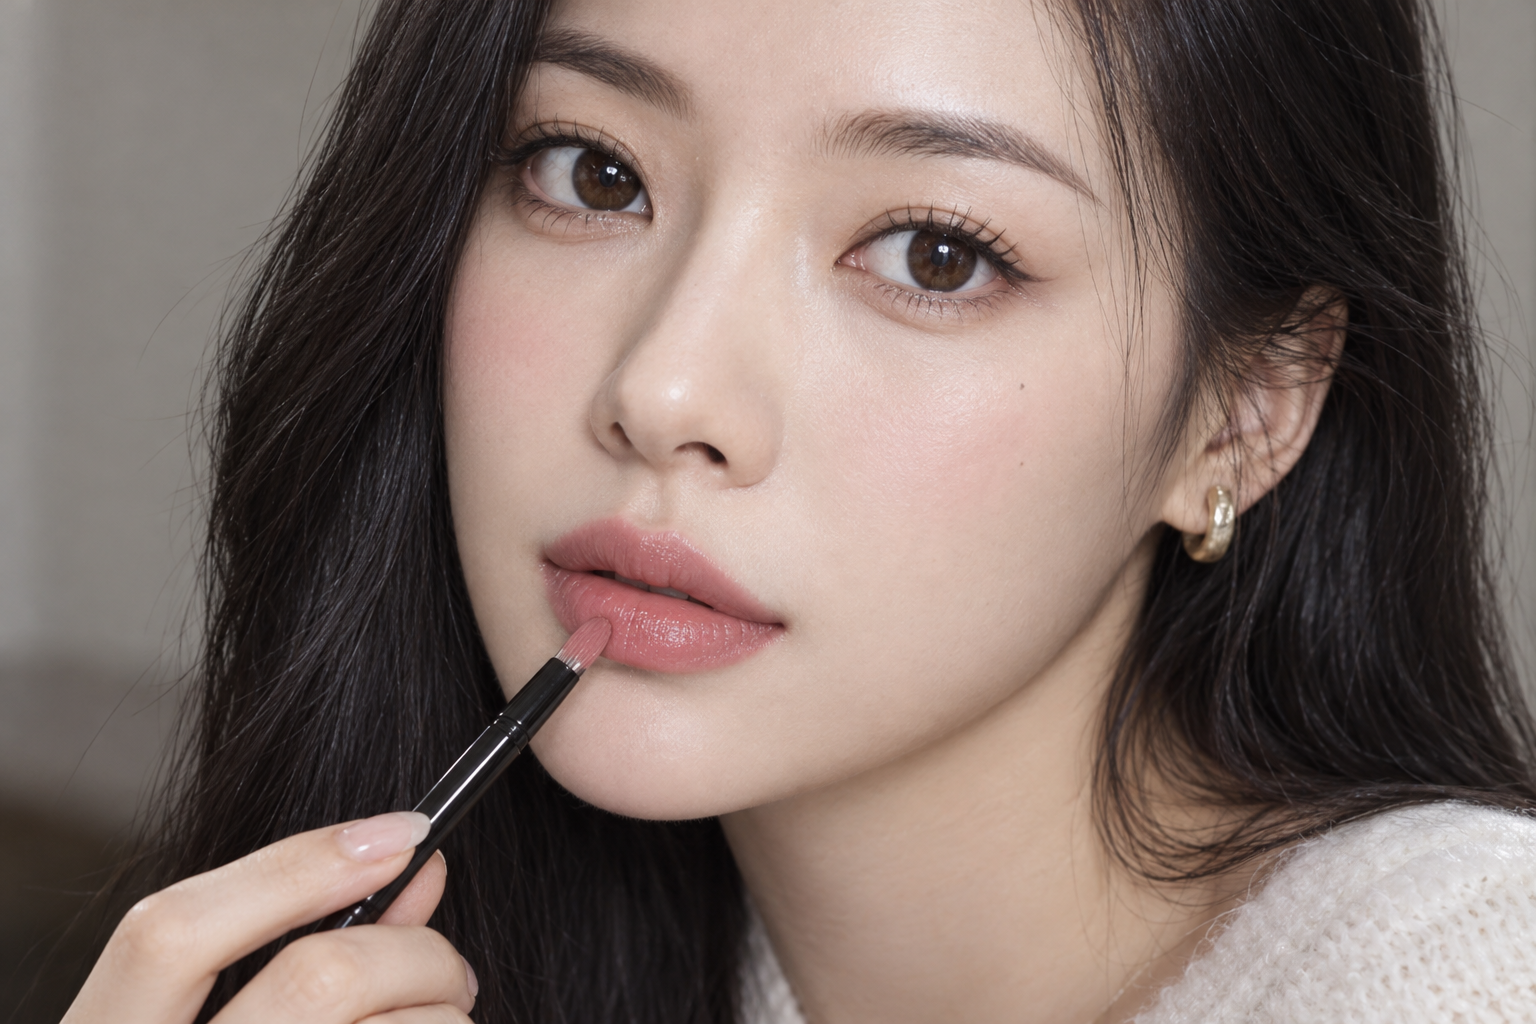
A blurred lip has a softened outline, even when the color is fairly even across the lips. A gradient lip changes intensity, often with deeper color toward the center. You can combine them, but you don’t have to.
- Make the lips comfortable first. Apply a non-irritating balm if needed, then blot only excess slip. Don’t scrub or pick flakes to create a smoother canvas.
- Start with a small amount of color. Place it toward the inner portion of the lips and distribute it outward with a lip brush or clean fingertip. Stay within your natural outline for this beginner version.
- Blend the boundary with what’s left on the tool. Once the main color is distributed, use the nearly unloaded brush or fingertip around the perimeter. A fresh load of pigment at the edge can create exactly the sharp border you’re trying to avoid.
- Choose whether to add a gradient. For an even blurred wash, stop here. For more central depth, tap on a tiny additional amount inside the lips and gently blend its transition.
With a fast-staining tint, work in small sections before it sets. With creamy lipstick, start with less and build. If a sheer tint doesn’t create an obvious gradient over your natural lip pigmentation, an even wash with soft edges is a lovely alternative.
A little gloss adds shine, while satin or matte color keeps the blur more visible. Neither finish guarantees the same wear or transfer.
A comfortable lip surface makes the blurred edge easier to blend; set aside any lip product that stings.
Make one final adjustment, not five
Check the whole face in ordinary light before adding anything. If it looks too faint, deepen one feature: the outer lash line, the center of the cheek color, or the lip.
Keep a clean blending brush and your lip color nearby for touch-ups. The small detail worth remembering: add pigment where you want emphasis, then use a clean or nearly empty tool where you want softness.
