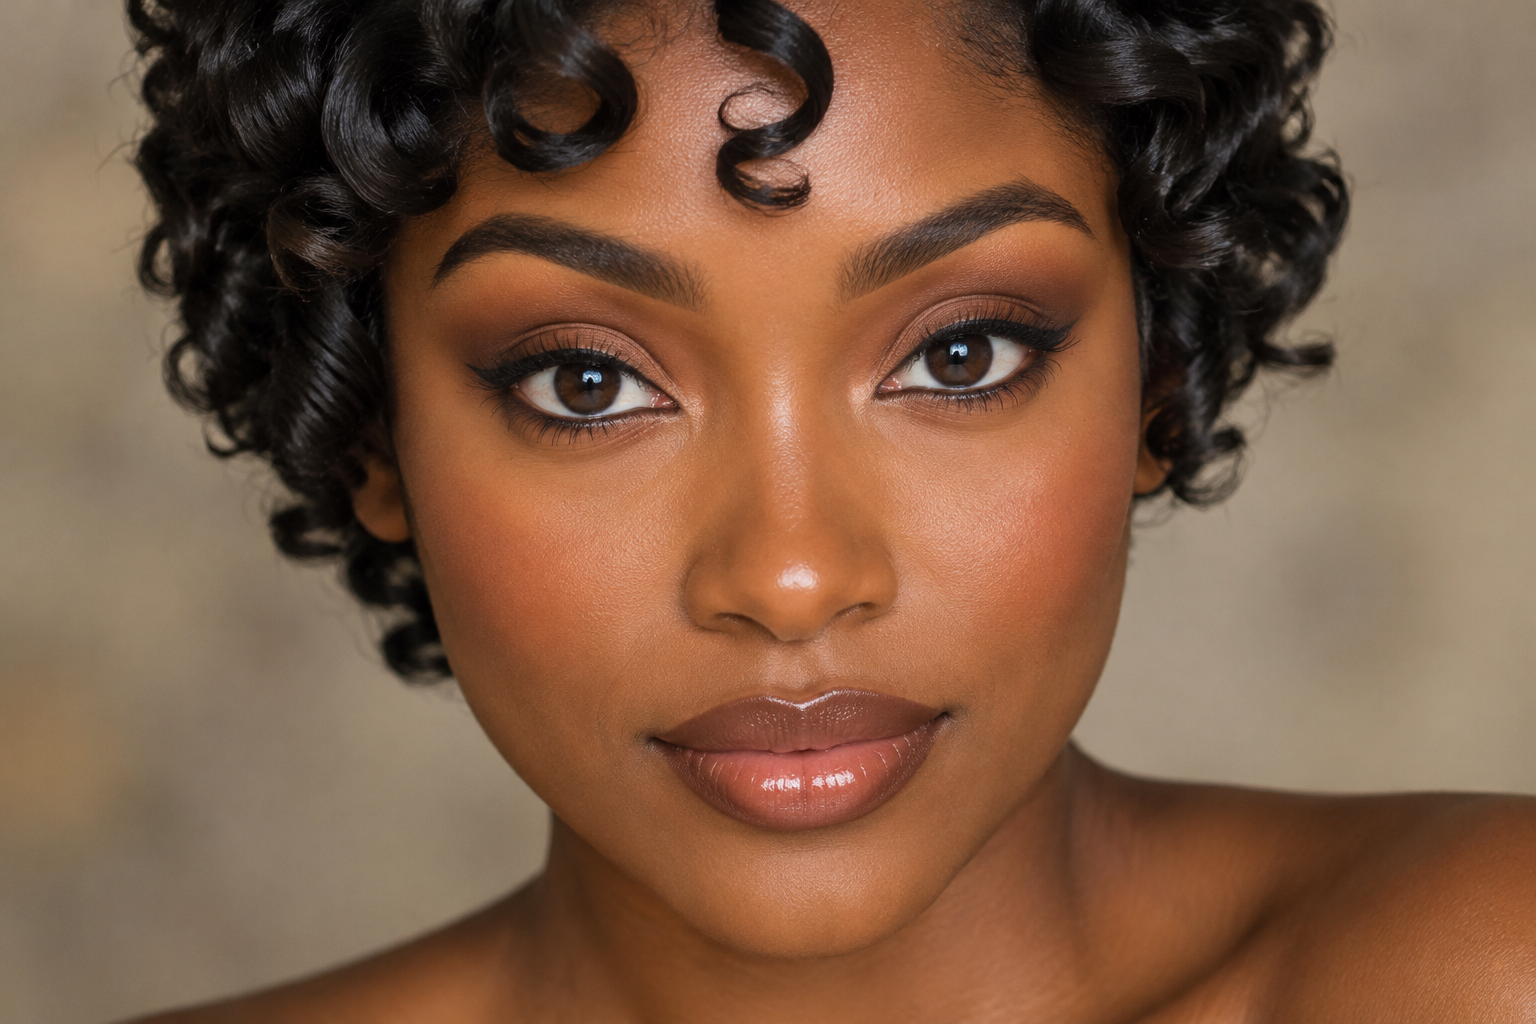
Shadow can look beautifully blended when you lower your eyelid, then nearly disappear when you look straight ahead. Meanwhile, a little uneven liner can become a much thicker line than you meant to draw.
This beginner eye makeup tutorial keeps placement simple: put your main shadow on the moving part of your lid, blend a slightly deeper shade around the crease, and keep liner close to your upper lashes. Check each stage with your eyes open and brows relaxed before adding more. You don’t need a wing or a whole palette to make the look feel finished.
Quick answer: Apply a soft lid color, add optional depth around the crease, then connect short eyeliner strokes along the upper lash line. Look straight ahead between steps. Aim for a softened shadow edge and a narrow line, not identical eyes.
Find your lid, crease, and lash line first
Before picking up a brush, look in the mirror and locate three areas:
- Mobile lid: The skin immediately above your upper lashes that moves as you blink. This is where your main shadow goes.
- Crease area: The fold or transition between your mobile lid and the skin above it. A slightly deeper shadow here adds definition.
- Upper lash line: The external lid skin directly beside the roots of your upper lashes. This is where your liner goes, not on the wet inner rim.
Your crease may be clear or less visible with your eyes open. You don’t have to assign yourself an eye-shape category to start, and some lid color being hidden when you look ahead is normal.
Keep the outer corner as your stopping point for this routine. Wings, lower-lash shadow, and brow-bone highlight can wait.
Choose a small set, not a complicated palette
For the two-shadow version, choose a main shade close to your skin depth or slightly lighter, plus a matte shade a little deeper. “Light” is relative: it doesn’t have to mean pale beige. Taupe, rose, bronze, plum, and brown can all play these roles, depending on your complexion and preferred contrast.
Powder shadow is easy to build gradually with a small flat brush and a fluffy blending brush. Cream or stick shadow can often be blended with a clean fingertip, following the product’s directions. One shadow is also enough if you only want a wash of color.
A blendable eyeliner pencil suits a soft edge; liquid suits a more defined line. Neither is automatically easiest for everyone. Use what you have, provided it’s intended for the eye area.
Follow this eye makeup tutorial one layer at a time
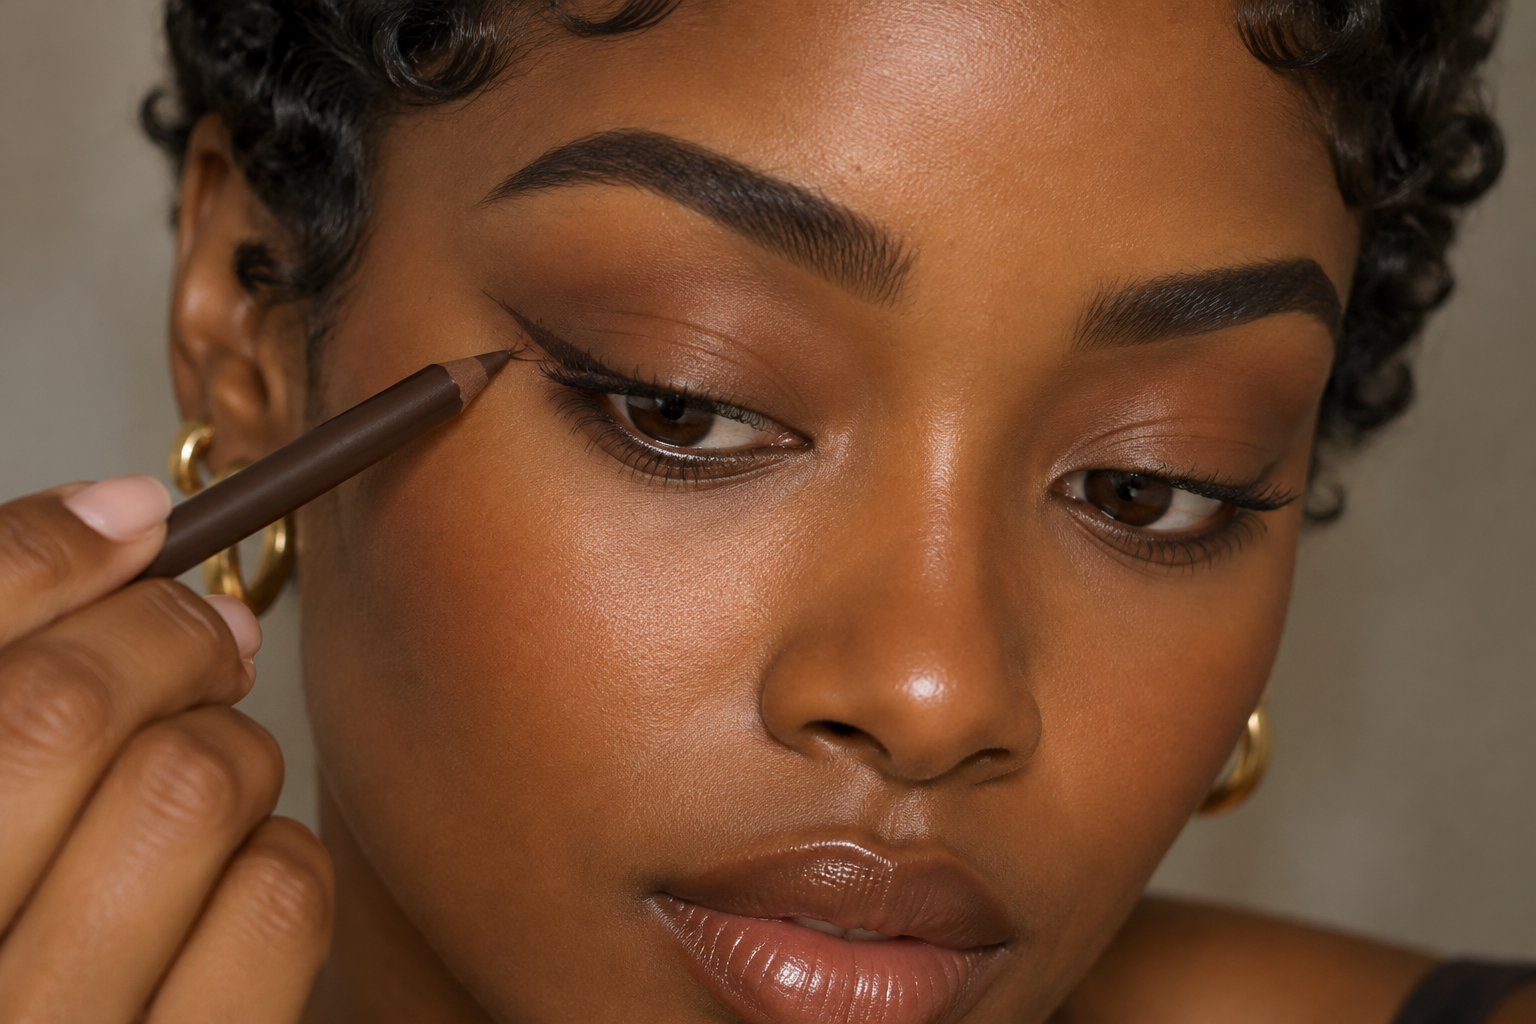
Step 1: Prepare the lid only as needed
Start with the lid surface free of excess skincare residue. If you use eye primer, apply it according to its directions. Primer isn’t compulsory, and adding several base layers doesn’t automatically improve wear.
Keep preparation matched to your shadow formula rather than automatically putting powder over every cream. The FDA advises stopping eye cosmetics that cause irritation and seeking medical advice if irritation persists; skip eye makeup during an eye infection or when surrounding skin is inflamed.
Step 2: Press your main shade onto the mobile lid
For powder, lightly load a flat brush and tap off excess. Lower your eyelid enough to see the surface, then press the color onto the center and work across the lid toward the inner and outer edges. Keep this first layer between the lashes and crease area.
Pressing places color more deliberately than sweeping a loaded brush everywhere. Once it’s on, use the remaining product on the brush to soften any obvious edge.
For cream, start with a small amount and pat it across the lid with a fingertip or suitable brush. Blend in small sections if the formula sets quickly rather than covering both lids before blending either one.
Step 3: Add a little depth around the crease
Pick up the deeper matte shade with a fluffy brush and remove excess. Start around the outer third of the crease area, then use short, gentle strokes inward. Keep most of the depth toward the outer portion rather than carrying an equally dark stripe across the whole eye.
Use light pressure to soften the upper boundary without spreading the color toward your brow. Holding the brush farther from the bristles can help if you tend to press hard.
If you’re using one shadow, simply blend its upper edge and move on. A separate crease shade is a teaching aid, not a requirement.
Step 4: Check the shadow with your eyes open
Face the mirror straight on, relax your forehead, and let your brows settle. Raising them changes the surface you’re judging, so use your normal expression.
Look for a soft transition rather than a visible stripe. If you want more color to show, add a small amount just at the existing upper edge and blend again. Don’t move the entire look upward simply because some lid shadow disappears when you open your eyes.
Step 5: Build liner from short strokes near the lashes
Rest your elbow on a stable surface if it helps. Looking slightly downward into a mirror can make the upper lash line easier to reach without pulling the skin taut.
Begin on the outer half of the upper lash line. Make a few short strokes on the external skin close to the lashes, then connect them and work toward the center. Extend inward only as far as you comfortably want, using less pressure to taper the line.
Stop at the outer corner without flicking upward. With a blendable pencil, soften only the upper edge using a small brush while the formula allows it. Leave the lash-adjacent edge defined. Liquid liner usually calls for connecting the strokes cleanly rather than smudging them.
Step 6: Recheck before adding mascara
Open both eyes and look ahead. If one tiny section of liner is uneven, adjust that section, not the full line. Thickening everything to match one bump is how a delicate line becomes the main event.
Finish with mascara if you like. Shadow and liner alone are also a complete choice.
Make one small correction, not three new layers
Use the open-eye check to decide what actually needs attention:
- Shadow looks patchy: Pat a little color onto the gap. Avoid repeatedly buffing the whole lid, which can move color away from where you wanted it.
- The crease edge looks harsh: Use a clean blending brush along the boundary, without adding another shade.
- Liner takes up too much visible lid space: Carefully remove a little excess with a small applicator and an eye-area makeup remover, following its directions. Let the area dry before touching up.
- The eyes look slightly different: Compare overall color depth and liner weight rather than chasing identical outlines. Natural differences don’t require endless correction.
For your next practice, use the same shades and repeat the same placement. Keep one question in mind before adding product: Does this spot need more color, or just a softer edge? That pause is more useful than reaching for another shade.