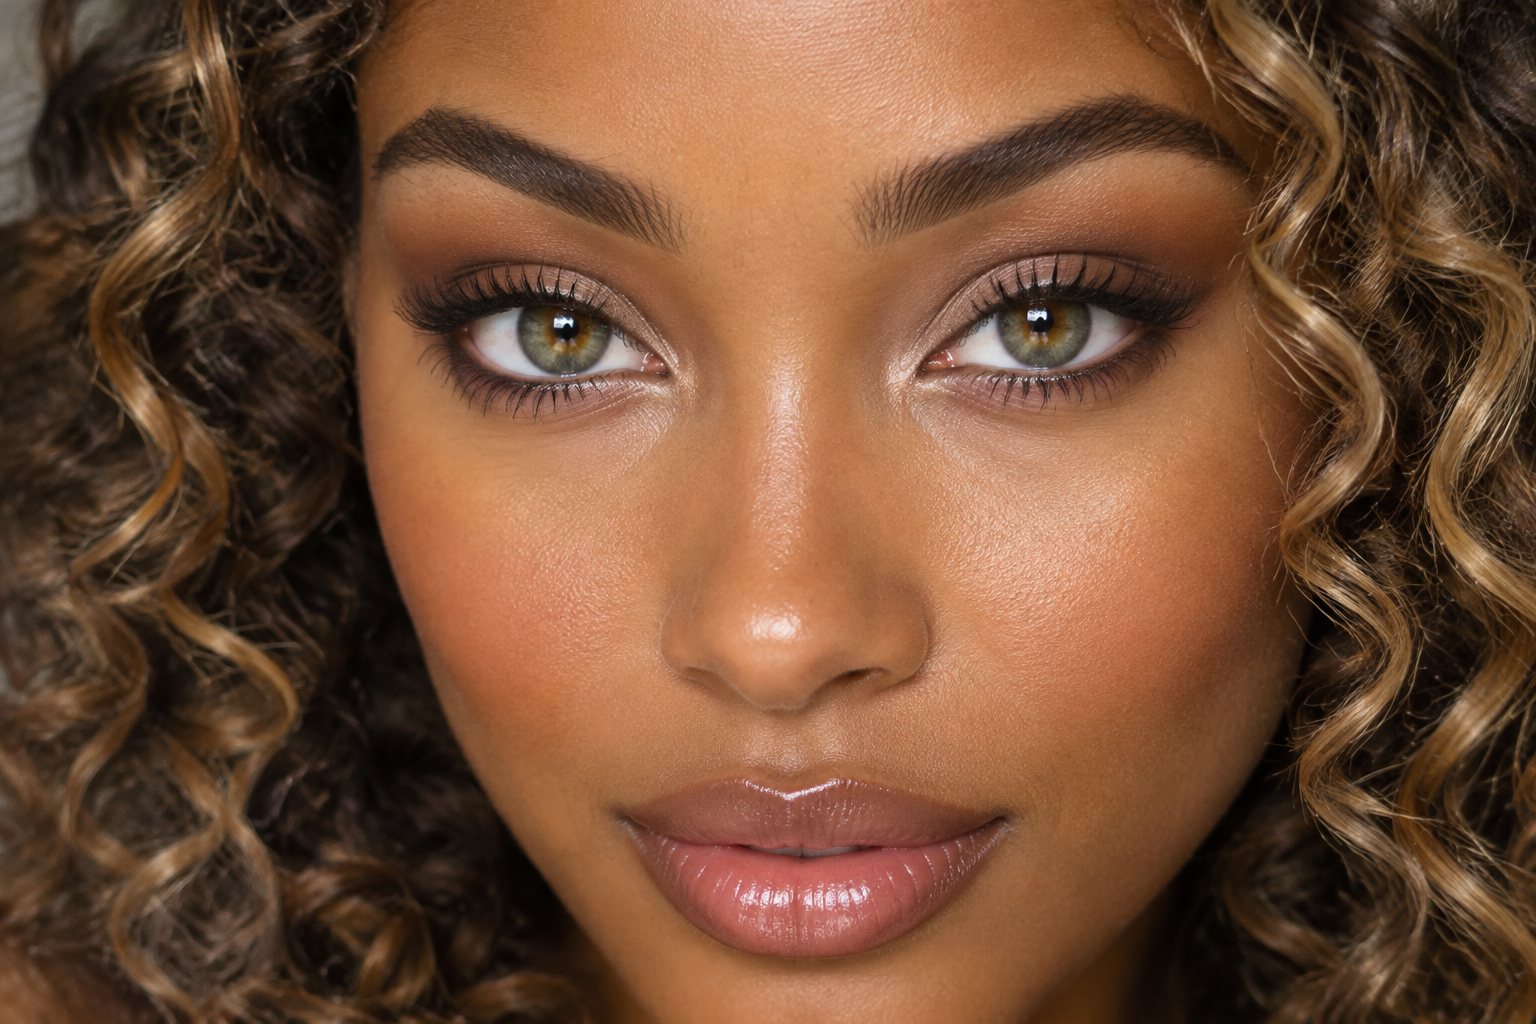
Sometimes another coat of mascara makes your lashes look heavier, not your eyes more open. And a longer wing can pull the whole look sideways when you wanted something softer and rounder.
For doll eye makeup without heavy lashes, concentrate the detail above and below the middle of your eye: a softly shaded lid, restrained upper liner, curled natural lashes, and a little optional lower-lash definition. The effect is cosmetic, not a change in eye size, and you don’t need false lashes or a white waterline to try it.
Quick answer: Keep liner close to the upper lashes, place a little light or sheen at the center of the lid, and brush your middle lashes upward. Add lower mascara sparingly, then check the whole look before adding more.
Choose rounded placement before adding intensity
This version of doll-eye makeup is soft and wearable, with some overlap with doe-eye styling. The goal is more emphasis through the center of the eye, rather than an extended outer corner.
Look straight ahead with your eyes relaxed. Notice how much lid remains visible and where your middle lashes sit. Those two details will guide your placement better than trying to copy someone else’s exact shadow shape.
You’ll need eye shadow, liner, and mascara, plus a lash curler if you like using one. A small blending brush and a clean lash brush can help, but there’s no need for a complicated palette.
How to apply doll eye makeup with natural lashes
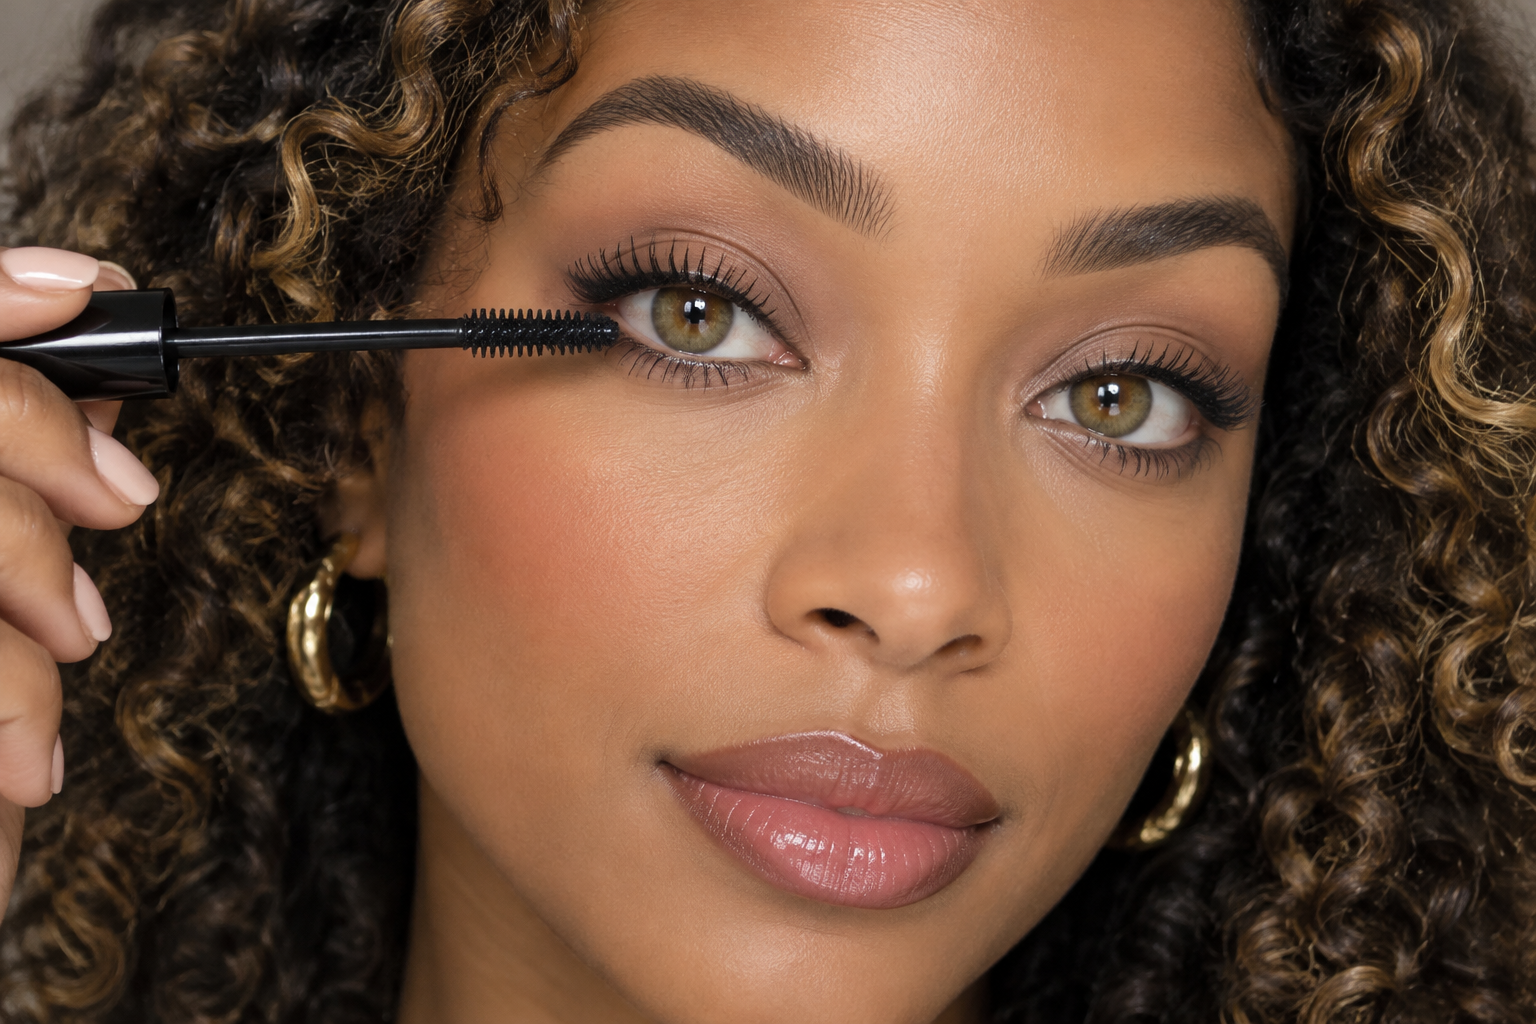
Step 1: Lay down a soft base
Sweep a light layer of eye shadow across the mobile lid. Choose a shade close to your skin tone or a little lighter, depending on how much contrast you want.
With powder, tap excess off the brush before applying. With cream, start with a small amount and blend according to its directions before it sets. A thick cream layer can gather in folds and make the next steps harder to control.
Use products intended for the eye area. The FDA advises stopping any eye cosmetic that causes irritation and seeking medical advice if irritation persists; skip makeup over an infected eye or inflamed surrounding skin.
Step 2: Add a little depth without stretching the shape
Blend a slightly deeper shade into the crease or just above the lid fold, wherever it remains visible with your eyes open. Use small strokes and soften the edges rather than drawing a long diagonal toward your temple.
Keep the outer corner understated. You can still add definition there, but a dark, extended wedge will move the look toward elongated styling.
Step 3: Keep the center of the lid lighter
Pat a small amount of satin or fine shimmer over the middle of the mobile lid, roughly above your pupil when you look forward. Soften its edges into the base instead of making a sharply outlined spotlight.
“Light” is relative to the surrounding makeup, not a requirement to use ivory. Rose, bronze, gold, or taupe can provide contrast. If you prefer less shine, use a softly blended matte shade that’s slightly lighter than your base.
Step 4: Draw a restrained upper lash line
Make short strokes along the skin immediately above the upper lashes, joining them into a narrow line. Start thin enough that you can still see your lid color when your eyes are open.
Pencil gives you a softer edge if you blend it while the formula allows. Liquid liner gives a crisper finish, so use small strokes rather than trying to blur it after it sets.
Stop near the outer corner, or add only a tiny extension if you enjoy a flick. Brown, charcoal, and black are all options: choose the level of contrast you want, rather than following a skin-tone rule.
Step 5: Curl, coat, and separate your upper lashes
If you use a curler, do so before mascara and follow the tool’s directions without pinching or pulling. Then apply mascara through the lashes using the wand as intended.
Brush the middle lashes upward rather than sweeping everything toward the temple. Coat the inner and outer lashes too, but keep the extra attention through the center.
Here’s the useful stopping point: when lashes start joining into thick sections, don’t automatically add another coat. If the formula is still workable, gently separate them with the wand’s combing surface or a clean lash brush, keeping it away from the eye itself. Follow the mascara’s directions rather than forcing a brush through fully dried product.
Step 6: Finish the lower eye with less than you think you need
Start with minimal mascara on the wand, removing excess from the tip if needed. Lightly touch the lower lashes beneath the middle of the eye, then decide whether you want to define the rest.
Lower mascara is optional. For a nearly bare version, leave those lashes alone or blend a trace of powder shadow just beneath their roots. Keep that shadow narrow and softly edged, not in a broad band under the eye.
Step back from your close-up mirror and look straight ahead. If the lower makeup becomes the first thing you notice, soften it before adding anything else. Magnification is helpful for application, but it can talk you into unnecessary detail.
Adjust the look to your lid space and preferences
You don’t need to make every element equally visible. Choose the part that gives you the effect you like with the least fuss.
- If liner covers most of your visible lid: Make the line thinner first. Adding more shimmer above a thick line may only create another layer of contrast.
- If your lid fold hides the shadow: Check placement with open eyes and blend a little depth just above the fold. Keep the lighter center on the mobile lid.
- If lower mascara transfers or feels too strong: Skip it and keep the lower eye softly defined with shadow, or completely bare. Waterproof mascara isn’t a requirement for this style.
- If your natural lashes are already dense: Prioritize lift and separation over repeated coats. Visible spaces between lashes help keep the finish airy.
Make one final check before adding more
Put down the mascara and look at both eyes from a comfortable mirror distance. Can you still see the lighter lid center? Are the middle lashes distinct? Is the lower definition quieter than the upper lashes?
Adjust whichever detail feels too strong. For this softer doll-eye look, a thinner line or better-separated lashes will often serve you better than one more layer.