
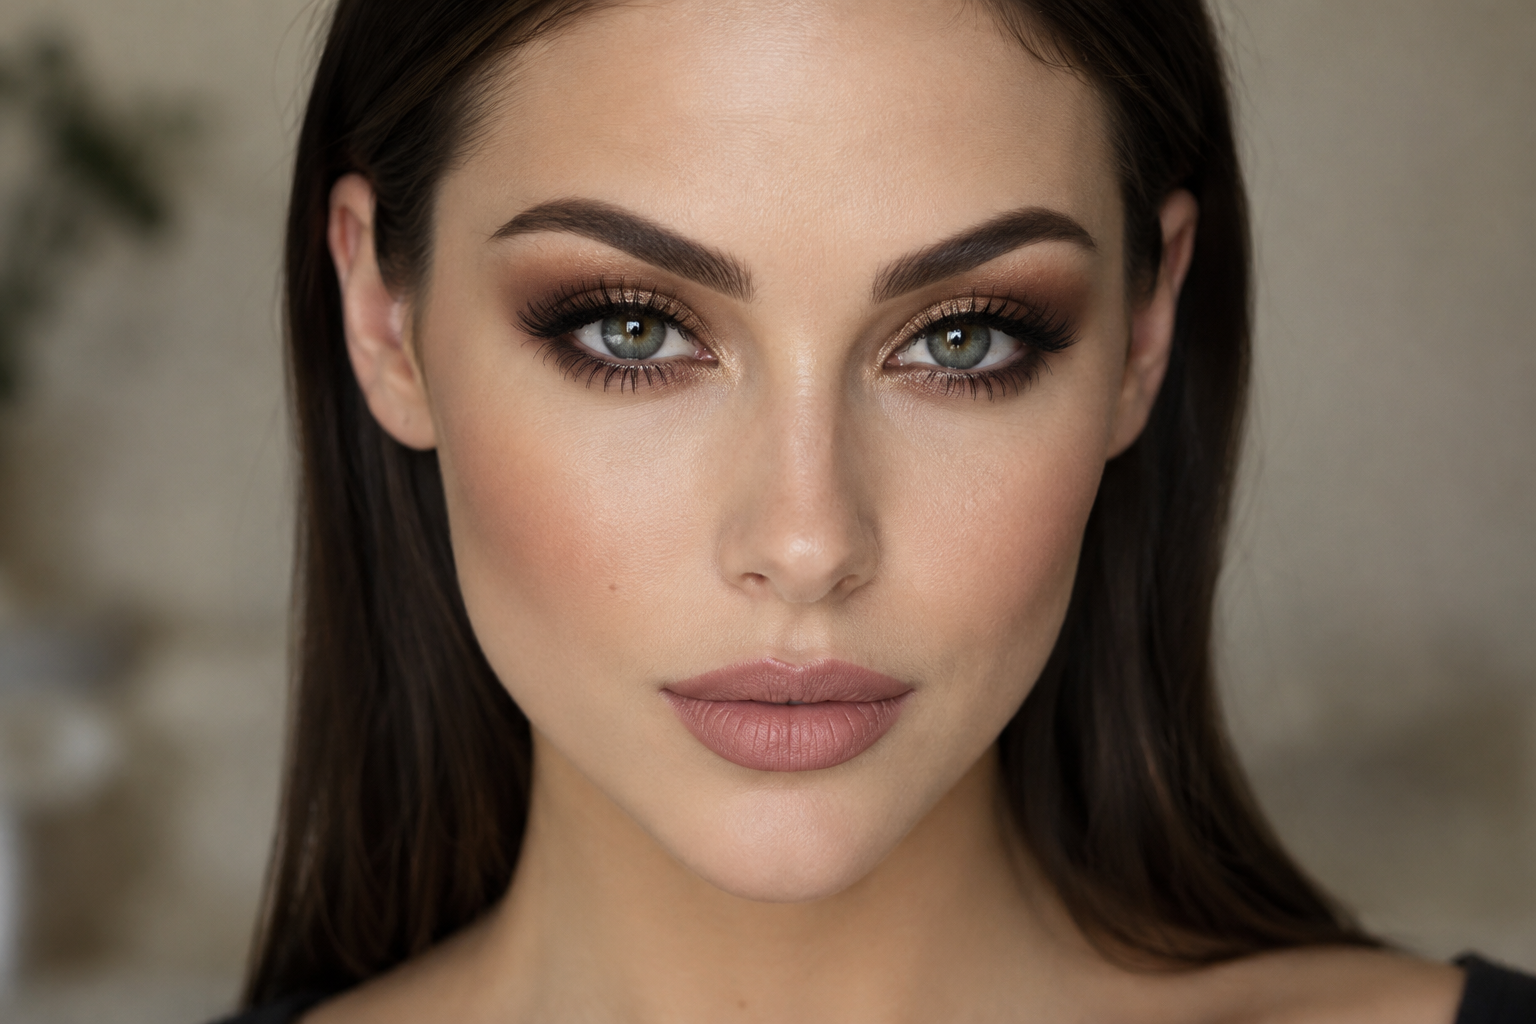
You love the brows and bronze eyes in a 2016 makeup reference, but halfway through the tutorial, your face has more layers than you wanted. Keep the strongest cues: structured brows, warm dimensional shadow, defined lashes, and a softly matte lip. Then use foundation only where you want coverage.
This version keeps that recognizable brow-and-eye emphasis while deliberately lightening the complexion routine. “Lighter” means thinner or less extensive coverage, not a paler foundation shade.
Quick answer: Build defined brows with softly shaded fronts, blend warm brown through the crease, and press bronze onto the lids. Add close-to-the-lashes liner and a defined lip, then keep foundation and powder targeted. The lighter base is a modern adaptation, not an exact throwback recreation.
Which details make it recognizable as 2016 makeup?
The familiar nostalgic look is one prominent mid-2010s social-media glam style, not everything people wore that year. Strongly filled brows, matte foundation, bright concealer, baking, contour, cut creases, and matte liquid lips are among the cues in Allure’s retrospective on 2016 makeup.
But the year wasn’t exclusively full-coverage glam. Contemporary beauty reporting also featured natural-looking skin and gloss, alongside amber, gold, copper, rose, and chocolate-brown eye colors.
For this tutorial, the defining combination is a clear brow shape plus warm eyes with visible depth. You don’t need baking, false lashes, or a carved cut crease to borrow that mood. If you enjoy the complete glam routine, those details remain options. Here, we’re letting the brows and eyes do most of the work.
Recreate the look in seven steps
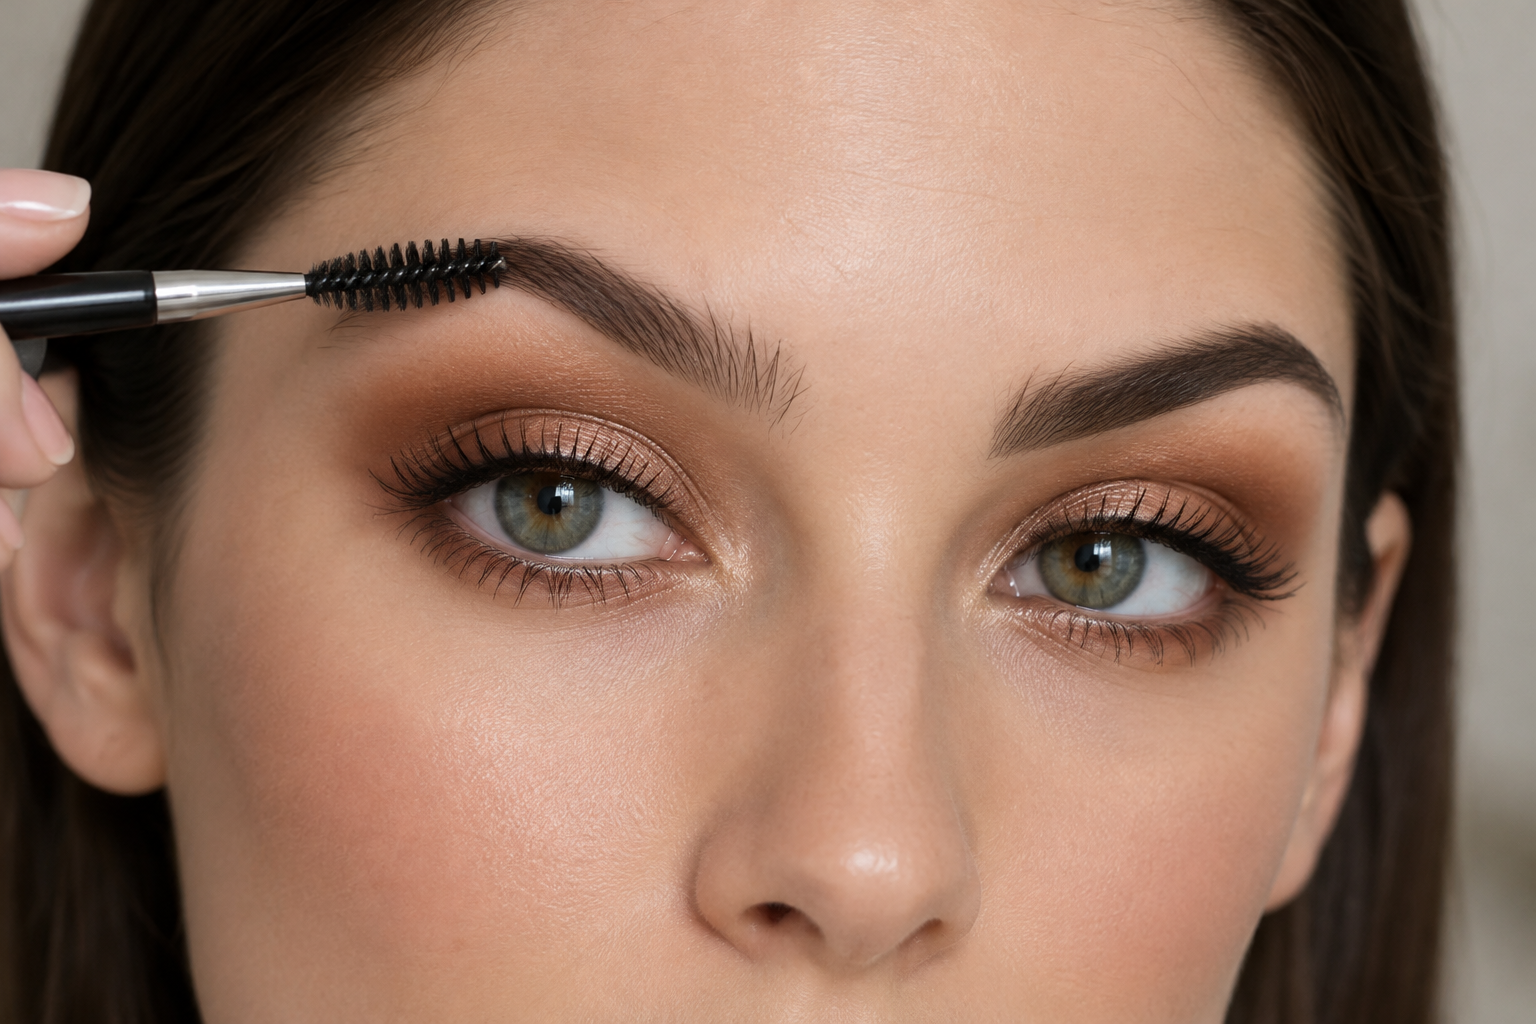
Gather your usual base, a brow tool and spoolie, three eye shades, liner, mascara, and lip color. The shadows should give you a warm midtone, a deeper brown, and a bronze shimmer. Optional cheek products can stay optional.
Step 1: Apply coverage where you actually want it
Start with a small amount of foundation around the center of your face, or wherever you prefer coverage, and blend outward. Let the layer become thinner toward the perimeter rather than applying an equally opaque coat everywhere.
A highly pigmented foundation needs a lighter initial brush load than a sheer tint. If your tint doesn’t cover a particular spot enough, add concealer there instead of repeatedly coating your whole face.
Under the eyes, place concealer on the areas you want to brighten rather than automatically drawing large triangles. Tap excess powder off your brush and set only where needed, such as beside the nose or across a shiny forehead. Skip baking for this version.
Step 2: Shape the brow, then soften its beginning
Brush your brows into their usual shape so you can see where pigment is useful. Define the arch and tail first, filling gaps rather than shading every hair-covered area. Naturally dense brows may need very little added color.
The front of the brow should be your final stop, but the method changes with your formula:
- Pomade: Load the angled brush lightly, work through the arch and tail, then use the remaining pigment at the front.
- Powder: Use a lighter shade at the front and a deeper shade through the arch and tail.
- Pencil: Make short strokes with lighter pressure and leave more space between them near the front.
Spoolie through gently without brushing away the shape you just built. You’re aiming for a defined outline with a gradual increase in color, not the same opacity from beginning to end.
Step 3: Build warmth around the crease and depth at the outer corner
Choose a matte transition shade that shows up slightly deeper than your skin. That might be caramel, cinnamon, or a rich warm brown; pale beige isn’t a universal starting point.
With a fluffy brush, blend this shade around the crease area. Check with your eyes open so you can see whether the warmth remains visible. If your fold hides it, bring a little color just above the fold rather than continually deepening the hidden crease.
Use a smaller brush to place deeper brown on the outer third of the lid and into the outer crease. Blend its upper edge, but keep most of the depth outside. Sweeping it across the entire lid can muddy the bronze you’ll add next.
Step 4: Press bronze onto the mobile lid
Pat bronze shimmer across the center and inner portion of the lid with a flat brush. Pressing gives you more controlled placement than sweeping shimmer into the crease.
Gently soften the seam where bronze meets the deeper outer corner. Leave the outer brown visible so the eye keeps its dimension. This is a blended lid look, not a cut crease, so there’s no need to carve out a sharp border with concealer.
Use products labeled for the eye area. The FDA advises stopping an eye cosmetic if irritation occurs; seek medical advice if irritation persists.
Step 5: Keep liner narrow and lashes defined
Draw liner close to the upper lashes, concentrating on a narrow line rather than covering much of the lid. A short wing is optional.
If a lid fold interrupts your wing, mark its position while looking straight ahead with your eyes open and your face relaxed. Then connect it to the lash line. Check the result open-eyed before making it thicker.
Add mascara, directing the outer lashes slightly outward if you like that shape. False lashes can add a stronger throwback cue, but they aren’t required here.
Step 6: Give cheeks a supporting role
If you want contour, place a little beneath the cheekbone and blend the edge upward. Start toward the ear and stop before it becomes a long stripe toward your mouth.
Add blush lightly, then use a small amount of highlight on the upper cheekbone if you want sheen. You can also skip contour and keep only blush; the brows and eyes already provide plenty of definition.
Step 7: Finish with a defined, comfortable lip
Trace close to your natural lip border, then blend the liner slightly inward so it doesn’t sit as an isolated outline.
Choose a nude, muted rose, or brown-toned shade in a depth you enjoy against your complexion. Soft matte gives a closer nostalgic cue; satin is an intentional variation. Neither requires liquid lipstick.
Check the balance before adding more
Look at your whole face in ordinary light, not just the magnified detail in your mirror.
- Brows look too solid? Spoolie the fronts first. If they’re still opaque, gently lift a little pigment with a clean cotton swab rather than darkening everything else to match.
- Shadow looks too orange? Choose a more neutral brown transition shade next time and let the bronze lid supply the warmth.
- Base feels heavier than intended? Stop adding all-over layers. Revisit only the places where you still want coverage.
Before your next attempt, set out the brow tool and three shadows first. Build those focal points, then pause before adding more complexion product. That small pause helps keep the finished look close to the part of the reference you loved in the first place.
