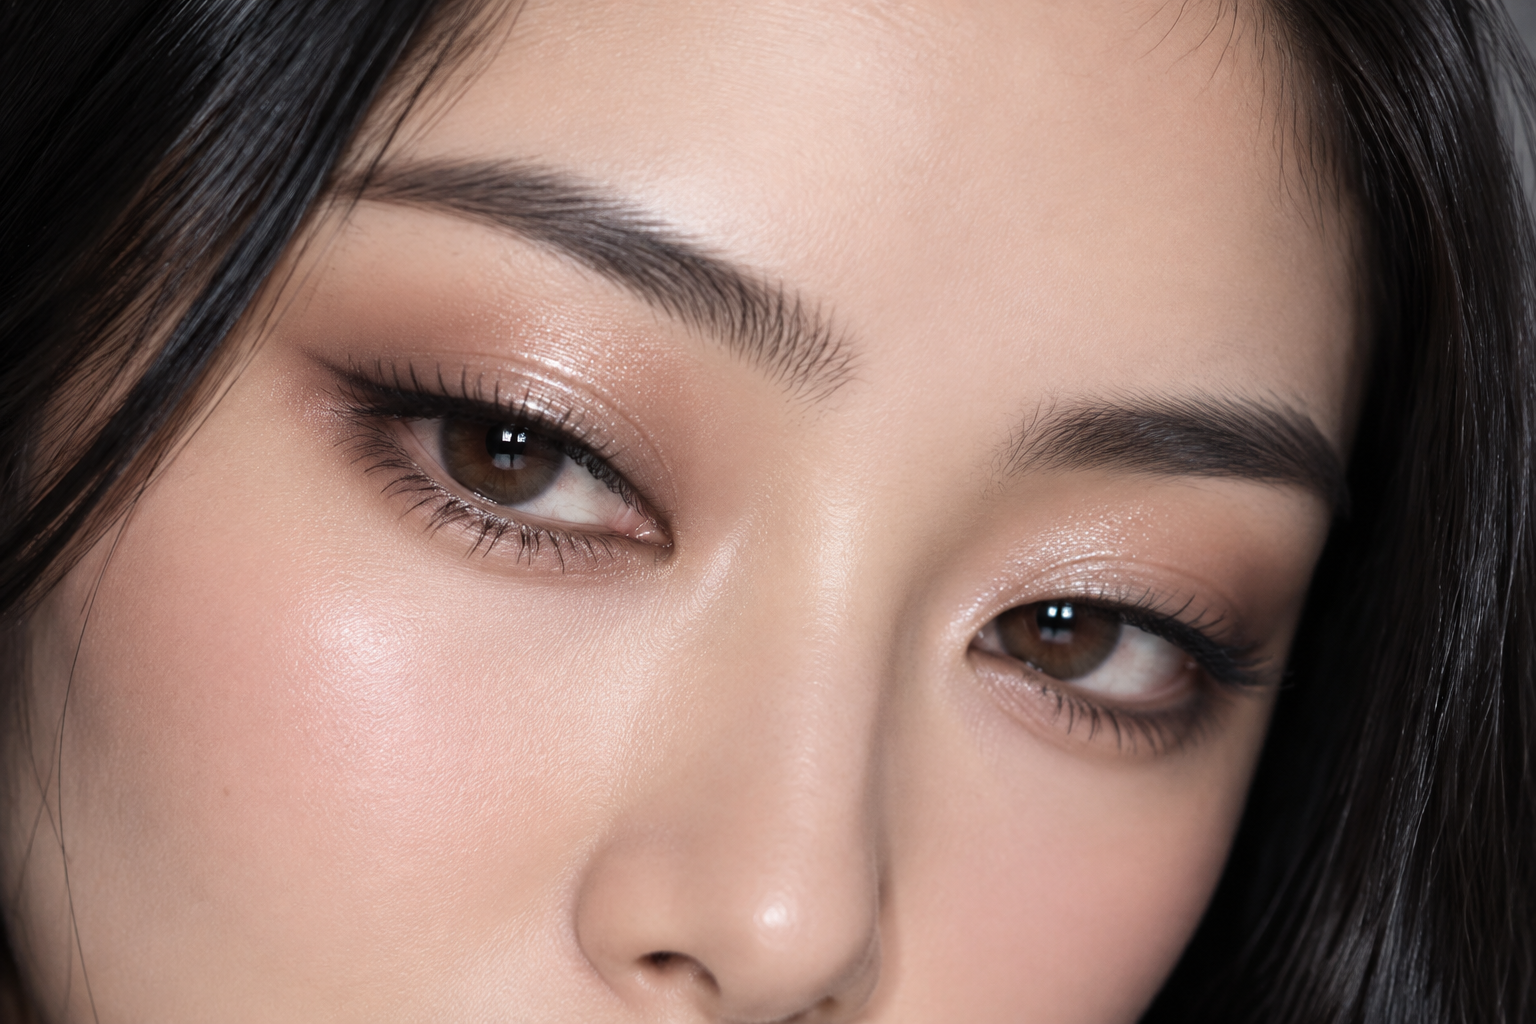
Shimmer can look delicate in the pan, then turn into a solid shiny stripe on your eyelid. Add eyeliner, and suddenly the soft look you wanted feels much more dressed-up.
For this ethereal makeup look, give each texture a small job: sheer shimmer catches the light, a neutral matte creates gentle shape, and brown shadow defines the lashes. The trick is keeping those areas distinct rather than blending sparkle across the entire eye.
Quick answer: Blend a soft matte around the outer crease, press sheer shimmer onto the center and inner lid, and tuck brown shadow close to the upper lashes. Check the placement with your eyes open before adding more.
Choose a shimmer that leaves your lid visible
You’re aiming for a translucent sheen, not an opaque metallic finish. When you swatch a shadow, spread it into a thin layer and tilt your hand toward the light. Look for a reflection that shifts as you move, with some skin still visible underneath.
Shade names aren’t a reliable guide to opacity. A “pearl” can have a dense white base, while a golden shadow may blend into a beautifully sheer wash.
Champagne is a lovely starting point, but pearl, rosy champagne, rose-gold, or a deeper golden sheen can create the same effect. If the swatch leaves a chalky stripe, try a less opaque formula or a deeper tint. Soft doesn’t have to mean pale.
Gather a small kit:
- One neutral matte that gives subtle contrast against your skin.
- One sheer shimmer intended for the eye area.
- One deeper brown shadow for lash-line definition.
- Mascara, a fluffy blending brush, and a small liner brush.
A clean fingertip can apply the shimmer if its directions allow. You don’t need a dedicated palette, and you can reuse the shimmer for the optional inner-corner detail.
Check intended use rather than assuming a face highlighter or body glitter belongs on your lids. The FDA advises using cosmetics intended for the eye area. Stop if a product irritates, seek medical advice if irritation persists, and skip eye makeup during an eye infection or when the surrounding skin is inflamed.
Build the ethereal makeup eye in six steps
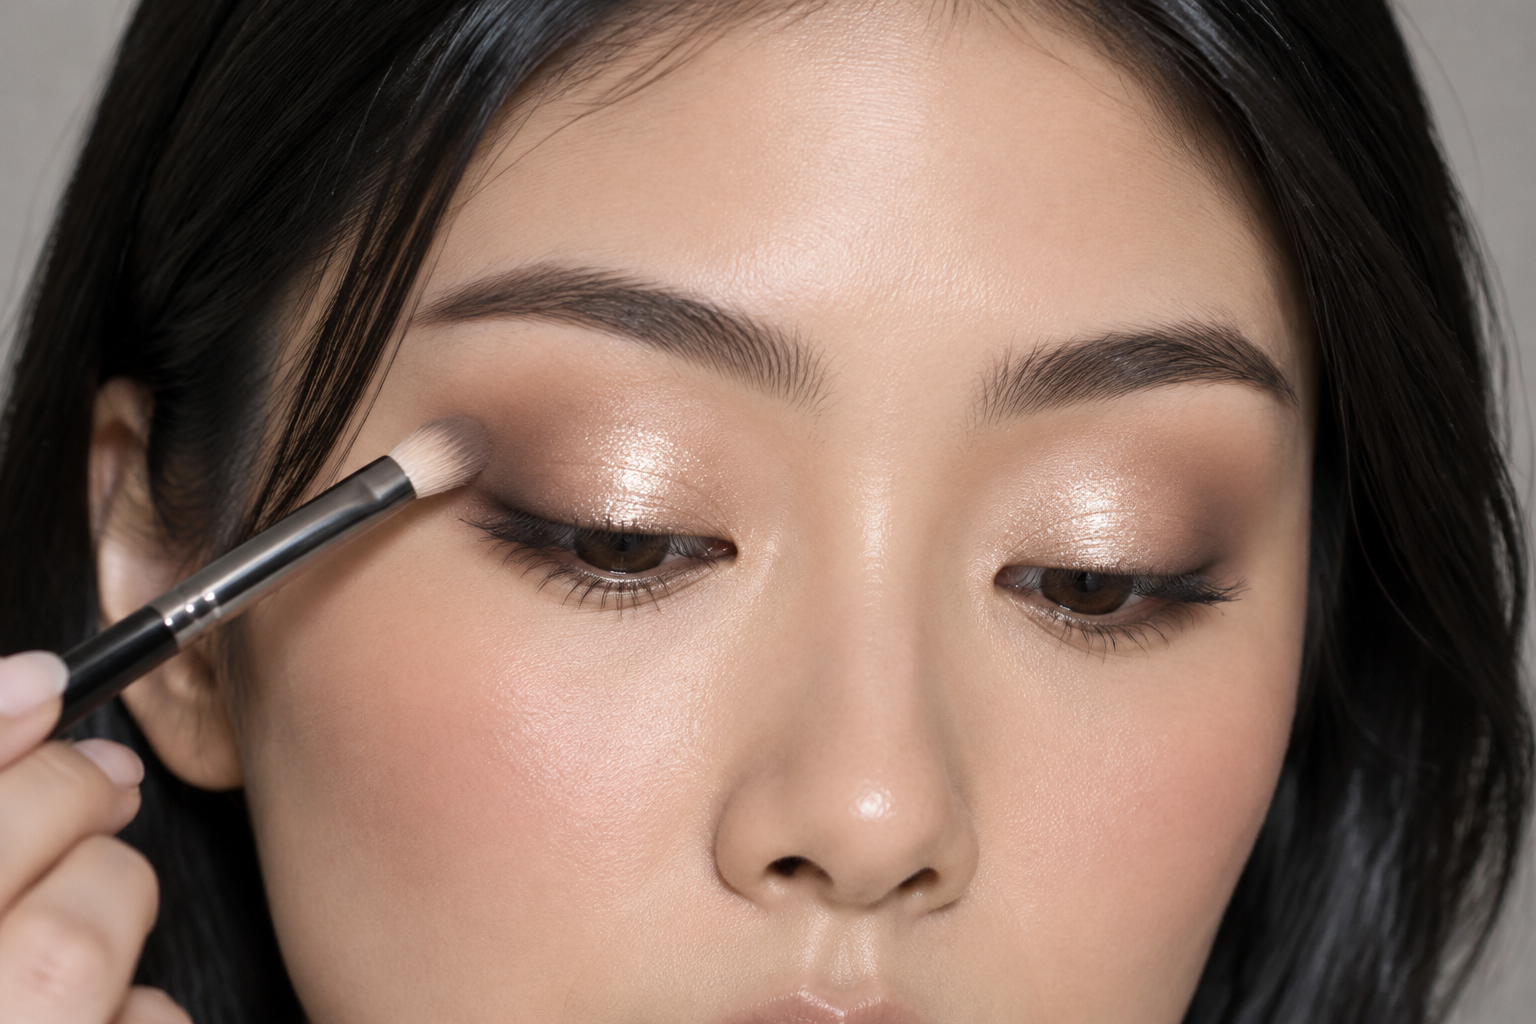
Step 1: Prepare a light, compatible base
If you normally use eye primer, apply it according to its directions and check that it works with your shadow formulas. Concealer and face powder aren’t compulsory steps.
Start with a smooth, light layer rather than a thick base that already looks opaque. Follow any setting or layering instructions before moving on.
Step 2: Map the soft shape with your eyes open
Look straight into the mirror with your brows relaxed. Notice where your lid and fold are visible without lifting your eyebrows.
Pick up a little matte shadow, tap off excess, and begin around the outer crease. Blend in small motions, then carry only what remains on the brush inward. This keeps the inner eye lighter and avoids building a dark outer corner.
If your fold hides the crease color, test a small amount just above it where you can see it with your eyes open. You’re choosing visible placement, not trying to change your eye shape.
Step 3: Press the shimmer where you want the reflection
Begin at the center of the mobile lid, the part that moves when you blink. Press on a light layer, then extend it a little toward the inner lid. Leave the outer shading mostly matte.
For a powder topper that allows finger application, use the pad of your fingertip to press rather than rub. If the formula calls for a brush, follow that direction instead.
With a cream, tap out a small amount and soften the edge while it remains blendable. For a setting liquid, work on one eye at a time and follow its layering instructions. Don’t assume every formula can be wet-applied or blended after it sets.
The easily missed detail: blend the boundary, not the whole patch. Use a clean brush lightly around the shimmer’s edge instead of sweeping fresh sparkle through the crease.
Step 4: Keep the definition at the upper lash roots
Load a small liner brush with brown shadow and tap off the excess. With your eye gently lowered, press short sections along the skin immediately above the upper lashes. Start on the outer half, extending inward only if you want more definition.
Soften the upper edge with the brush without dragging the shadow far onto the lid. From a normal mirror distance, the result should read as defined lashes rather than a broad band of liner.
If brown barely shows, choose a deeper brown or softly applied charcoal before making the line wider. There’s no need to tightline, use the waterline, or add a wing.
Step 5: Add lashes and an optional pinpoint of light
Apply mascara according to its directions, focusing on separated lashes rather than building a dense fringe. Leave the lower lash line bare for this version.
If you’d like an inner-corner accent, place a tiny touch of the same shimmer on the skin beside the inner corner, away from the eye itself. Keep it smaller than the lid highlight so it doesn’t become the main event.
Step 6: Check the finished eye before adding another layer
Lower your brows, look forward, and turn your head slightly toward the light. Check both eyes open, not just closed.
Look for visible shimmer, softly fading matte edges, and a narrow lash line. If those are already there, you can stop. The shimmer doesn’t need to announce itself from every angle.
Adjust the part that feels too strong
A softer result usually comes from changing one area, not adding another product.
- The lid looks metallic: Stop layering. With powder, a clean brush may soften excess at the edge. If a cream or liquid has set densely, removing that small area and reapplying less may work better than more blending.
- The eye looks heavily lined: Gently diffuse the liner’s upper edge with a clean small brush. Next time, keep the shadow closer to the roots.
- The shimmer disappears when you open your eyes: Check placement before increasing coverage. Try a small extension onto visible lid space rather than coating the entire fold.
- Sparkle has spread everywhere: Switch to a clean brush for matte blending. A brush carrying shimmer can quietly turn every edge shiny.
For your final check, step back from the mirror. Keep the strongest reflection in one small area and the darkest color beside the lashes. That’s your useful stopping point: light on the lid, definition at the roots, and no extra layer just because there’s room for one.