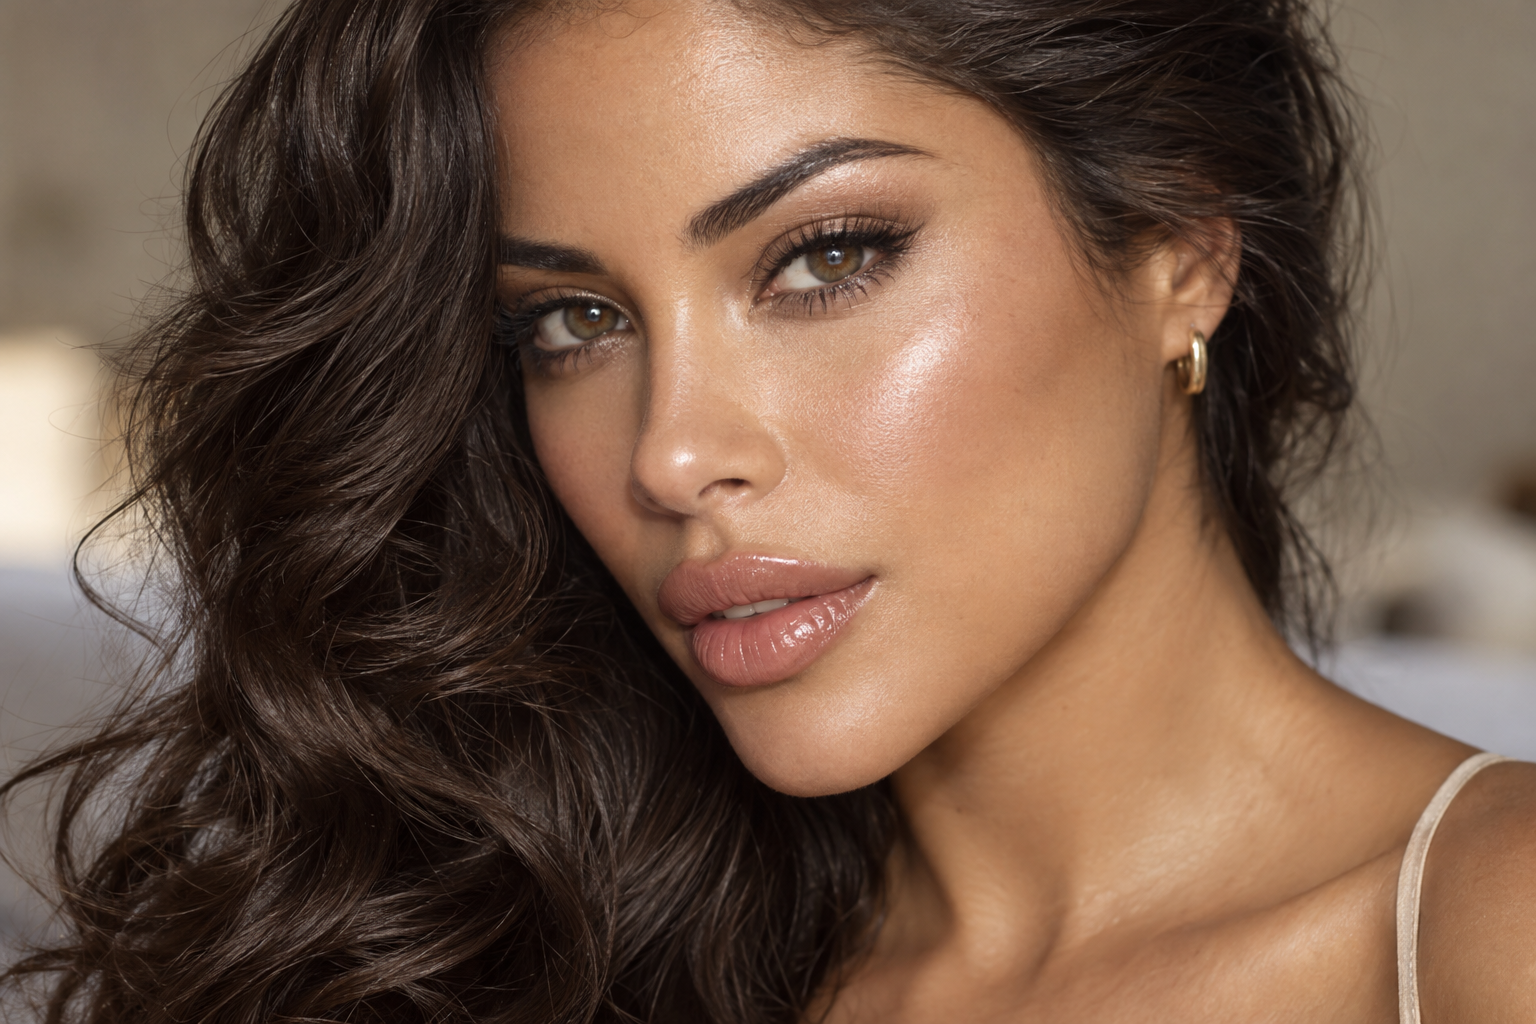
Your cheek highlight looks lovely, but then your forehead and nose join in, and suddenly everything has the same shine. The answer isn't necessarily more powder or a different foundation. For controlled glowy makeup, concentrate radiance on your upper cheekbones and keep the center of your face softer wherever shine distracts you.
That contrast lets the cheeks catch the light without requiring a glossy finish everywhere. You can create it with makeup you already own.
Quick answer: Highlight the upper cheekbones, soften the edge into your blush, and powder only the areas where you want less shine. Start with one glow layer before adding more.
Give your glowy makeup a clear focal point
Think of cheek highlight as a small area of reflection, not a layer that needs to cover the whole cheek.
Start on the raised part of your upper cheekbone, beneath the outer portion of your eye. Blend outward along the bone, with a little extension toward the temple if you like. Keep the strongest reflection there rather than carrying it inward toward the nose.
For a softer center, check these areas individually:
- Sides of the nose and nearby inner cheeks: Target only the shiny patches, leaving the upper cheekbone alone.
- Center forehead and chin: Soften them if they become more reflective than you'd like.
- Under the eyes: Set only as needed for your concealer and comfort. This isn't an invitation to pile on powder.
Nose-bridge and Cupid's-bow highlight are optional. Leave them out for your first attempt, then decide whether you actually miss them.
This is a starting map, not a rule about which features deserve attention. If you love broader shine, you can absolutely keep it.
Choose one glow layer before stacking several
An illuminating primer, radiant foundation, luminous blush, and highlighter can each add reflection. Wearing them together may make it harder to control where the glow appears.
Start with your usual comfortable preparation and a base whose finish you already know. A satin or softly matte base can give cheek highlighter more contrast; a radiant base may need less added highlight.
You don't need extra facial oil to make this look work. If your skin is oily, skipping moisturizer isn't the solution either: the American Academy of Dermatology recommends moisturizing oily skin.
Use familiar, tolerated makeup where possible. Stop using a product that irritates your skin or seems to trigger breakouts; if breakouts persist or the cause is unclear, a dermatologist can help, as the AAD's makeup guidance explains.
Build the finish in four controlled steps
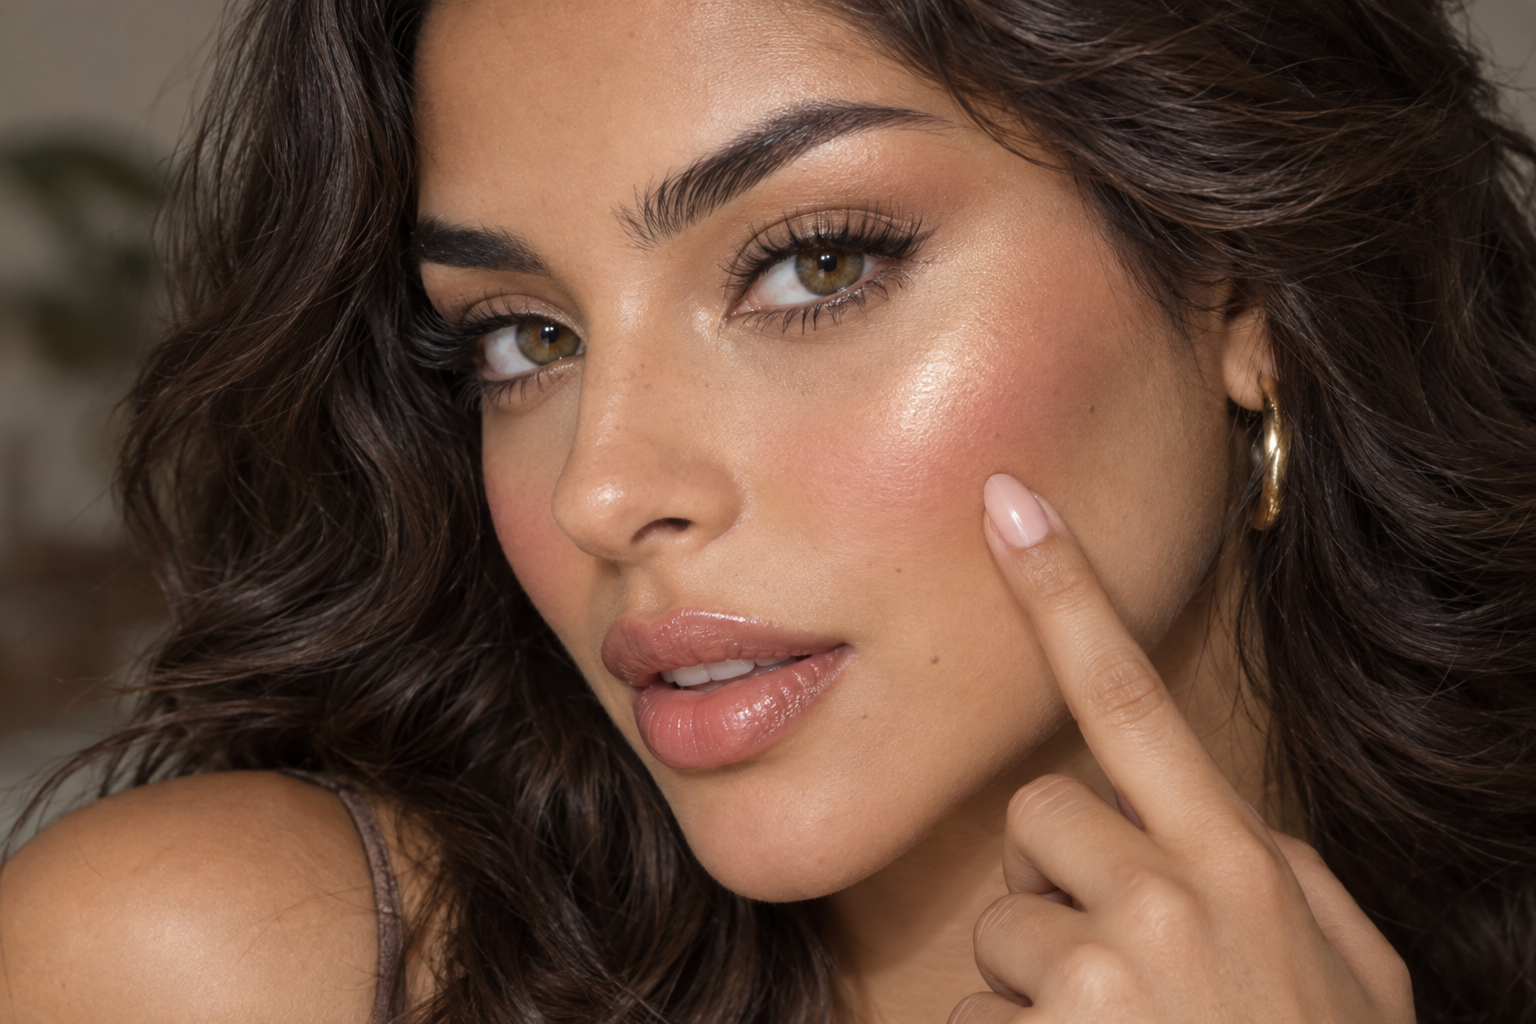
The application order changes slightly with your formulas. As a starting point, use creams before setting powder and powder highlighter afterward, while following the products' directions.
Step 1: Apply your base and blush
Keep coverage where you want it rather than automatically adding another layer everywhere. Blend blush first so you can see where its upper edge meets the cheekbone. If your blush already gives you enough sheen, pause here: separate highlighter isn't compulsory.
Step 2: Add a small amount of cheek highlight
For cream, pick up a little product with a fingertip or suitable brush, then tap it onto the upper cheekbone. Avoid dragging a stick repeatedly across finished foundation if that lifts the base. For liquid, work with a small dab rather than drawing a long stripe that you'll need to spread.
For powder highlighter, use a small, lightly loaded brush. Sweep gently along the cheekbone and build only after checking the first layer. A large fluffy brush can distribute shine farther than you intended.
Step 3: Blend the blush-highlight boundary, not the whole cheek
With cream, tap along the lower edge of the highlight where it meets blush. With powder, use a clean or barely loaded brush to soften that same boundary.
Keep the brightest spot in place while diffusing its edge. Repeatedly blending across the entire cheek can spread shimmer toward the nose, even when your original placement was precise.
Step 4: Set the areas you want softer
Use a small brush or the narrow edge of a puff to gently press setting powder onto the specific patch of unwanted shine. Beside the nose, turn the tool so its narrow edge fits the area rather than letting a broad sweep reach your highlighted cheek.
Avoid powdering directly over cream highlight if you want to preserve its dewy finish. A powder highlighter can go on after selective setting. Neither sequence guarantees compatibility, so if a layer lifts or patches, stop adding more and reassess.
The goal is a smaller powder footprint, not a completely matte face. A little natural sheen can stay.
Check the reflection and the shade separately
Face a window or look in ordinary daylight, first straight ahead and then with your head turned slightly. You want to see how the highlight behaves both when it catches light and when it doesn't.
If it looks like a pale or gray stripe straight on, more blending may not solve it. The shade or intensity may be more contrasting than you want. Try less product or a shade closer to the depth of your complexion.
Also check whether the finish draws attention to texture in an area you'd rather keep quieter. You don't need heavier foundation to counter that. Reduce the highlight's intensity or shift it slightly along the cheekbone.
Cream, liquid, and powder describe formats, not guaranteed results. A fine powder can look softly luminous, while a cream can be quite reflective. Judge the finish on your face, not by the format alone.
Touch up the shine without restarting your makeup
When shine develops during wear, identify the exact area before reaching for powder. If it's oiliness, press blotting paper against that patch and lift it away rather than rubbing, following the AAD's blotting guidance.
Then look again. You may not need powder at all. If you do, press on a small amount without crossing into the cheek highlight.
A useful tiny touch-up kit is blotting paper, setting powder, and a small puff or brush. Before adding anything, ask: Is this cheek glow I chose, or shine I want to soften? That one check keeps a touch-up from turning into an accidental full-face matte makeover.