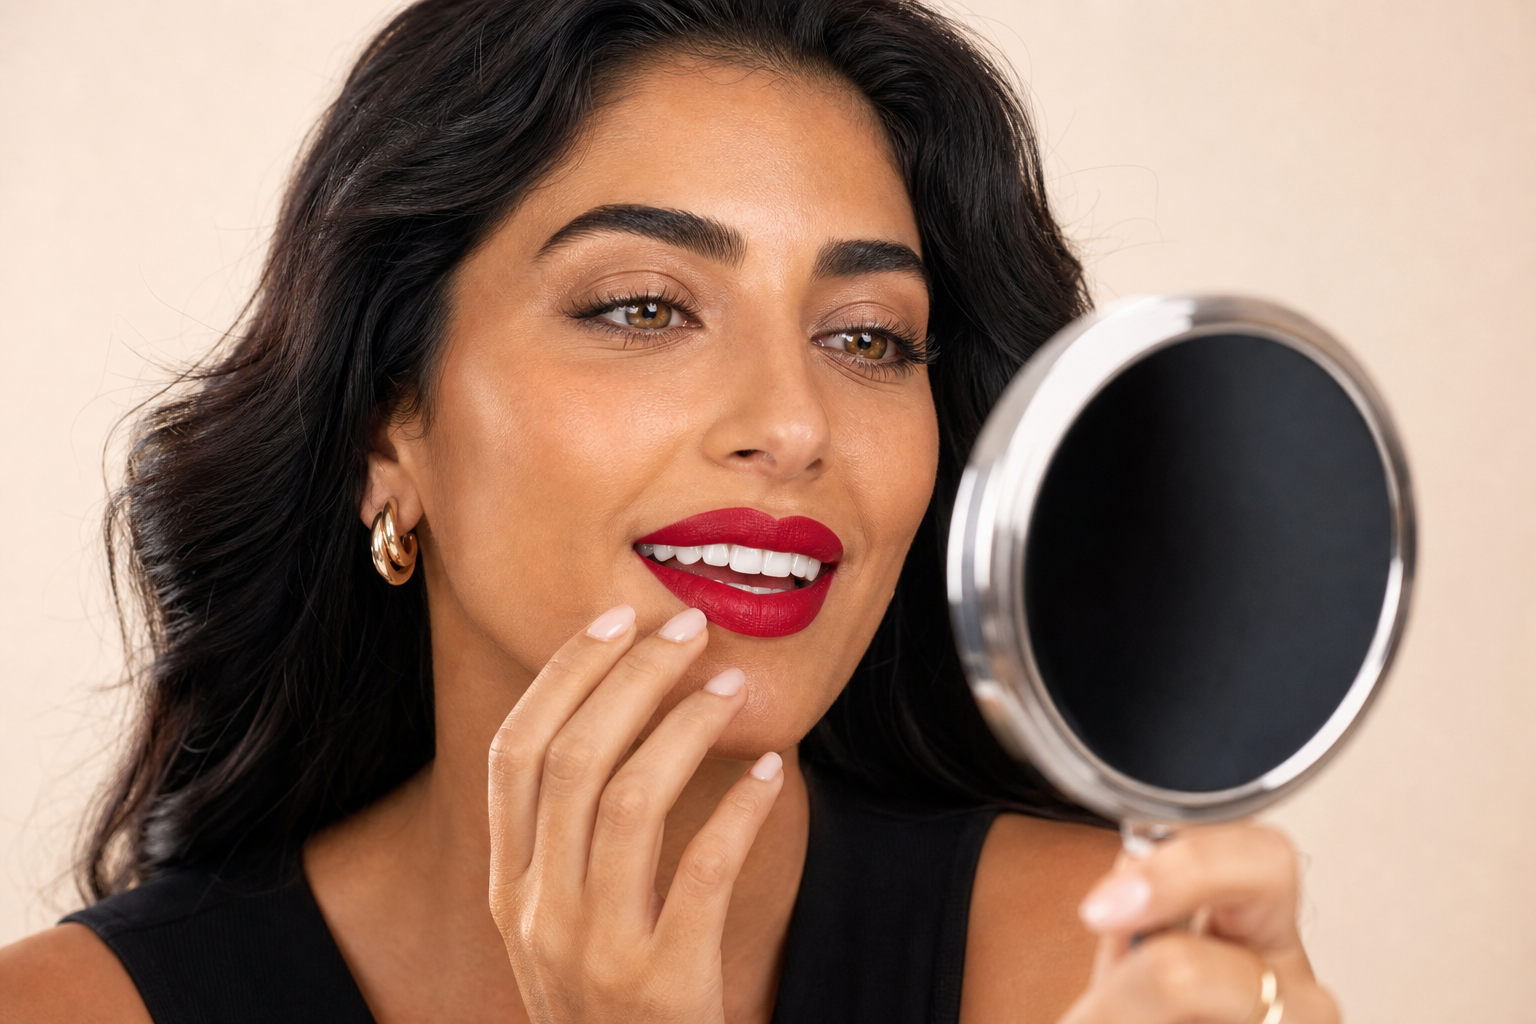
To keep lipstick off your teeth, apply color in thin layers, avoid painting deep onto the wet inner rim of your lips, and gently blot with a clean tissue. Let the formula set according to its directions, then smile in a mirror and check your front teeth before leaving.
This routine reduces transfer, although no lipstick technique can guarantee that color will never move after talking, eating, or drinking.
Quick answer: Apply one thin coat, blot gently, add color only where needed, let it set, and finish with a smile check.
Why lipstick transfers to your teeth
A lipstick mark on a tooth is usually a makeup transfer issue, not a sign that your teeth are dirty or unhealthy. It often happens when excess color sits near the moist inner edge of the lips and touches the teeth as you talk or smile.
Thick coats, slippery balm, creamy formulas, gloss, meals, and repeated reapplication can all make movement more likely. Lip liner can control the outer border and reduce feathering, but it does not remove excess color from the inner lip.
How to keep lipstick off teeth step by step
- Prepare your lips without leaving them slippery.
If your lips need moisture, apply a comfortable balm before the rest of your makeup. Give it time to absorb, then press a tissue lightly over your lips to remove any visible surplus before applying color.
- Apply a thin first layer.
Use the lipstick bullet, applicator, or a lip brush to spread a controlled layer over the visible part of your lips. Avoid deliberately painting far onto the wet inner rim in an attempt to hide the natural transition between your lip color and mouth.
- Blot the excess.
Place a clean tissue between your lips and press them together gently once or twice. Do not rub your lips across the tissue. Blotting may soften the shine or opacity, but it also removes some of the product most likely to transfer. Both L’Oréal Paris and Maybelline include tissue blotting in their lipstick application guidance.
- Build color only where needed.
If the first layer is not opaque enough, add a second thin layer to patchy or faded areas rather than covering everything with another heavy coat. Controlled layers give you more placement control than one large application.
- Let the formula set.
Follow the product label, especially when using liquid lipstick. Some formulas need uninterrupted drying time. Avoid repeatedly pressing your lips together, eating, or drinking before the lipstick has set.
- Do a smile check.
Smile naturally in good light and inspect your front teeth and inner lip edges. If you see color on a tooth, wipe it away with a clean tissue or cotton swab. Blot your lips again and repeat the check.
Choose a formula that fits your priorities
Long-wearing matte or fully set liquid formulas may move less than very creamy lipsticks, but they can feel less comfortable on dry or sensitive lips. Cream and satin finishes may feel more flexible while requiring an extra check after a drink or meal.
Gloss can also increase movement. If you want shine, try placing a small amount on the center of the visible lips rather than applying a thick layer all the way to the inner rim.
No finish is universally transfer-proof. Your lip condition, the amount applied, added balm or gloss, and the product’s setting instructions all affect the result.
Touch up without creating another thick layer
After eating, first check whether the remaining color is loose, uneven, or gathered around the inner lip. Blot or remove unstable product before adding anything new.
Reapply a small amount only to the areas where the color has worn away. Let the fresh layer set, then smile-check again. A compact mirror, clean tissues, cotton swabs, and your lip color are usually enough for touch-ups.
Wash your hands before applying makeup, avoid sharing lip products, and keep applicators and containers clean. These steps align with the FDA’s general cosmetic-safety guidance.
Skip uncomfortable and unsafe transfer hacks
You do not need to coat your teeth with petroleum jelly, balm, oil, wax, or another cosmetic. Avoid putting hairspray, craft products, loose powder, or anything not labeled for lip use in or around your mouth.
Burning, stinging, or tingling does not mean a lipstick is setting effectively. Stop using a product if it causes an unexpected reaction. The American Academy of Dermatology recommends avoiding products that irritate already chapped lips.
Persistent cracking, bleeding, sores, swelling, or a recurring unexplained lip problem deserves guidance from an appropriate licensed clinician. Likewise, a dark area that does not wipe off a tooth, especially one that is new, changing, or painful, should not be assumed to be lipstick.
For your next application, keep it simple: use one thin coat, blot, add only the color you need, let it set, and check your smile.