
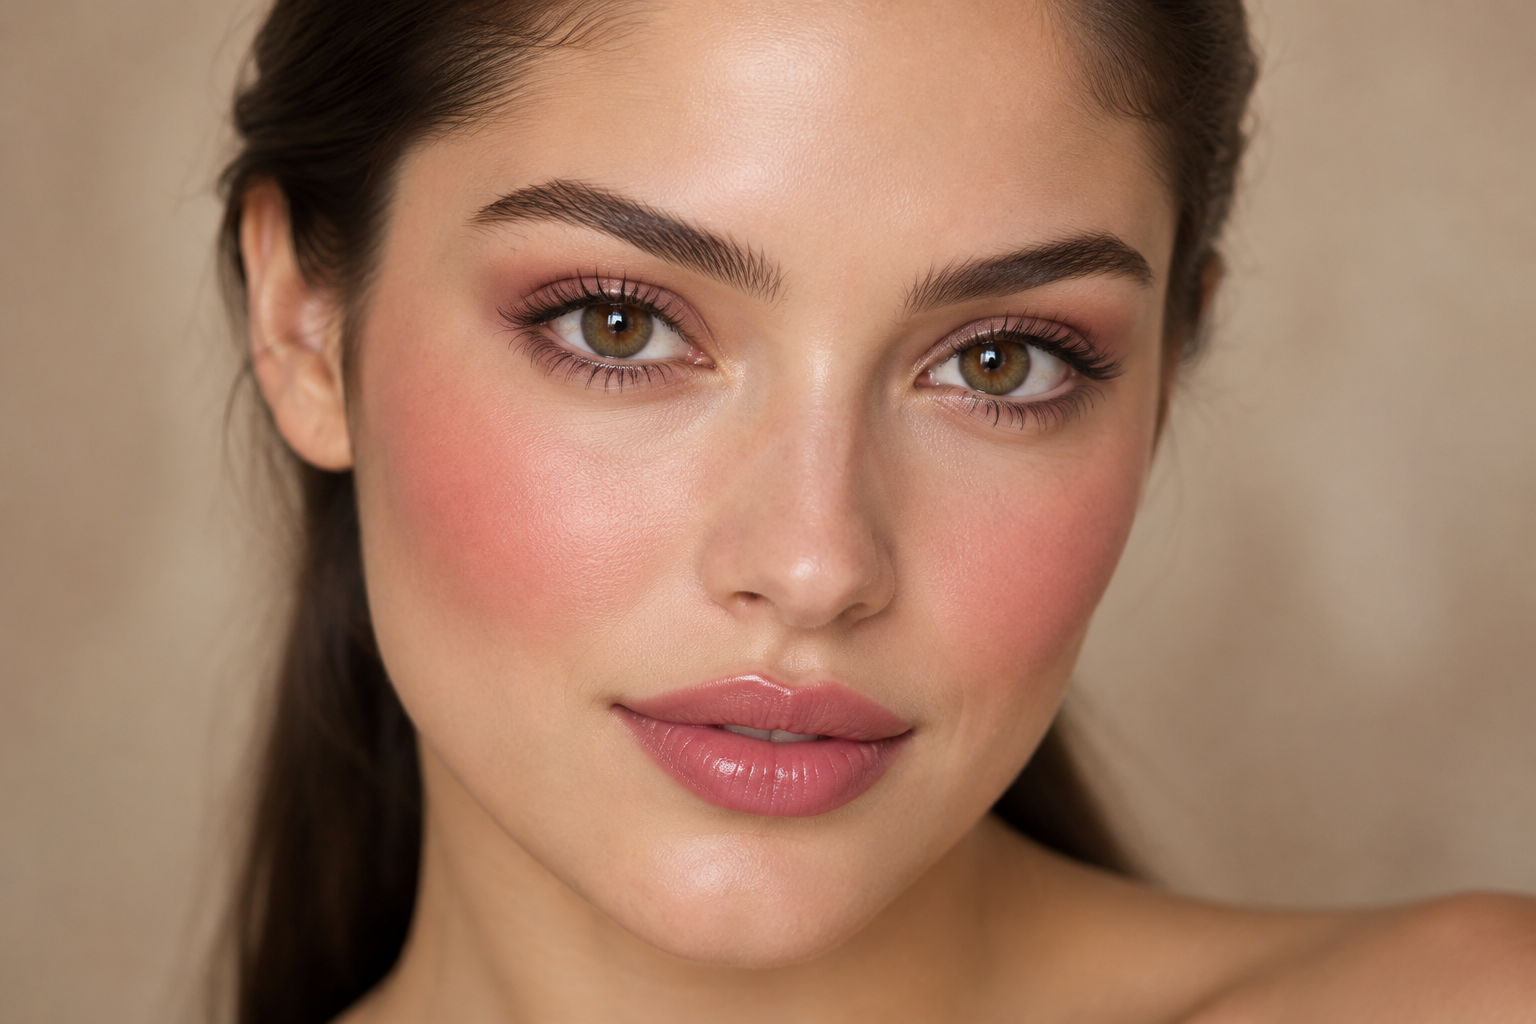
Your blush looks lovely up close, but step back from the mirror and suddenly it’s all you notice. The trick to strawberry makeup isn’t leaving everything else bare. It’s concentrating rosy color on the cheeks while keeping a little definition at the lashes, brows, and lip edge.
Start with a softly blended pink-red flush, add restrained eye definition and a sheer coordinating lip, then decide whether you need more blush. That order keeps the cheeks in charge without letting the other features disappear.
Quick answer: Make blush your strongest color, not your only visible feature. Blend the cheek edges, keep optional nose blush lighter, and finish lashes and lips before building another layer.
What makes strawberry makeup different?
Strawberry makeup centers on a rosy-red or berry-pink cheek, paired with a light-looking base, understated eyes, and softly colored lips. Unlike a broader pink makeup look, it doesn’t need pink across every feature. And unlike a glow-focused look, its main feature is color rather than shine.
Nose blush, freckles, and glossy skin are optional. You can keep your natural freckles visible, skip drawing any, or choose a satin finish instead of a dewy one. The cheek-led effect still reads clearly.
Pick a blush that stays visible after blending
You don’t need two blushes or a new makeup bag. Start with one shade that leaves a noticeable rosy tint once blended, rather than judging only the color in the pan.
- For a delicate flush: Try a sheer rose or pink-red and build gradually.
- For more color depth: Explore richer raspberry, red-rose, or berry shades, especially if lighter pinks disappear or look chalky on your complexion.
- For a warmer interpretation: A red-coral can give you that fruity flush without forcing a cool pink.
These are starting points, not undertone rules. The useful test is whether the blended color looks rosy on you and has enough depth to remain visible.
Choose texture around your base, too. Cream and liquid blush are often easier to blend before setting powder. Powder blush generally distributes more evenly over a base that isn’t sticky. Follow your formula’s directions rather than treating either order as an absolute.
Build the look in six steps
1. Make the base even where you want it
Use your usual skin tint or foundation, then add concealer only where you’d like extra coverage. “Light-looking” doesn’t have to mean sheer everywhere: you can use more coverage in selected areas while keeping the overall finish soft.
If you’re using cream or liquid blush, leave the cheeks unpowdered initially. For powder blush, lightly set any tacky patches so the first brushful doesn’t cling in one spot.
2. Place the first blush layer with your face relaxed
Look straight ahead without holding a big smile. Place a little color on the upper, fleshy part of each cheek, then soften it outward toward the cheekbone. Keeping your face relaxed lets you see where the blush will sit when you’re not smiling.
For a rounded flush, keep more color toward the front of the cheeks. For a more elongated shape, extend the blend slightly higher and outward. Either way, leave the strongest pigment on the cheek rather than spreading equal color from the nose to the hairline.
3. Blend according to the formula
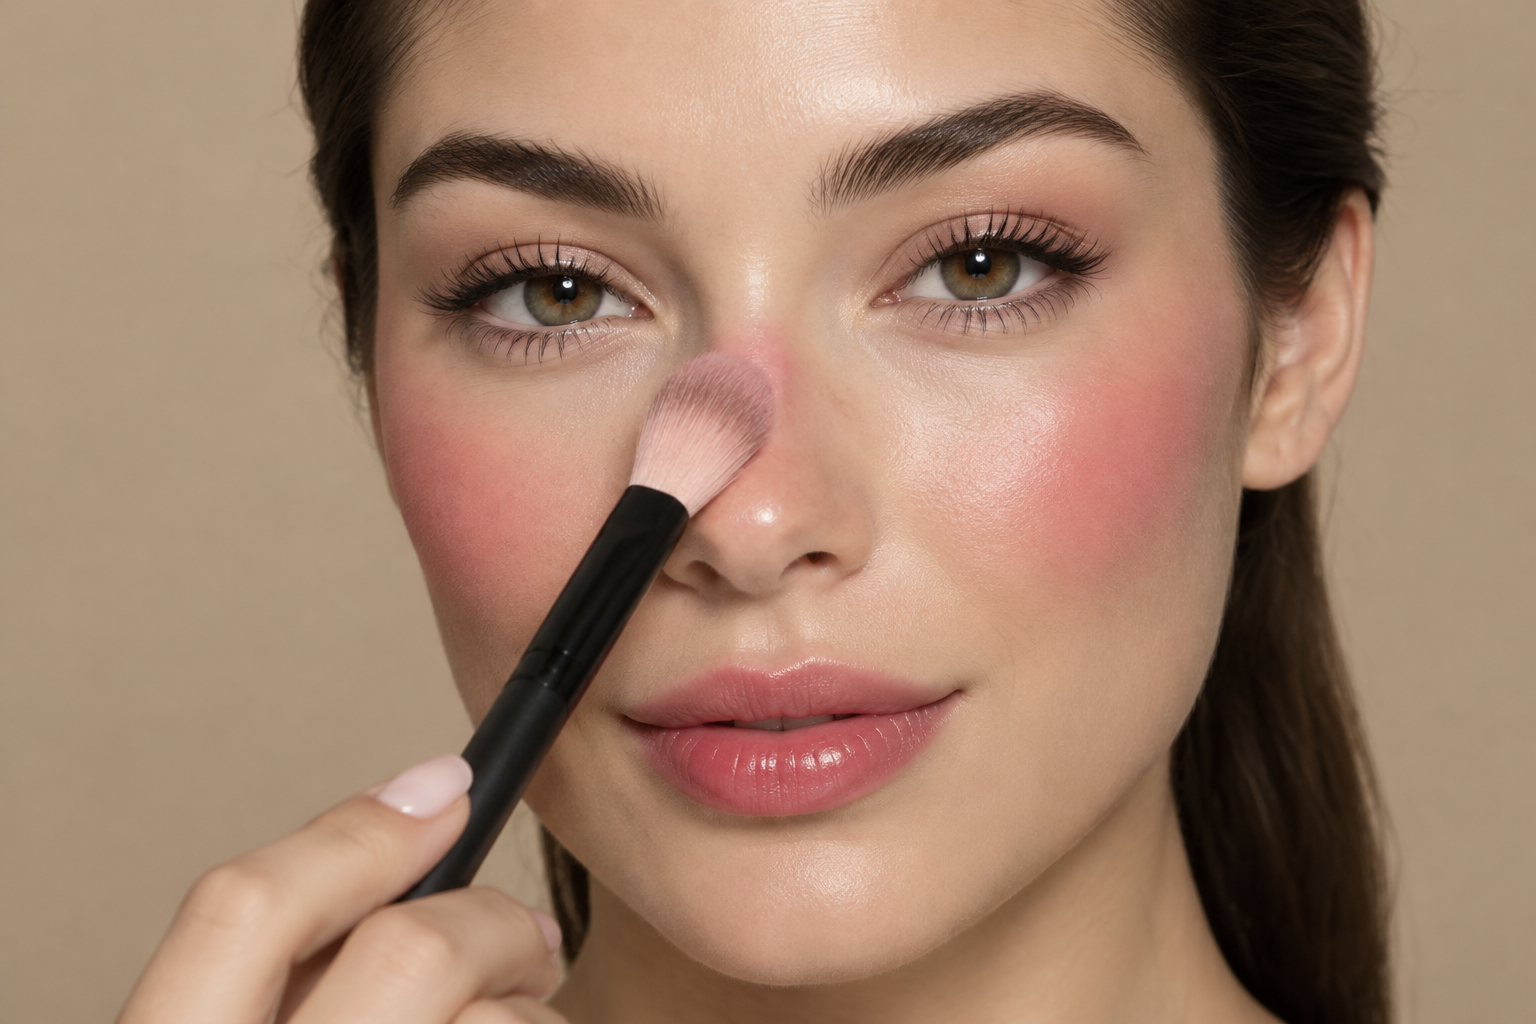
With a concentrated liquid, pick up a small amount on the back of your hand first if the label allows. Tap it onto one cheek and blend before moving to the other, especially if it sets quickly. A universal “two dots” rule isn’t much help when applicators and pigment levels vary so much.
For cream, use light fingertip taps, a sponge, or a brush to press and diffuse the color without scrubbing the base underneath.
For powder, tap excess from the brush and build with light passes. Use a clean, soft brush to blur the perimeter if you can see a distinct edge.
If you want nose blush, use only a trace of leftover color across the bridge. With a highly pigmented formula, remove excess from the tool first. Your nose doesn’t need the same saturation as your cheeks.
4. Give the eyes and brows a little structure
Brush your brows into place and fill only the areas you want to define. Then apply mascara, paying attention to the upper lashes.
If mascara alone feels too subtle, draw a fine line immediately above the outer upper lashes. Keep it narrow, then soften the edge with an appropriate brush if your formula allows. Brown gives gentler contrast; black can be the better choice when you want more visible definition.
A neutral eyeshadow is optional. Don’t assume your cheek blush can double as shadow: the FDA advises using only cosmetics intended for the eye area. Stop an eye product if it irritates you, and seek medical advice if irritation persists.
5. Echo the cheeks with a softer lip
Choose a lip-safe sheer rose, pink-red, or berry product that relates to the blush without matching it exactly. A tinted balm, gloss, or lightly applied lipstick can all fit.
If the color leaves your lip outline indistinct, lightly trace your natural lip edge with a compatible liner, then soften it inward before adding the sheer color. You’re creating a quiet boundary, not a separate bold lip look.
6. Assess the whole face before adding more
Move away from the close-up mirror and check your makeup straight on in ordinary daylight. Finish the lashes and lips before deciding the cheeks need another layer.
Let a setting blush settle according to its directions. Add more only if you want extra color, then powder areas that need shine control rather than automatically mattifying the whole face. Highlighter is optional.
Adjust the balance without starting over
The blush feels overpowering: Use a clean brush or sponge to soften its outer edges. If that’s not enough, lightly press a little of your base over the perimeter, keeping the rosy center.
The eyes seem lost: Try another light coat of mascara or the fine upper-lash line before reaching for darker shadow.
The color looks patchy: Pause instead of adding pigment everywhere. Gently blend the uneven boundary; more blush can make a concentrated patch darker.
For touch-ups, keep your lip color, a clean blending tool, and your usual shine-control option nearby. Refresh the lips and soften any blush edges first. Often, the cheeks already have enough color; the rest of the face just needs to catch up.
