
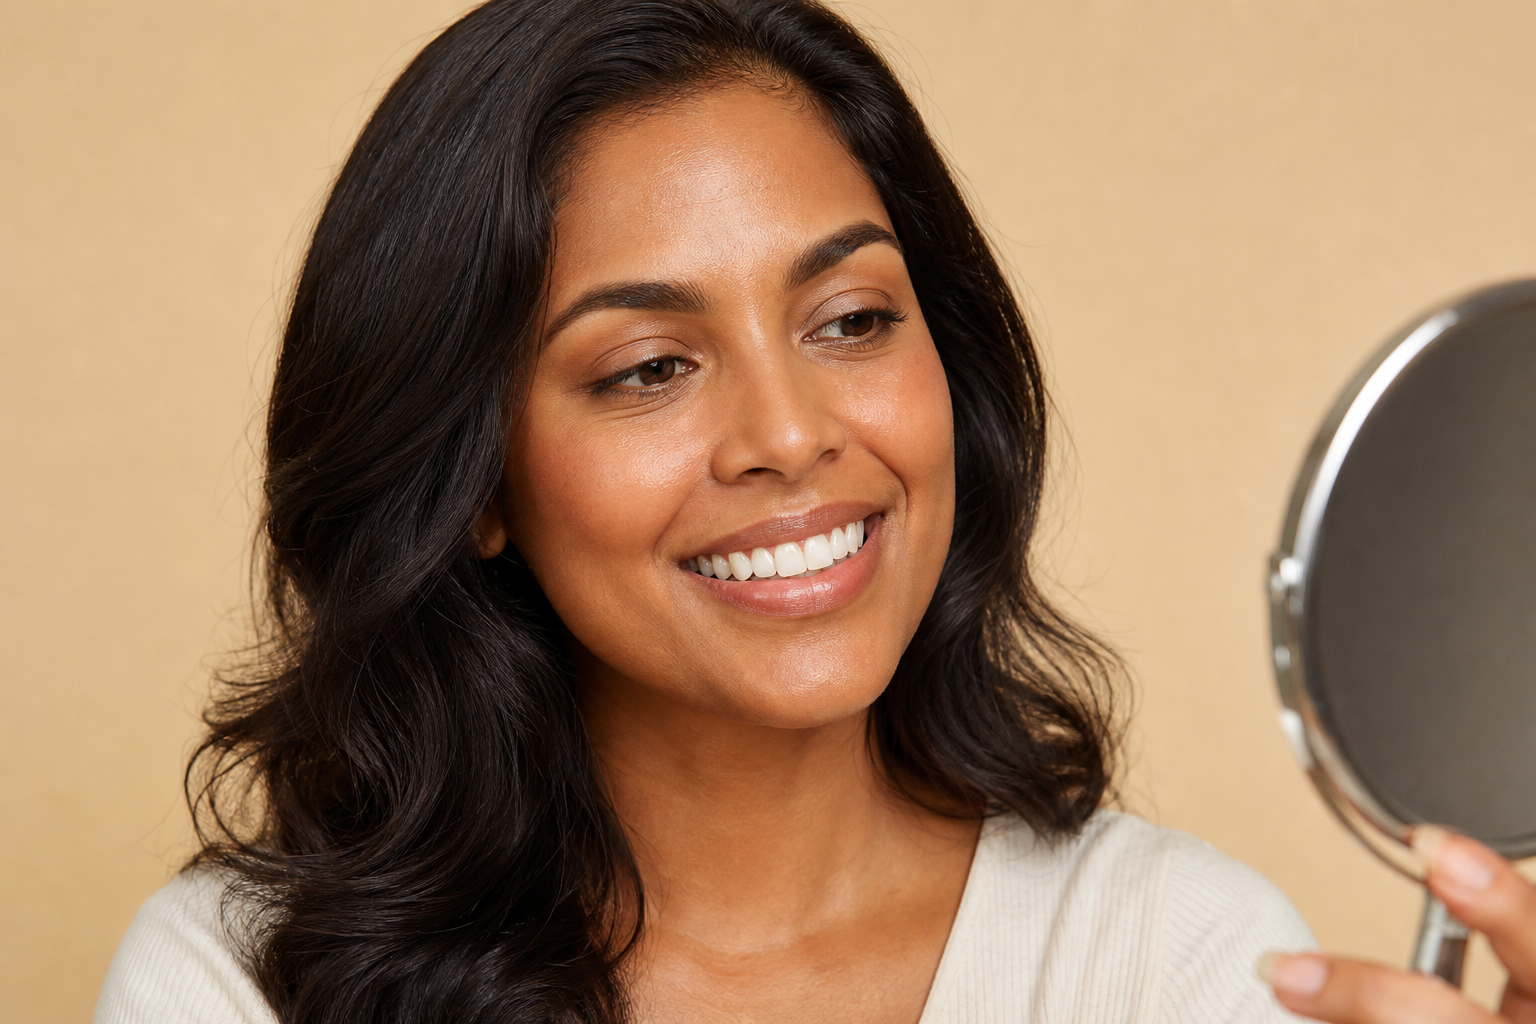
A teeth whitening before-and-after photo can show that one person’s smile appeared lighter at two photographed moments. It cannot prove an exact shade change, guarantee that the color lasted, or predict what the same treatment will do for you.
Like any dental before and after image, a whitening comparison needs context. The popular teeth whitening aesthetic may favor extremely bright results, but natural white teeth vary in shade and do not need to match an edited reference image. If you are researching how to get whiter teeth or comparing the best teeth whitening products, use consistent photos to evaluate your own result rather than borrowing someone else’s benchmark.
Even an honest comparison is shaped by lighting, camera processing, timing, starting tooth color, stain type, treatment method, and existing dental work. The most useful photos document progress under consistent conditions rather than promise a particular final shade.
Quick answer: Treat whitening photos as individual examples, not forecasts. A fair comparison uses the same lighting, angle, distance, camera settings, surrounding colors, and timing.
What a whitening comparison can actually prove
A carefully made comparison may show a genuine change in the appearance of someone’s natural teeth. However, a photograph cannot tell you whether that change came from peroxide bleaching, removal of external stains, a professional cleaning, new restorations, or a combination of factors unless the process is explained.
These are meaningfully different outcomes. Stain-removing toothpaste and professional cleaning can reduce some discoloration on the tooth surface. Peroxide bleaching changes the appearance of color within natural teeth. The American Dental Association’s whitening overview explains this distinction and notes that treatment planning depends on factors such as oral health, restorations, and the cause of discoloration.
A photo also captures one point in time. It does not establish that the result is permanent or that another person will reach the same color.
How photos can make results look more dramatic
Tooth color is difficult to compare when the photography changes. Research on dental photography has found that lighting modifiers can create perceptible differences in recorded tooth color, while calibrated exposure and white balance improve accuracy.
Look beyond the teeth when examining a before-and-after image:
- Lighting: A shadowed “before” and brightly lit “after” exaggerate contrast.
- Exposure: If the entire second photo looks brighter, tooth brightness may be partly photographic.
- White balance: Cooler processing can neutralize warm tones and make teeth appear whiter.
- Flash: Direct flash creates a different appearance from soft indoor or natural light.
- Angle and distance: Reflections and shadows change when the camera moves.
- Lip color and background: A different lipstick, outfit, or backdrop can alter perceived contrast.
- Filters and retouching: Smoothing, brightening, and color adjustments may affect teeth along with skin.
None of these differences automatically proves deliberate manipulation. They simply mean the two photos are not an objective measurement.
Timing matters too. Teeth can temporarily look different when dehydrated, including after isolation during some dental procedures. A clinical study on tooth dehydration found that reliable final color assessment should happen after rehydration. That does not mean every immediate result is false, but an immediate photo may not show the settled appearance.
Why another person’s result cannot predict yours
Whitening results vary because the starting conditions vary. Two people using the same format and following the same directions may not finish with the same shade.
Important differences include:
- Starting tooth color and natural variation between teeth
- Whether discoloration is mainly on the surface or within the tooth
- The cause and history of the discoloration
- Enamel translucency and the color beneath it
- The whitening format, active ingredient, concentration, and application schedule
- How consistently the person follows the label
- Previous whitening and later exposure to staining foods, drinks, or habits
The ADA’s consumer guidance on teeth whitening also notes that different kinds of discoloration may respond differently. An online photo cannot diagnose your discoloration or establish how it will respond.
Realistic whitening means a possible change within the range of your natural teeth. It does not mean reaching the paper-white color created by overexposure, digital editing, veneers, or someone else’s tooth structure.
Restorations can change the final comparison
Crowns, veneers, implants, fillings, and bonding do not bleach like natural teeth. If nearby natural teeth become lighter, existing dental work may remain the same color and become more noticeable.
That means a successful change in natural tooth color can still produce an uneven-looking result. Applying more whitener will not make a restoration catch up.
If you have visible or extensive dental work, speak with a licensed dentist before whitening. You may need help evaluating likely color differences and planning the order of cosmetic treatment.
Seven checks for teeth whitening before-and-after photos
Before treating a comparison as useful evidence, ask:
- Were both photos taken with the same light source?
- Do the camera angle, distance, crop, and exposure match?
- Are the skin tone, lips, gums, clothing, and background consistent?
- Were filters, editing, or automatic beauty settings disabled?
- Is the timing of the after photo disclosed?
- Does the description distinguish bleaching from cleaning, stain removal, or restorative work?
- If a shade change is claimed, is the measurement method explained?
A phone photo, visual shade guide, and calibrated dental instrument are not interchangeable measurements. Testimonials remain individual examples even when the images are carefully standardized.
How to document your own result more fairly
You do not need professional equipment to create a more consistent personal record:
- Take your baseline photo before the first application.
- Use the same phone, rear camera, room, light source, distance, and angle each time.
- Turn off beauty filters and avoid changing exposure, warmth, contrast, or saturation.
- Use the same background and similar clothing.
- Wear the same lip product in both photos, or no lip color in either.
- Record when each image was taken rather than relying only on an immediate post-treatment photo.
- Keep the original files and note any sensitivity or irritation alongside the visual result.
Follow the product label rather than extending contact time or stacking products to recreate someone else’s photo.
Keep appearance, comfort, and health separate
Whitening is an optional cosmetic choice. Tooth shade is not a measure of cleanliness, health, attractiveness, or worth, and a bright photo cannot show whether teeth and gums are healthy.
Temporary sensitivity and gum irritation are possible whitening side effects, not evidence that a treatment is working. Stop using the product, follow its label, and seek professional advice if you experience burning, significant irritation, severe sensitivity, or symptoms that persist.
Consult a licensed dentist before whitening if you have pain, a dark or changing tooth, untreated decay or gum concerns, cracked teeth, extensive restorations, persistent sensitivity, uncertain discoloration, or pregnancy-related questions. Your most useful next step is a consistent baseline photo plus an honest check of your dental work and comfort, not a promise borrowed from somebody else’s “after.”
