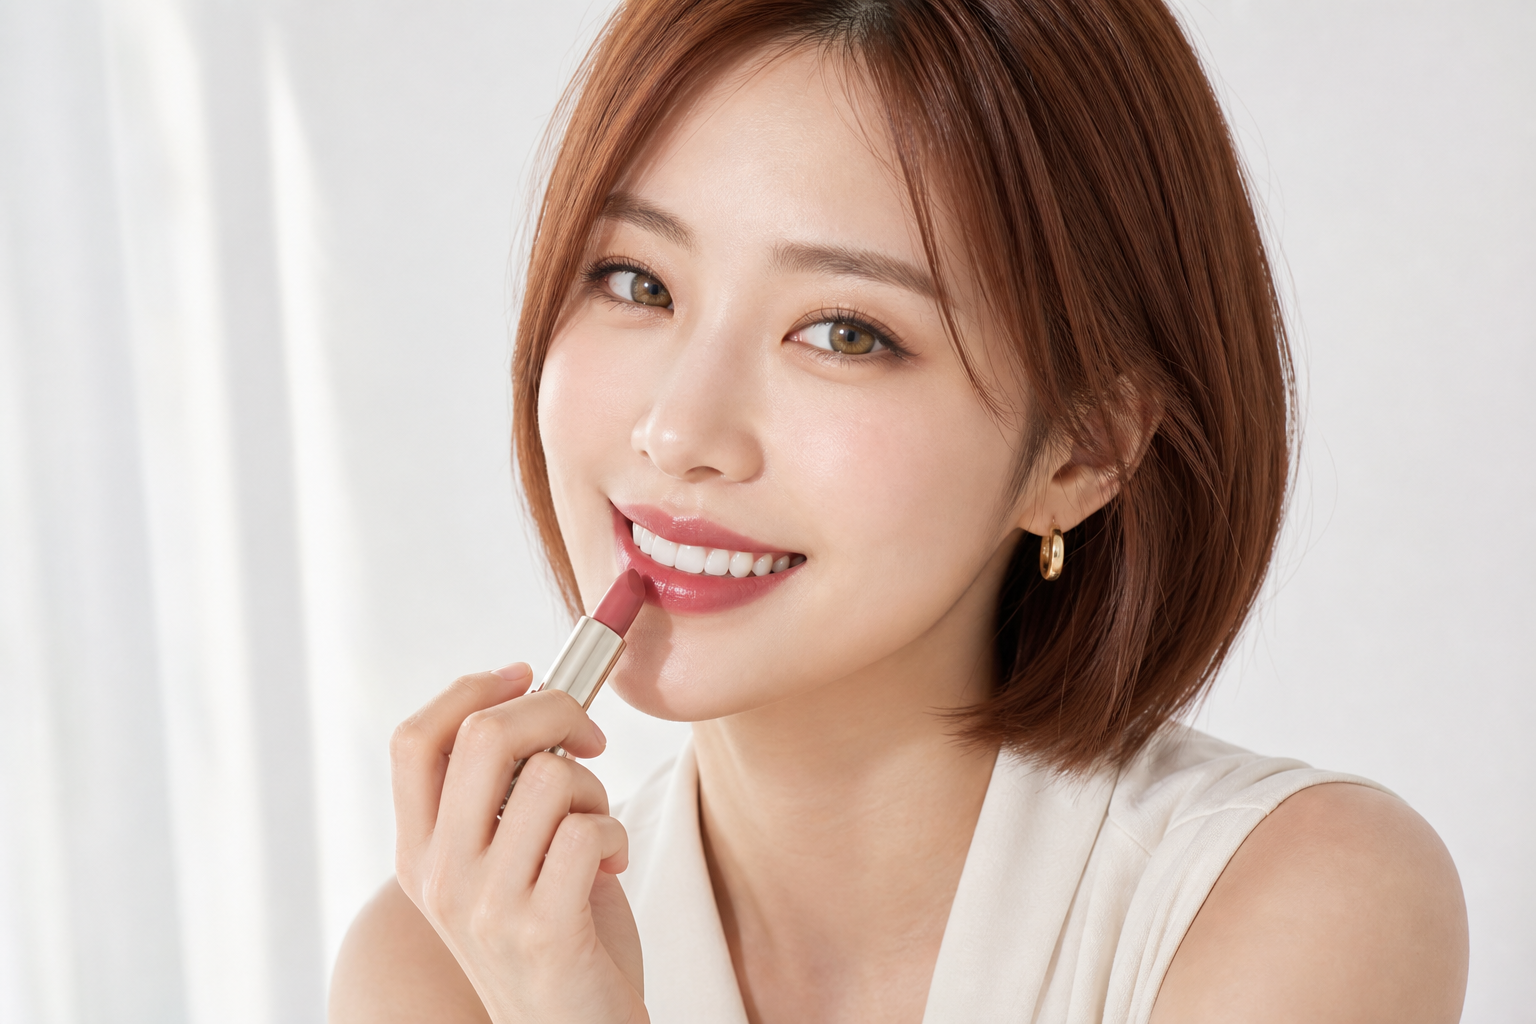
If you are wondering how to make your teeth white fast before an event or photos, focus on appearance rather than an unrealistic last-minute shade change. Normal cleaning can remove visible debris, while lip color, hydration, lighting, and camera settings can make your smile look brighter within hours. None of these methods bleaches teeth or changes their underlying color.
Quick answer: Complete your usual oral-care routine, avoid adding fresh dark residue, prepare your lips, test a higher-contrast lip color, and use neutral lighting. Do not stack whitening treatments or scrub harder in pursuit of faster results.
How to make your teeth look brighter today
- Complete one normal two-minute brushing session
Brush with your familiar fluoride toothpaste, a soft-bristled toothbrush, gentle pressure, and your usual technique. The American Dental Association recommends brushing twice daily for two minutes, but brushing repeatedly or aggressively before an event is not a better shortcut.
This step can clear away food residue and plaque. It cannot expose a hidden layer of white enamel or guarantee a visible shade change.
- Clean between the visible teeth
Floss or use your regular interdental cleaner to remove trapped food that brushing may miss. Move gently rather than snapping floss into your gums or forcing an unfamiliar tool between tight spaces.
According to MouthHealthy’s whitening guidance, brushing and cleaning between teeth are foundations of a bright-looking smile. Think of this as ordinary cleanup, not bleaching.
- Rinse away recent residue with plain water
Swish with water after coffee, tea, red wine, berries, dark sauces, or sticky foods. Water may wash away some recent residue, but it will not reverse established stains or alter natural tooth color.
Skip the temptation to improvise with acidic ingredients or abrasive powders. Plain water is the low-drama option when you only need a quick refresh.
- Switch to water until the event or photos
You do not need to give up your favorite drinks permanently. However, switching to water for the remaining few hours avoids repeatedly adding dark residue right before you want your smile to look its freshest.
Hydration can also be more comfortable than arriving with a dry mouth, although it is not a whitening treatment.
- Consider a professional cleaning only if one is already due
If you are due for a dental visit and an appointment is available, a professional cleaning can remove plaque, calculus, and some external stains. It is not an on-demand bleaching service, and it cannot guarantee lighter underlying tooth color.
Do not attempt to scrape calculus or stubborn deposits at home. Those concerns belong with a licensed dental professional.
- Apply a bland, non-irritating lip balm
A comfortable, smoother-looking lip surface creates a more polished frame around your smile. Apply a fragrance-free balm or ointment, allow it to absorb, and blot excess before adding lipstick.
The American Academy of Dermatology advises avoiding lip products that burn, sting, or tingle, since those sensations can signal irritation rather than effectiveness. Skip aggressive last-minute scrubs if your lips are already chapped.
- Try a higher-contrast lip color
Red, berry, violet, and brighter pink shades may make teeth appear lighter through contrast. A small study on lipstick and perceived tooth color found that observers generally rated several saturated shades as more brightening than nude lipstick.
Lipstick does not whiten teeth, and no single color works for everyone. Your natural lip color, tooth shade, makeup preferences, and lighting all affect the result.
- Test two lip shades in the actual event lighting
Instead of relying on a universal “blue-red” rule, compare two shades on your own face. Check them in a mirror and on your phone using the lighting you expect at the venue.
A color that looks brightening near a window might behave differently under warm restaurant bulbs. Choose the one that gives you the balance and contrast you prefer, regardless of its label or supposed undertone.
- Do a final smile check
Look for food caught between teeth, lipstick transfer, or an uneven lip edge. If lipstick tends to move onto your teeth, blot it and recheck rather than adding more layers.
This simple inspection often matters more in close-up photos than chasing an unrealistic ultra-white tooth shade.
- Use neutral light and accurate white balance
Face soft window light or another even, neutral source for photos. Avoid mixing strongly warm and cool lights, which can create yellow, green, or blue casts.
Camera white balance changes how colors are recorded, as Nikon’s white-balance guide explains. Correct an obvious overall cast if needed, but do not selectively paint teeth white or use a filter that misrepresents the result.
What not to do for a last-minute result
Do not stack strips, gels, rinses, or light devices, extend contact time, or repeat a treatment outside its label directions. Peroxide bleaching can cause tooth sensitivity and gum irritation, and doing more is not proof that it will work better.
Also skip charcoal, lemon, vinegar, fruit mixtures, household bleach, oil pulling, and improvised abrasive powders. The ADA distinguishes mechanical surface-stain removal from bleaching and notes concerns or inadequate evidence around popular DIY methods.
When discoloration needs professional attention
Crowns, veneers, implants, fillings, and bonding do not whiten like natural teeth, so future bleaching can create an uneven match. Consult a dentist before whitening if you have extensive restorations, persistent sensitivity, untreated dental problems, pregnancy-related questions, or uncertainty about a discoloration. If a whitening product causes burning, significant gum irritation, or concerning symptoms, stop using it, follow the product label, and seek professional advice as appropriate.
A single tooth that is darkening, painful, cracked, injured, or changing color is not a same-day beauty-prep issue to conceal. Seek dental advice instead. Persistent lip cracking, bleeding, sores, swelling, or recurring unexplained irritation also deserves appropriate clinical care.
For today, choose one normal cleaning step, one lip choice, and one lighting check. A brighter-looking presentation does not require treating your natural tooth shade as a flaw.