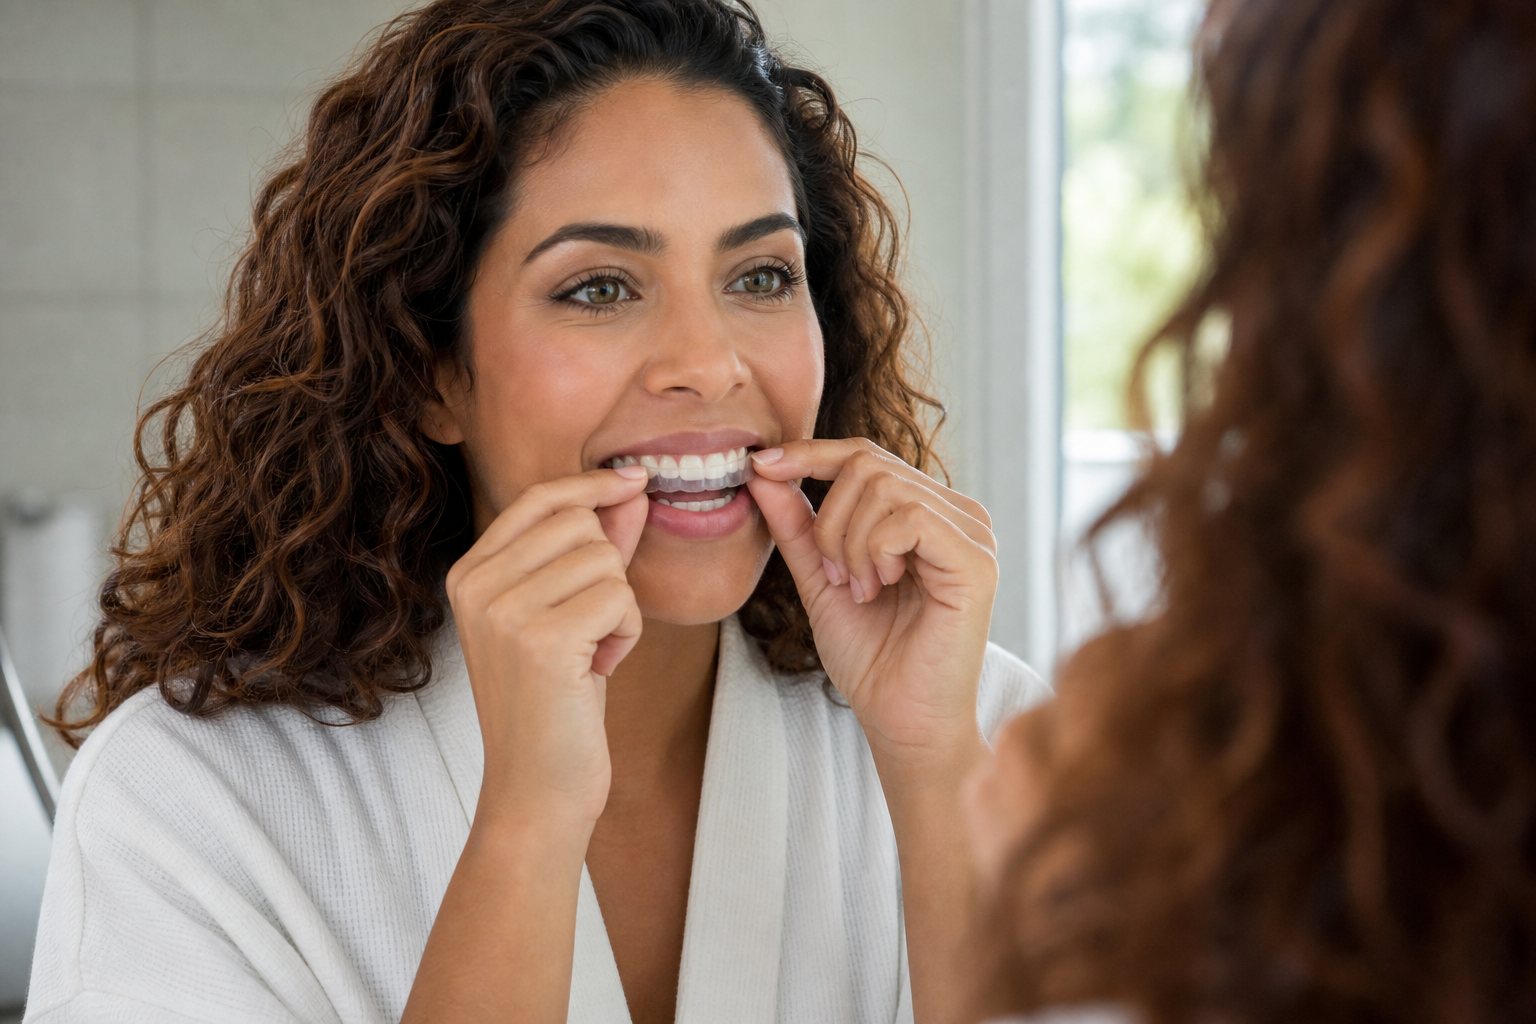
If your teeth whitening strips seem to be doing nothing, do not compensate with extra applications or longer wear. First check the type of discoloration, strip contact, coverage, routine, comparison method, restorations, and product condition. These factors can limit or disguise results even when you have used the strips correctly.
Whitening is an optional cosmetic choice, and natural tooth color is not a measure of cleanliness or health.
Quick answer: Follow the directions for your exact product. Do not double applications, extend the wear time, sleep in strips, or stack multiple whitening products to chase a faster result.
1. Check the type of discoloration
Most teeth whitening strips use peroxide to bleach responsive natural tooth structure. That is different from removing external deposits with a cleaning or stain-removing toothpaste.
The American Dental Association explains that intrinsic and extrinsic discoloration can respond differently. Natural tooth shade, surface staining, medication-related changes, and discoloration following an injury are not interchangeable.
Color alone cannot reliably tell you what caused a stain. Avoid assuming that every yellow-toned tooth will whiten easily or that a brown or gray area can never change. If the discoloration is unusual, newly appearing, or limited to one tooth, get a professional assessment rather than experimenting with more product.
2. Check where the gel is making contact
A whitening strip can only apply its gel where it maintains contact with the tooth. Watch for lifting edges, wrinkles, sliding, or sections that repeatedly fold onto the gums.
Use the placement method printed on your product’s package. Directions and wear times vary, so a tutorial for another strip may not apply to yours. Do not cut, reshape, or position strips outside their intended use to reach missed areas.
More gum contact is not a sign of better whitening. It can contribute to irritation.
3. Check the fit across your visible teeth
Standard strips may not cover every tooth that shows when you smile. They can also sit unevenly around rotated, crowded, or differently shaped teeth.
That does not mean there is something wrong with your teeth. It is a limitation of a flexible, one-size delivery format. One section may appear brighter because it received steadier contact, while an uncovered edge or farther-back tooth remains unchanged.
If fit is consistently poor, applying more of the same strips may repeat the same uneven coverage.
4. Check whether you followed the labeled routine
Retrieve the box or online directions for the exact product and confirm:
- You used the correct upper and lower strips
- You followed the stated frequency
- You kept them on only for the labeled wear time
- You completed the instructed course without frequent missed applications
Missed sessions may mean you have not completed the labeled course yet, but do not “catch up” by doubling the next application. Longer or more frequent exposure can increase sensitivity and gum discomfort without addressing poor fit, resistant discoloration, or dental work.
5. Check the timeline and your comparison method
Whitening is not guaranteed to look dramatic after one application. The ADA’s consumer resource MouthHealthy notes that at-home whitening may take days to weeks, depending on the method. Use the assessment point provided by your product rather than a universal online timeline.
For a fair comparison, take an unfiltered photo in the same room, lighting, camera position, and approximate time of day as your starting photo. Bathroom lighting, automatic camera processing, reflections, and lipstick contrast can all change how tooth color appears.
Do not continue through pain or irritation simply because the labeled course is incomplete.
6. Check for restorations in your smile line
Crowns, veneers, implants, fillings, and bonding do not whiten like natural teeth. If a restoration is visible, it may remain the same color while nearby enamel changes.
This can make progress look patchy or create a mismatch that additional strips will not correct. In some cases, the unchanged restoration may even make whitened natural teeth look less even overall.
If you have extensive or prominent dental work, ask a dentist how whitening might affect the color balance before continuing.
7. Check the expiration date and storage
Look for the printed expiration date, intact individual pouch seals, and the manufacturer’s storage directions. Heat, direct sunlight, damaged packaging, or age may affect a product’s condition or performance.
Do not assume an expired strip is automatically safe, dangerous, or completely inactive. Guidance can vary by manufacturer. If the date is unclear, the pouch is damaged, or the strips were stored outside the stated conditions, contact the manufacturer instead of applying extra strips.
8. Check whether it is time to ask a dentist
Stop troubleshooting at home and consult a licensed dentist if you have:
- A dark, pink, gray, painful, or changing single tooth
- Untreated cavities, gum problems, cracks, or loose dental work
- Significant or persistent sensitivity
- Burning, sores, swelling, or pronounced gum irritation
- Discoloration that followed an injury
- Extensive restorations on visible teeth
- Questions about whitening during pregnancy
A single discolored tooth can have multiple causes that cannot be identified from appearance alone. Pain and changing discoloration are health concerns, not ordinary shade dissatisfaction.
If you completed the labeled course correctly and saw no useful change, a dentist can help identify whether the cause is likely to respond to bleaching and discuss appropriate options. For now, check the original package, expiration date, and your starting photo before deciding what comes next.