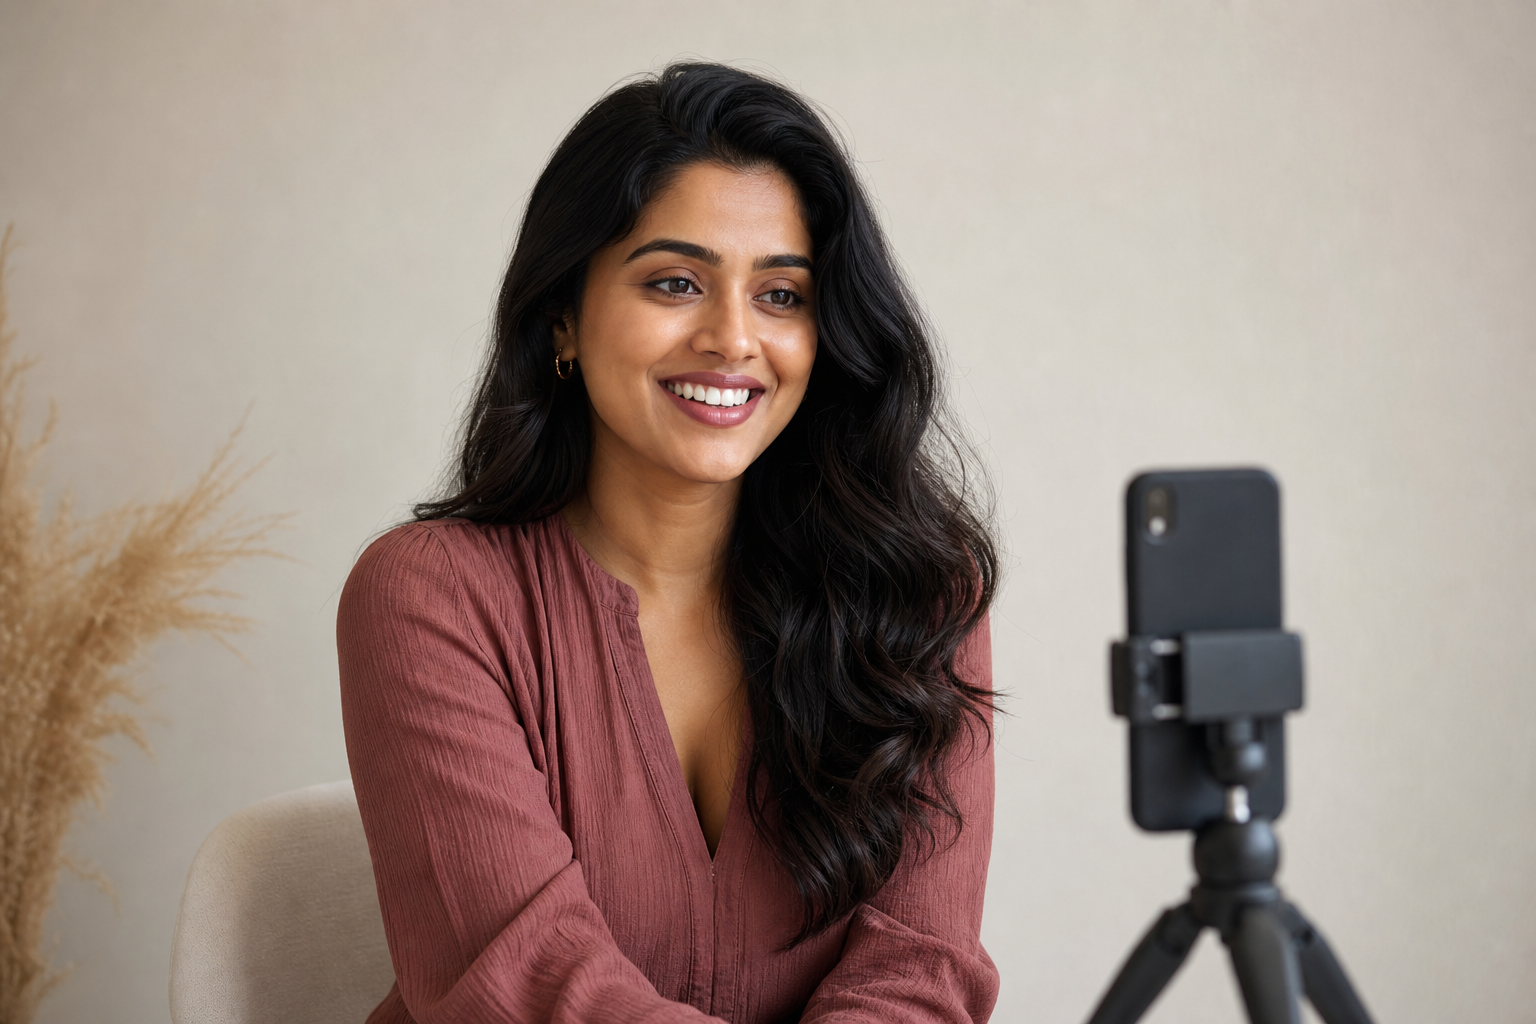
For an honest teeth whitening before and after comparison, keep everything you can control the same: camera, lighting, distance, angle, expression, lip color, settings, and timing. Take the first photo before treatment, record your setup, and reproduce it for the follow-up. Do not digitally whiten your teeth or selectively brighten the after image.
Quick answer: Lock in one repeatable photo setup, wait a consistent interval after whitening, apply only matching edits, and label both images clearly.
Why Ordinary Before-and-After Photos Can Mislead
Teeth can appear lighter or darker when you move closer to a window, switch on a warm ceiling light, change your head angle, or let the phone adjust its white balance. Even a wider smile can expose more light to the teeth.
Dental photography guidance has long emphasized controlling camera position, subject distance, and head position when documenting changes. Research also shows that lighting conditions can affect photographed tooth color.
Lipstick introduces another variable. A study of perceived tooth color found that surrounding lip color influenced how white teeth appeared. Lipstick can change contrast, but it does not whiten teeth.
Use This Teeth-Whitening Before-and-After Photo Setup
- Choose one location and light source.
Pick a place you can reproduce later. A consistent indoor light may be easier to repeat than daylight, which changes with weather and time. Turn off competing lights so window light and warm ceiling light do not mix.
- Secure your phone at mouth height.
Use a tripod, phone stand, or stable shelf. Mark the phone position and where you sit or stand with removable tape. Avoid handheld photos because small changes in distance and tilt can alter the result.
- Record the camera details.
Note whether you used the front or rear camera, the lens or zoom setting, camera mode, approximate distance, light source, and time of day. Clean the lens before each session.
- Match your position and expression.
Keep your chin, head angle, mouth opening, smile tension, and amount of visible teeth consistent. A relaxed, repeatable expression is more useful than stretching for the widest possible smile.
- Control automatic camera adjustments.
Turn off filters, beauty modes, portrait effects, and automatic retouching. Lock focus and exposure if your phone allows it. Otherwise, use the same camera app and tap the same facial area for focus and exposure each time.
- Keep your lips consistent.
Bare lips in both sessions provide the simplest control. If you prefer lipstick, use the exact same product, coverage, and finish in both photos. You can also take a separate, clearly labeled lifestyle comparison with your usual lipstick.
- Take several untouched frames.
Capture a few photos without moving the setup. Choose the clearest frame from each session, not whichever image makes the teeth look brightest. An optional neutral gray card in one reference frame may help you spot color shifts, but it does not turn a phone into a clinical shade-measuring device.
- Save your setup notes.
Keep the original files and a short checklist with the photos. Recreating the setup from memory several days or weeks later is much harder than following written details.
Avoid an Immediate “Final Result” Photo
Teeth may look temporarily lighter when they are dehydrated. A clinical study found that dehydration produced a temporary color change and highlighted the importance of allowing rehydration when assessing bleaching results.
You can photograph the immediate appearance if you label it accurately, but do not present it as the settled final shade. A practical option is to take another photo at least 24 hours after the last whitening session and state the interval. Stabilization can vary, so timing is context rather than a guarantee.
Keep Editing Equal and Minimal
Applying the same crop and rotation to both photos is reasonable. Selectively changing exposure, warmth, saturation, highlights, contrast, lip color, skin tone, or tooth color is not.
Do not cool the after photo, darken the lips, warm the before photo, or use a whitening brush. If one image requires major color correction, retaking it under the documented setup creates a more credible comparison.
If the photos support a sponsored post, affiliate endorsement, or advertisement, disclose that relationship. The Federal Trade Commission explains that images can communicate implied product claims, even when those claims are not written explicitly.
Label What the Photos Actually Show
Add a simple note beneath the pair:
- Date and treatment stage
- Time since the last whitening session
- Whitening method used as directed
- “Unretouched except for matching crop and rotation”
- Any difference in lighting or setup that could not be avoided
The images are a personal visual record, not objective proof of an exact shade change or a result everyone can expect.
Remember What a Photo Cannot Tell You
Whitening is cosmetic. Lighter-looking teeth do not prove that teeth or gums are healthier, and naturally off-white teeth are not evidence of poor hygiene.
Whitening toothpaste primarily removes external surface stains, while peroxide bleaching changes the color of natural teeth through a different process. According to the American Dental Association’s whitening overview, crowns, veneers, implants, fillings, and bonding do not whiten like natural teeth. A mismatch may become more noticeable.
A photo also cannot diagnose discoloration or establish product safety. Speak with a licensed dentist before whitening if you have pain, a single dark or changing tooth, untreated dental problems, extensive restorations, persistent sensitivity, or pregnancy-related questions. Stop using a product and follow its label or seek professional advice if you experience burning, significant irritation, severe pain, or other concerning symptoms.