
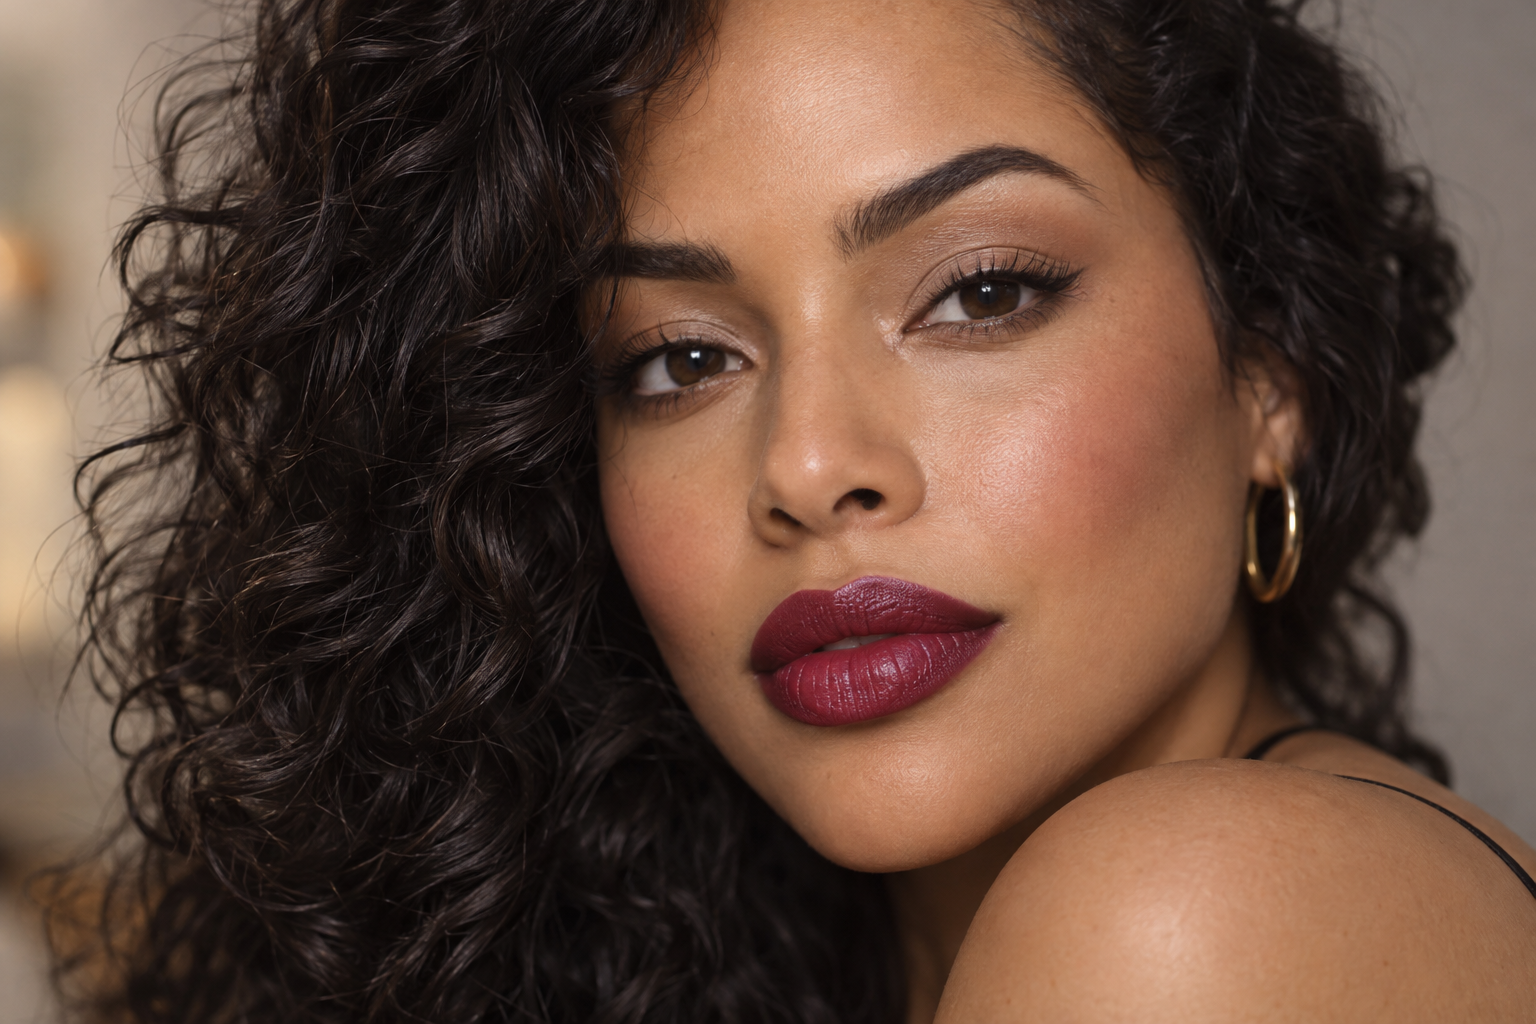
It’s easy to own several useful products and still end up with the same makeup every day. The trick isn’t necessarily another palette. It’s deciding where the color gets to take center stage.
These three simple makeup looks use the same five products: a complexion product, lip-and-cheek color, one shadow, eyeliner, and mascara. You’ll create a fresh cheek flush, soft smoky eyes, and a richer lip by changing placement and intensity, not unpacking a second makeup bag.
Quick answer: For a fresh look, emphasize cheeks and lightly tint lips. For smoky definition, concentrate depth near the upper lashes. For a lip-focused look, apply fuller lip color and keep eyes quiet.
Choose five products that give you room to play
Start with what you own. This kit is a practical setup for these looks, not a rule about how many products anyone should use.
- One complexion product: Choose concealer for selective coverage or a light base for broader coverage. You don’t need both.
- One buildable lip-and-cheek color: Check that it’s explicitly intended for both areas. A cream formula that gives a light cheek tint and a richer lip application makes the biggest distinction between looks.
- One neutral eye shadow: Pick a mid-depth matte or soft satin shade that shows on your skin. Neutral doesn’t have to mean pale beige; taupe, warm brown, or deeper cocoa may suit your preferred effect.
- One blendable eyeliner pencil: Choose an eye formula deeper than your shadow. A pencil designed for crisp, fixed lines may be less useful for the smoky look.
- One mascara: Use your usual formula according to its directions.
Count tools separately: a small mirror, a compact eye blending or smudging brush, and a sharpener if your pencil needs one. Clean fingertips can handle complexion and cream-color placement where the product directions allow.
A sheer lip-and-cheek formula can still work, but extra layers may never become opaque. Aim for a noticeably richer tint rather than expecting it to behave like a full-coverage lipstick.
Keep the complexion simple for all three looks
Before choosing your focal point, apply your usual skin care and let it settle as directed. Keep the complexion step consistent so the color placement does the work.
With concealer, tap it only where you want coverage, then soften the perimeter. With a light base, spread a light layer and blend around the hairline and jaw. Neither option needs to erase visible skin texture.
If powder or brow makeup is already part of your routine, you can keep it. None of these looks depends on adding it, and a matte finish works just as well as a dewy one.
Look 1: A fresh flush with softly tinted lips
The defining detail: Cheek color is the most noticeable part of the look. Eyes stay understated, and lips carry just a little of the same shade.
This is the option to choose when you want visible color without much eye definition. The difference comes from giving the cheeks more attention than the lips, not making everything equally rosy.
- Place the cheek color first. Press a small amount onto the fuller part of each cheek, leaving some space beside your nose. Blend outward toward the cheekbone rather than spreading it across the whole side of your face.
- Build where you want the flush. Add another light layer to the center of that placement if needed, then soften its edges. Check with your face relaxed; smiling throughout application can make it harder to judge where the color sits at rest.
- Keep the lids quiet. Leave them bare or sweep on a very sheer layer of your single shadow. Skip eyeliner so this doesn’t turn into the smoky look with extra blush.
- Finish lightly. Apply mascara as you normally would, then dab a little lip-and-cheek color onto your lips. Press your lips together gently to distribute it, following the formula’s directions.
If the cheek color looks patchy, try pressing rather than repeatedly rubbing, especially over a base. Start lightly: it’s easier to build a flush than to blend away a heavy application.
Look 2: Soft smoky eyes without a complicated wing
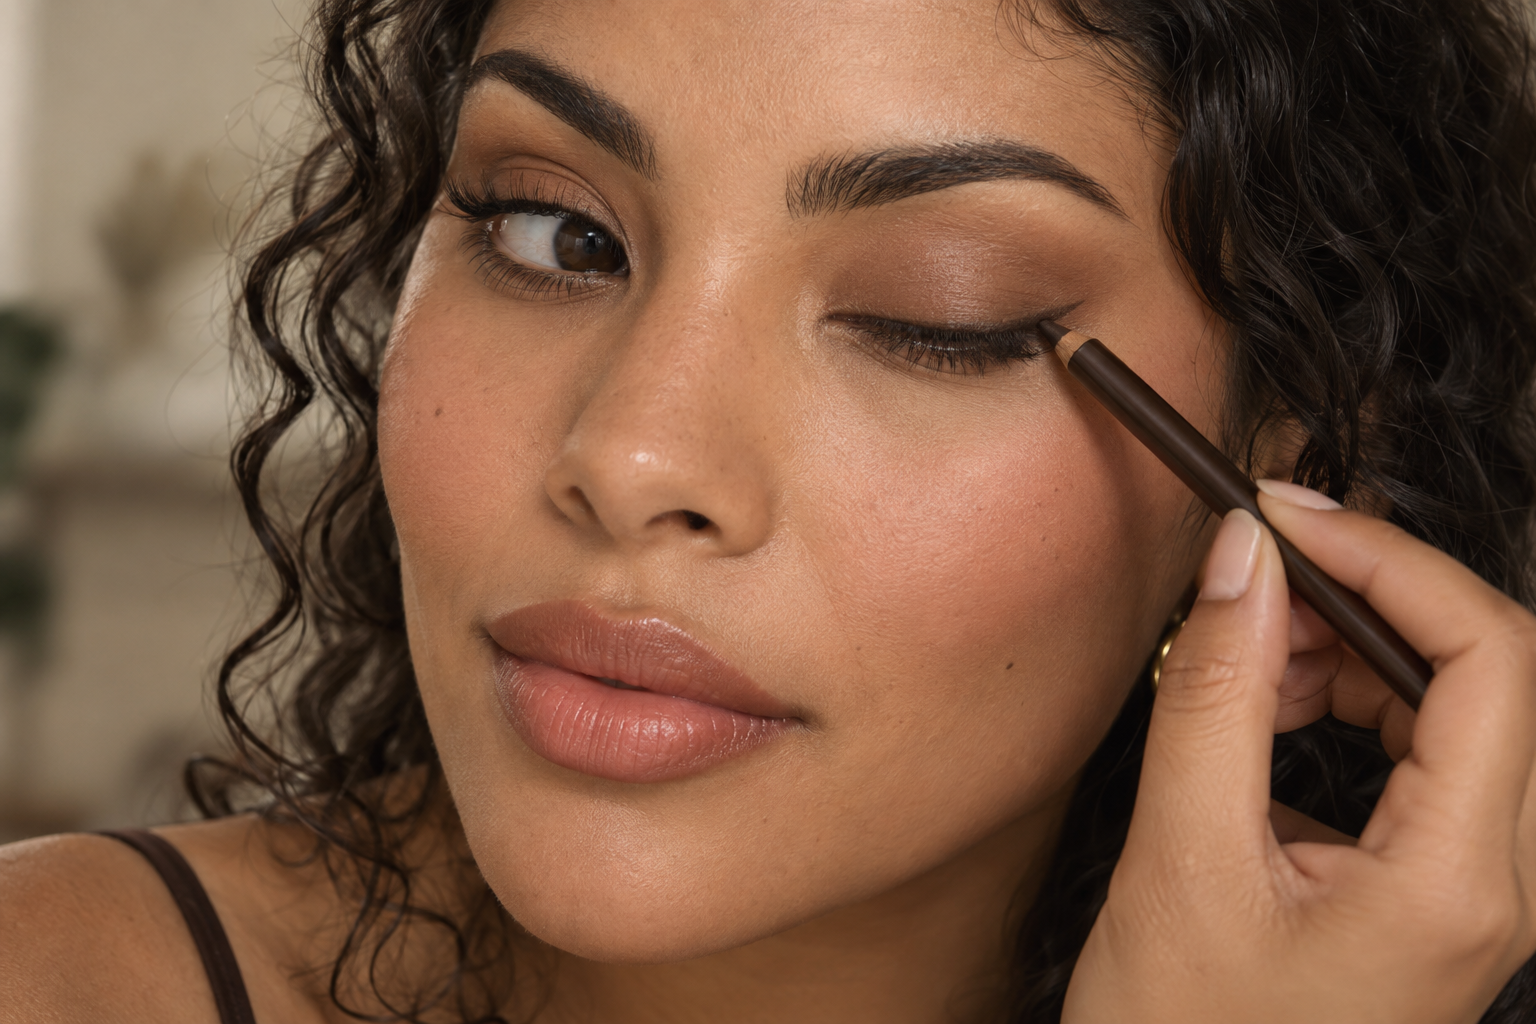
The defining detail: The deepest color sits near the upper lashes, with a softer shadow wash above it. Cheeks and lips support the eyes rather than competing with them.
You’re creating a gradient, not covering the entire lid in dark pencil. There’s no required wing, lower-lash line, or waterline step.
- Lay down the shadow. Apply a light wash over the mobile lid, then soften the upper edge with your brush. For a powder, tap excess off the brush first. For a stick, follow its blending directions and avoid building a thick layer.
- Check with your eyes open. Relax your brows and look straight into the mirror. Blend only as high as you want the shadow to be visible; you don’t need to chase a particular crease placement.
- Add short pencil strokes. Work along the external upper lash line instead of trying to draw one continuous stripe. Start with a narrow line; you can add depth afterward.
- Soften just the upper edge. Use your small brush or the pencil’s intended smudger to blur the boundary upward, leaving more pigment beside the lashes. Finish with mascara, restrained cheek color, and lightly dabbed lips.
That last blending detail matters: sweeping pencil over the entire lid can lose the gradient. If your formula sets, follow its working directions rather than tugging at it once it stops moving.
Use only products intended for the eye area, not your lip-and-cheek color.
Look 3: A richer lip with quiet eyes
The defining detail: The lip color has more presence and a more deliberate outline. Cheeks are subtle, and there’s no smoky liner.
Use this as a separate starting look, not something you have to layer over finished smoky eyes. The contrast is what makes the same color feel different.
- Keep the cheeks restrained. Press on a small amount of the dual-use color and diffuse it well. You want a hint of connection to the lips, not the fuller flush from look one.
- Leave the lids bare or barely shaded. If you use shadow, keep it sheer. Apply mascara and skip eyeliner.
- Build the lip color from the center. Following the product’s directions, apply a fuller layer to the upper and lower lips, then work outward. Stay within your natural outline; a separate lip liner isn’t required.
- Check the edges before adding more. Use the edge of a clean fingertip to press color into any missed areas. Check the corners with your mouth relaxed, since they’re easy to overlook when stretching your lips.
For a softer finish, dab away a little excess. For more color, add a light layer where coverage looks uneven. Neither approach makes the formula transfer-proof, so touch up according to how it wears.
Make tomorrow’s choice before you open the bag
Look at your finished makeup in ordinary light and ask which feature you notice first. If everything feels equally strong, soften a supporting feature before reaching for another product.
Your shortcut is simple: more cheek, softer lip; deeper lash line, quieter cheeks; richer lip, quieter eyes. Choose one tomorrow, then set out the same five items. The variety is in how you use them.
