
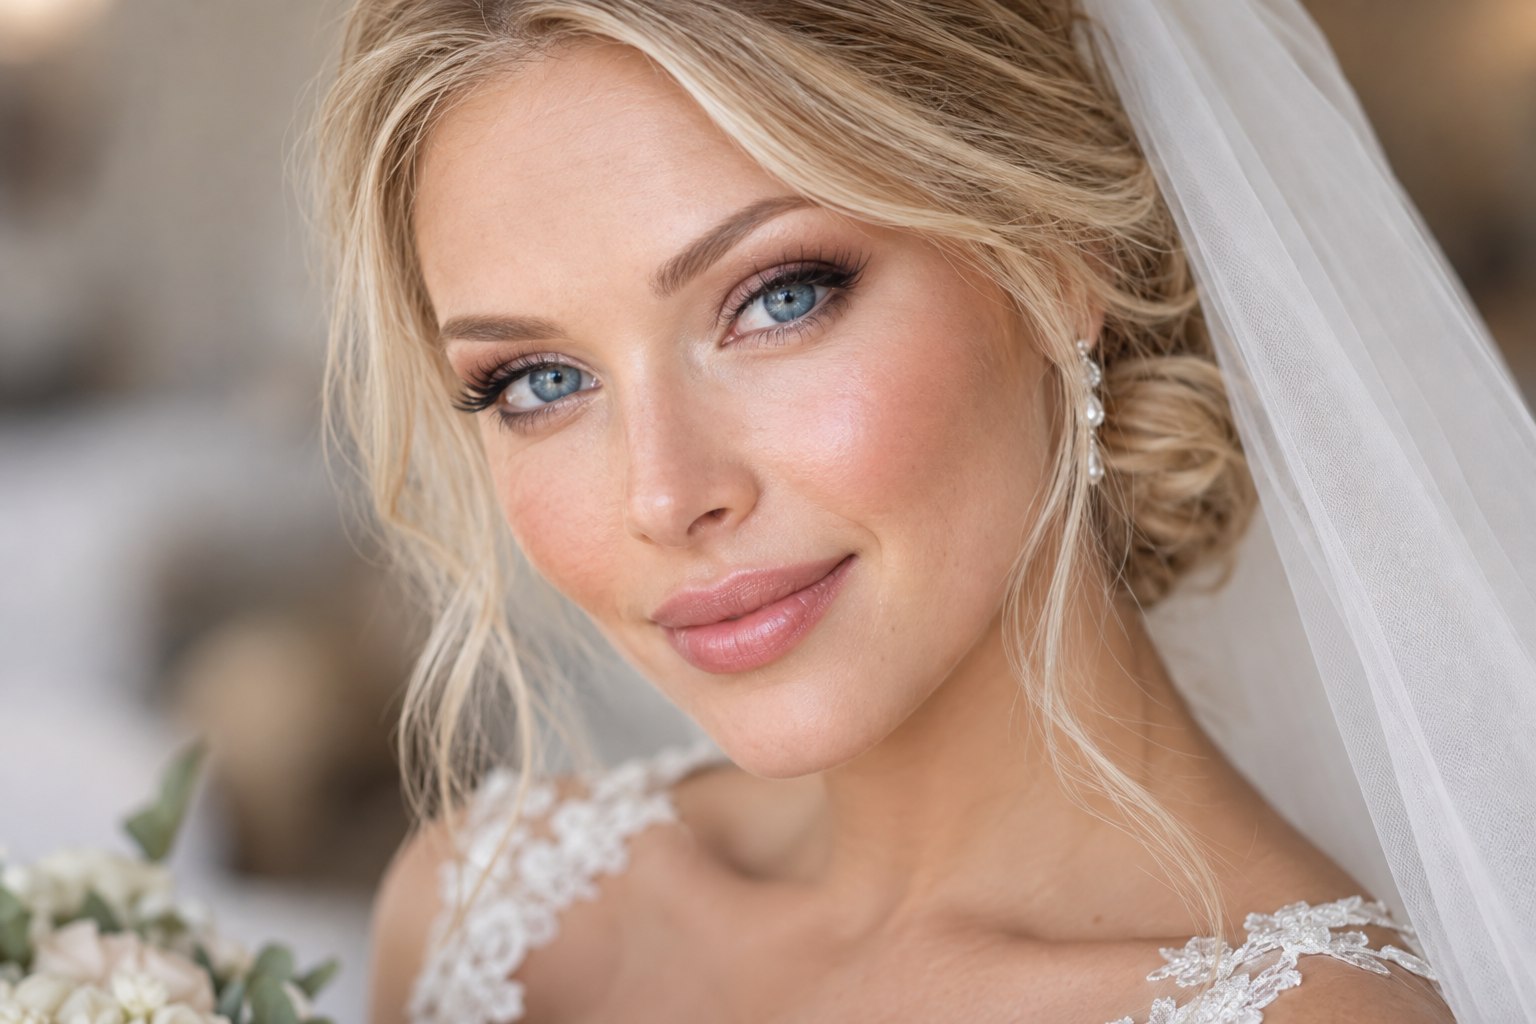
It’s easy to love a bridal eye look with your eyes closed, then open them and wonder where the color went. For soft wedding makeup for blue eyes, start with peach, muted copper, rose, or taupe, then place deeper color close to the upper lashes. That gives you definition without turning the whole lid smoky.
Your eye color is a starting point, not a dress code. The most useful choices also depend on your complexion, eye shape, favorite colors, and how the makeup wears.
Quick answer: Pair a softly blended crease with a satin lid shade, narrow brown or charcoal liner, and trial-tested mascara. Check the placement with eyes open, then use photographs to decide whether you need more lash-line definition, not automatically more shadow.
Choose a color direction you’ll enjoy wearing
Warm colors can create contrast with blue eyes, but there’s no requirement to wear orange. Choose one of these three directions, using shades that show up comfortably against your skin.
- Peach and muted copper: Try peach-brown through the crease, a soft copper lid, and deeper brown at the lashes. If copper feels too orange, choose a browner bronze or keep the copper just at the center of the lid.
- Rose and rose-brown: Pair a muted rosy lid with rose-brown crease shading and chocolate liner. This is a romantic option if peach isn’t your favorite. A little brown around the edges keeps the pink from becoming the entire look.
- Taupe and neutral brown: Use taupe or neutral brown in the crease, a complexion-relative satin highlight on the lid, and espresso or charcoal liner. It’s a good starting point if you prefer cooler, quieter color.
Blue shadow is also allowed. A sheer slate-blue accent with neutral framing can suit a bride who already loves wearing blue; eye color doesn’t create a forbidden-shade list.
Judge colors on your face rather than in the palette. Pale champagne may look delicate on one complexion and chalky on another. On deeper skin, a richer rose-gold or bronze may give the intended soft reflection without looking ashy.
Apply soft wedding makeup for blue eyes in seven steps
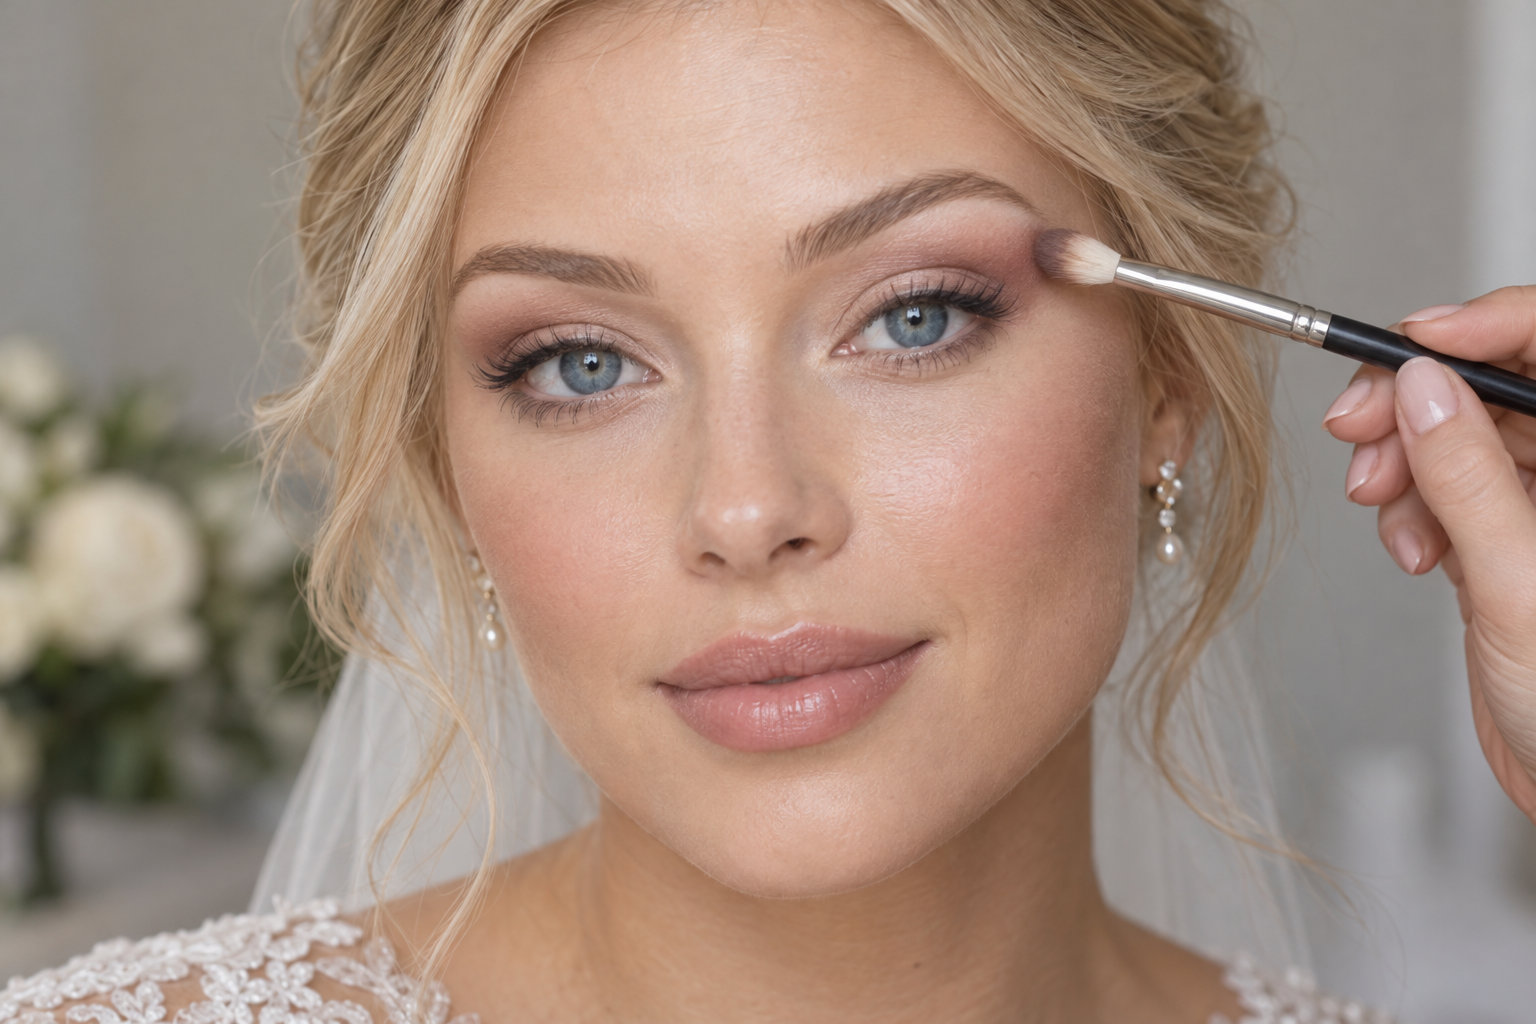
You only need a crease shade, a lid accent, and a deeper defining shade for this look. Existing favorites are enough if they give you the finish and wear you want.
- Prepare the lid for the formula you’re using.
Follow the shadow’s directions before adding primer. Some cream formulas include a priming function; others work better over a separate base. Don’t automatically stack concealer, primer, and powder underneath everything. Let skincare settle so the lid isn’t slippery.
- Map the crease while looking straight ahead.
With relaxed, open eyes, place a small amount of medium-toned shadow where you want visible shading. On hooded lids, this may mean slightly above the fold rather than entirely inside it. Lower your gaze to blend, then look forward again. Aim for a soft haze, not a drawn-on arc.
- Keep the strongest depth toward the outer lid.
Use the deeper shade on the outer portion of the lid, close to the lashes, and blend it into the crease color. Start with very little. Leaving the inner lid lighter preserves the soft look without requiring a pale, sharply contrasting highlight.
- Pat the satin accent onto the mobile lid.
Concentrate peach, rose-gold, or bronze around the center, tapering it toward the edges. For powder, press with a flat brush instead of sweeping shimmer through the whole crease. For a setting cream, blend as directed before it becomes difficult to move. There’s no need to carry the same shine across the brow bone.
- Define the upper lashes with short strokes.
Work on the skin immediately above the lashes, keeping the line narrow through the inner and middle sections. Add a little more depth toward the outer section if you want it. Smudge a movable pencil before it sets; with a setting liner, place controlled strokes rather than counting on blending later. Powder shadow gives a softer line, but isn’t automatically waterproof.
- Decide whether you want lower-lash shading.
You can skip it entirely. If you like a softly smoky finish, use the small amount left on your brush along the outer portion of the lower lash line. Keep it close to the lashes and check with eyes open before extending it inward. Waterline liner isn’t necessary for this look.
- Finish with lashes that leave the makeup visible.
Apply your chosen mascara in controlled coats, separating lashes before clumps build. Mascara alone is a complete bridal option. If you want false lashes, trial a style that doesn’t hide all your lid color when your eyes are open.
If the result feels too light, deepen the outer upper lash line first. That small adjustment lets you keep the peach or rose wash you liked instead of covering it with darker shadow.
Pick wear formulas by their instructions, not their labels alone
“Long-wearing,” “water-resistant,” “waterproof,” and “tubing” aren’t interchangeable promises. Consider the expected heat, tears, event length, and removal method when choosing mascara and liner.
A waterproof mascara may suit your plans, but it still needs a full wear trial. Tubing mascara is another option; don’t assume every tubing formula has identical tear resistance or removal instructions.
For shadow, notice where the makeup changes. If cream gathers in the fold, revisit the amount applied and the recommended base before adding powder over it. If powder fades, test an appropriate primer rather than simply applying a thicker layer.
If you plan to wear false lashes, include the adhesive in your trial so you know it feels comfortable.
A comfortable trial is useful, but it doesn’t guarantee that a reaction can’t happen later.
Balance the face without making everything heavier
Start with light foundation coverage and build only where you want more. There’s no compulsory “bridal thickness,” and extra base won’t solve missing eye definition.
Choose blush and lipstick alongside your eye colors. Peach-copper can pair with peachy or rosy cheeks; rose-brown can sit nicely with a rose lip. These are starting combinations, not undertone rules.
Keep brows defined enough to frame the eyes without automatically making them darker than usual. If a nude lipstick makes the finished look feel flat, try a slightly richer rose or neutral shade rather than immediately darkening the eyes.
You want the face to feel connected, not like every feature is competing for the bouquet.
Use your trial to make one specific adjustment at a time
Rehearse the complete look with the products you intend to wear. If you’re working with an artist, describe the placement you like: “soft satin lid with more definition at the outer lashes” is clearer than “natural, but glam.”
Take unfiltered pictures:
- In daylight, indoor light, and with flash.
- At normal portrait distance, not only in a close-up selfie.
- With eyes open and your face relaxed.
- After several hours, checking creasing, transfer, fading, and comfort.
Phone pictures won’t guarantee professional-camera results, but they can reveal useful differences. If color disappears, revisit visible placement. If the eye lacks framing, adjust liner. If reflection is stronger than you wanted, reduce the lid shimmer.
Change one thing at a time so you know what helped.
Pack a small, practiced touch-up kit
Bring tissues, your lip color, blotting paper or a little powder if used during the trial, and a small brush for minor cleanup. Add lash adhesive only if you’re wearing lashes and know how to use it.
Blot tears rather than rubbing across the eye. Before adding more product, check whether you’re seeing fading or simply a little transferred makeup.
Your day-of shortcut: check the lash line before adding more lid color. Keep a reference photo from the successful trial nearby, so touch-ups stay focused on the look you chose.
