
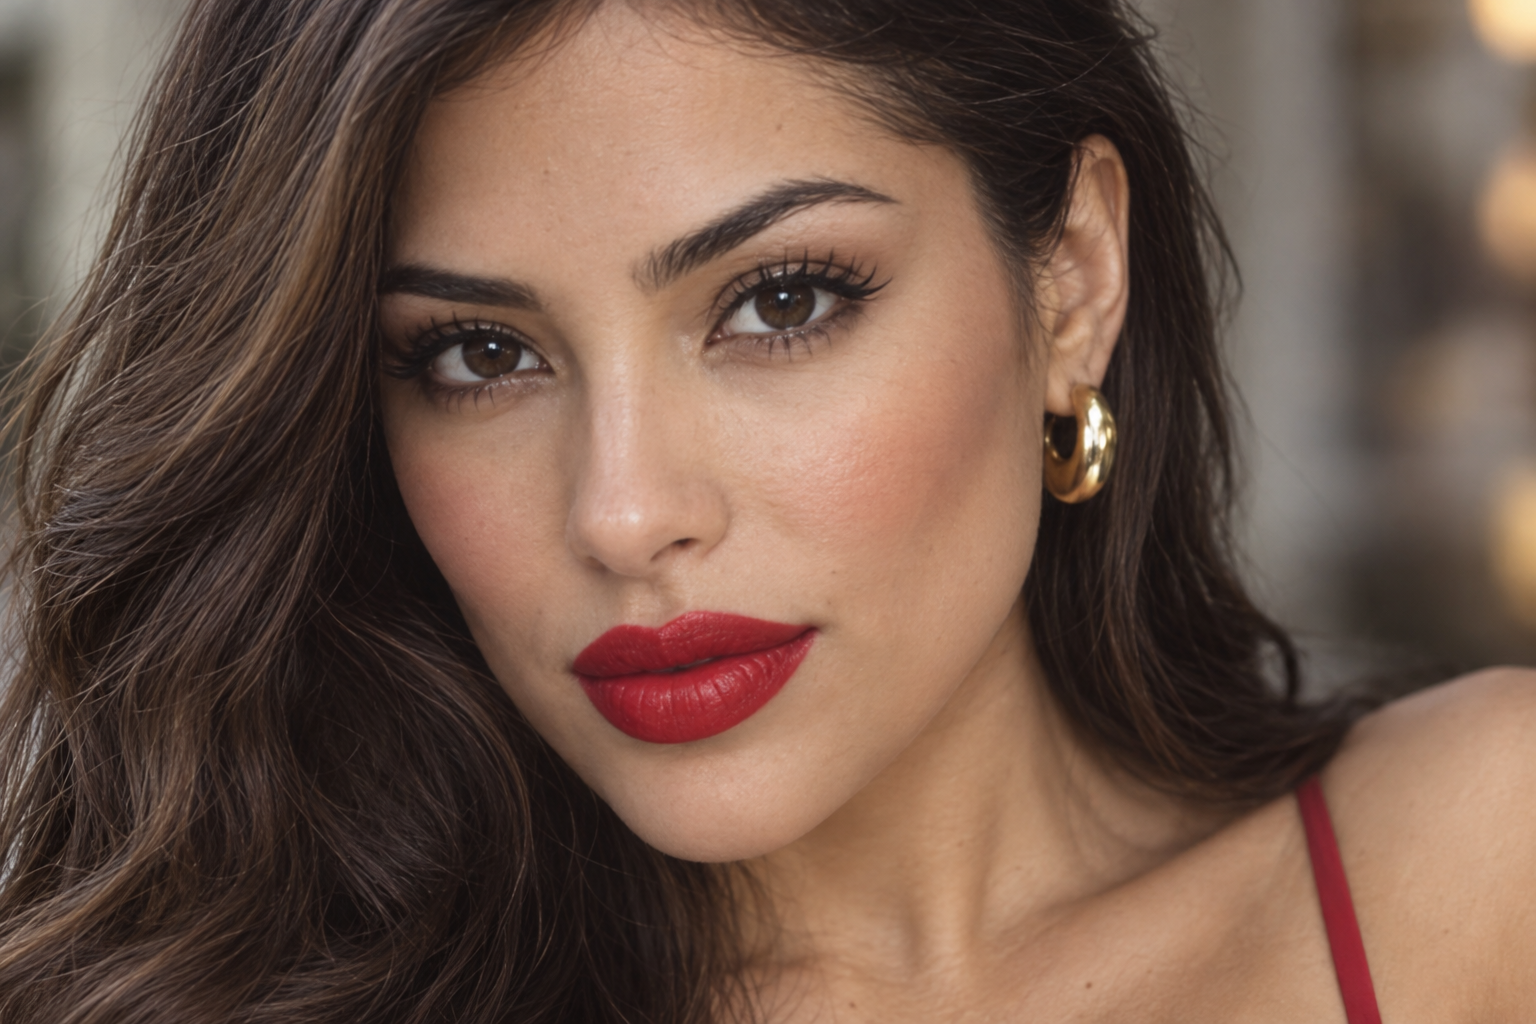
Your red lipstick looks lovely, but once your usual blush and eyeliner join in, the face in the mirror feels busier than you planned. The easiest adjustment is to start with softly defined eyes and a light application of blush, put on the red, then decide what needs more emphasis.
Balanced red lipstick makeup doesn't mean bare eyes or full-coverage foundation. It means choosing how much attention you want each feature to get, then applying and maintaining the lip in a way that suits its formula.
Quick answer: Use your preferred base, softly define brows and lashes, and blend a little blush. Apply your red with controlled edges, then step back before adding more eye or cheek color. Touch up faded areas rather than automatically adding another full coat.
Choose your finish before you prep
Finish changes both the look and the routine. A creamy or satin bullet gives you room to soften the edges and refresh color later. A matte bullet offers a less reflective finish, but it isn't automatically transfer-resistant. Gloss adds shine, while a setting liquid may need uninterrupted drying.
Choose the finish you'll enjoy wearing, not just the one that looks good in a close-up photo.
If your lips feel dry, use a bland, fragrance-free balm beforehand. Don't pick flakes or scrub irritated lips for a smoother lipstick surface. Remove excess balm before application, especially when your formula calls for clean, dry lips.
The American Academy of Dermatology advises stopping products that burn or sting. Chapping that doesn't improve after two to three weeks of appropriate care deserves a dermatologist's advice.
Keep your base comfortable and your eyes intentional
Red lipstick doesn't come with a full-coverage foundation requirement. Use skin tint, foundation, concealer, or none, depending on the finish you want.
If you're wearing base, blend carefully around the mouth so there's no visible makeup ridge beside the lip line. Brush brows into place and add definition where you want it; they don't need to become darker just because your lipstick is bold.
For eye makeup with red lipstick, choose a starting point:
- Lip-focused: Mascara and a softly blended wash of shadow leave most of the color emphasis on your mouth.
- Classic definition: Keep liner close to the upper lashes, then add a small wing if you like. Build the wing gradually rather than starting with its thickest shape.
- More dramatic: Pair the red with smoky shadow or stronger liner. Blend the shadow edges and assess the cheeks afterward so each choice feels deliberate.
Brown, taupe, bronze, peach, and other favorite shades are options, not required companion colors. Strong eyes and red lips can absolutely share a face.
Add blush, then reassess it with the red on
Skipping blush isn't necessary. A little cheek color can connect the look, particularly if your base has softened the natural color in your cheeks.
Start on the apples for a rounded placement, or slightly higher along the cheekbones for a more lifted effect. Blend outward until you can't see a distinct patch or stripe. With powder blush, tap excess off the brush; with cream, begin with a small amount and blend before adding more.
Try rose, peach, berry, muted red, or a shade you already enjoy. There isn't one blush color every red lipstick needs.
Save the second application until your lipstick is on. Cheek color can look surprisingly different once the red enters the picture. Check from conversational distance, not only with your nose almost touching the mirror.
Apply red lipstick with controlled edges
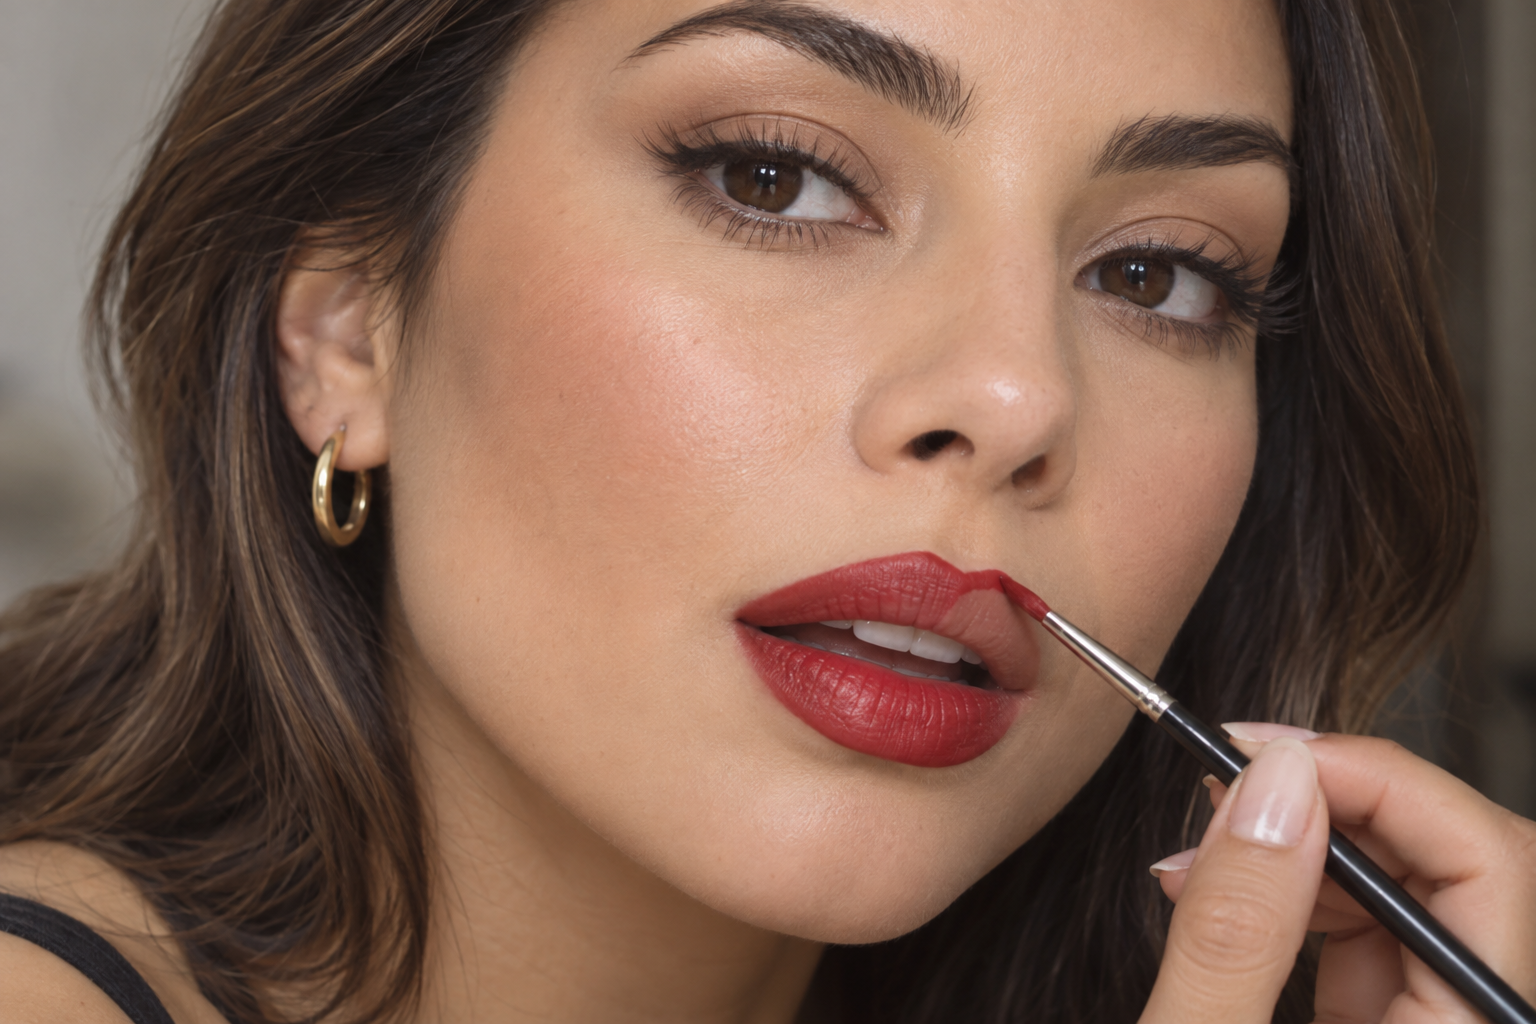
A defined red lip rewards small movements. You don't need a matching pencil, but one can help you map the shape before filling it.
- Mark the center. With liner or a little bullet lipstick on a small lip brush, follow the two slopes of your Cupid's bow. Outline the center of the lower lip next, staying along your natural border.
- Connect short sections. Work from those center marks toward the corners rather than drawing one long line. Part your lips slightly to reach the corners, using less product there so color doesn't collect in a thick pocket.
- Fill inside the outline. Apply an even layer. A brush is useful for a bullet lipstick's edges; the bullet itself can fill the broader areas. For a setting liquid, use the applicator and follow its preparation and drying directions.
- Handle the finish appropriately. A creamy bullet can be gently blotted if you want less excess, then refreshed where needed. Don't assume a setting liquid needs the same treatment: if its directions require complete drying or no lip pressing, leave it undisturbed. Don't automatically add gloss over a setting formula unless its instructions allow it.
- Check the border. Lift a small stray mark with a cotton swab lightly dampened with makeup remover suitable for lips. Keep it outside the intended edge, then let that area dry before correcting the color.
Prefer a softer lip? With a creamy formula, place color toward the center and diffuse it outward using a brush, leaving the border less defined. That's a different finish, not an unfinished version of the precise lip.
Check the whole face and repair only what needs it
Step away from the close-up mirror. If you want more definition, add a little mascara, extend your liner, or build the blush. Make one change at a time so you can see what it contributes.
After eating, check the lip before recoating it. If the outer color is smooth but the center has faded, gently clear away food residue and refresh the worn area, blending into the remaining color.
If a setting formula is peeling or forming an uneven film, another coat may emphasize that texture. Remove it with a remover suitable for lips, then prepare and reapply according to its directions.
For your bag, bring the lipstick, a small mirror, and the pencil or brush you actually used. The useful touch-up question is simple: Does the center need color, or does the whole layer need a fresh start?
