

Blush can look beautifully hazy in a reference photo, then turn into two obvious circles on your own cheeks. For a soft Igari makeup look, start higher: place a small, horizontal wash on each upper cheek, beneath the central-to-outer portion of your eye. Keep the strongest color within that patch and gently blur its edges rather than sweeping it down your face.
The placement is a starting point, not a stencil. Your cheek space, chosen formula, and preferred intensity should guide the final shape.
Quick answer: Begin with a thin oval of blush at upper-cheek height, keep ordinary cheek blush outside the eye area, and soften the perimeter. Check both sides before adding more. Nose blush is optional.
What makes this an Igari-inspired look?
Igari makeup takes its name from Japanese makeup artist Shinobu Igari. Her published work includes several blush arrangements, including an eye-width oval at cheekbone height, as shown in MAQUIA’s guide to her techniques.
For this tutorial, the focus is a high, diffused flush rather than a sharply defined diagonal sweep toward the temples. It’s a beginner-friendly interpretation, not a reproduction of her entire routine.
You don’t need pale skin, pastel-pink cheeks, or a particular face shape. Softness comes from the way the color fades into the surrounding makeup, not from choosing the lightest blush in the drawer.
How to place and blend your blush
1. Keep the base comfortable and light where you want it
Use your usual skin preparation, then apply foundation or concealer if you like. Spot-concealing lets you keep coverage selective; there’s no need to cover every natural variation around your eyes or cheeks.
Consider your blush formula before setting the base. Many creams and liquids are easier to blend before powder, while powder blush usually moves more evenly over a lightly set surface. Follow the product’s directions where they differ.
2. Find your starting patch with your face relaxed
Look straight into the mirror without holding a big smile. Find the upper cheek beneath the middle-to-outer part of your eye, using the cheekbone as an orientation point.
Imagine a short horizontal oval there. Start narrower than you think you need: it’s easier to extend a small patch than to pull back a broad wash. You’re placing color on the upper cheek, not trying to fill all the space beneath your eye.
Keep cheek color below the lower lash line. If you bring a product closer to your eyes, check that its label says it is intended for the eye area.
3. Apply less than your final desired intensity
For a strongly pigmented liquid, dispense a little onto the back of a clean hand and pick up a small amount with your tool. Several full dots directly on the face can become more blending homework than you wanted.
With cream, pick up a light film on a fingertip or small brush and press it onto the starting patch. For powder, lightly load the brush and tap off excess before touching the cheek.
4. Soften the edge before expanding the shape
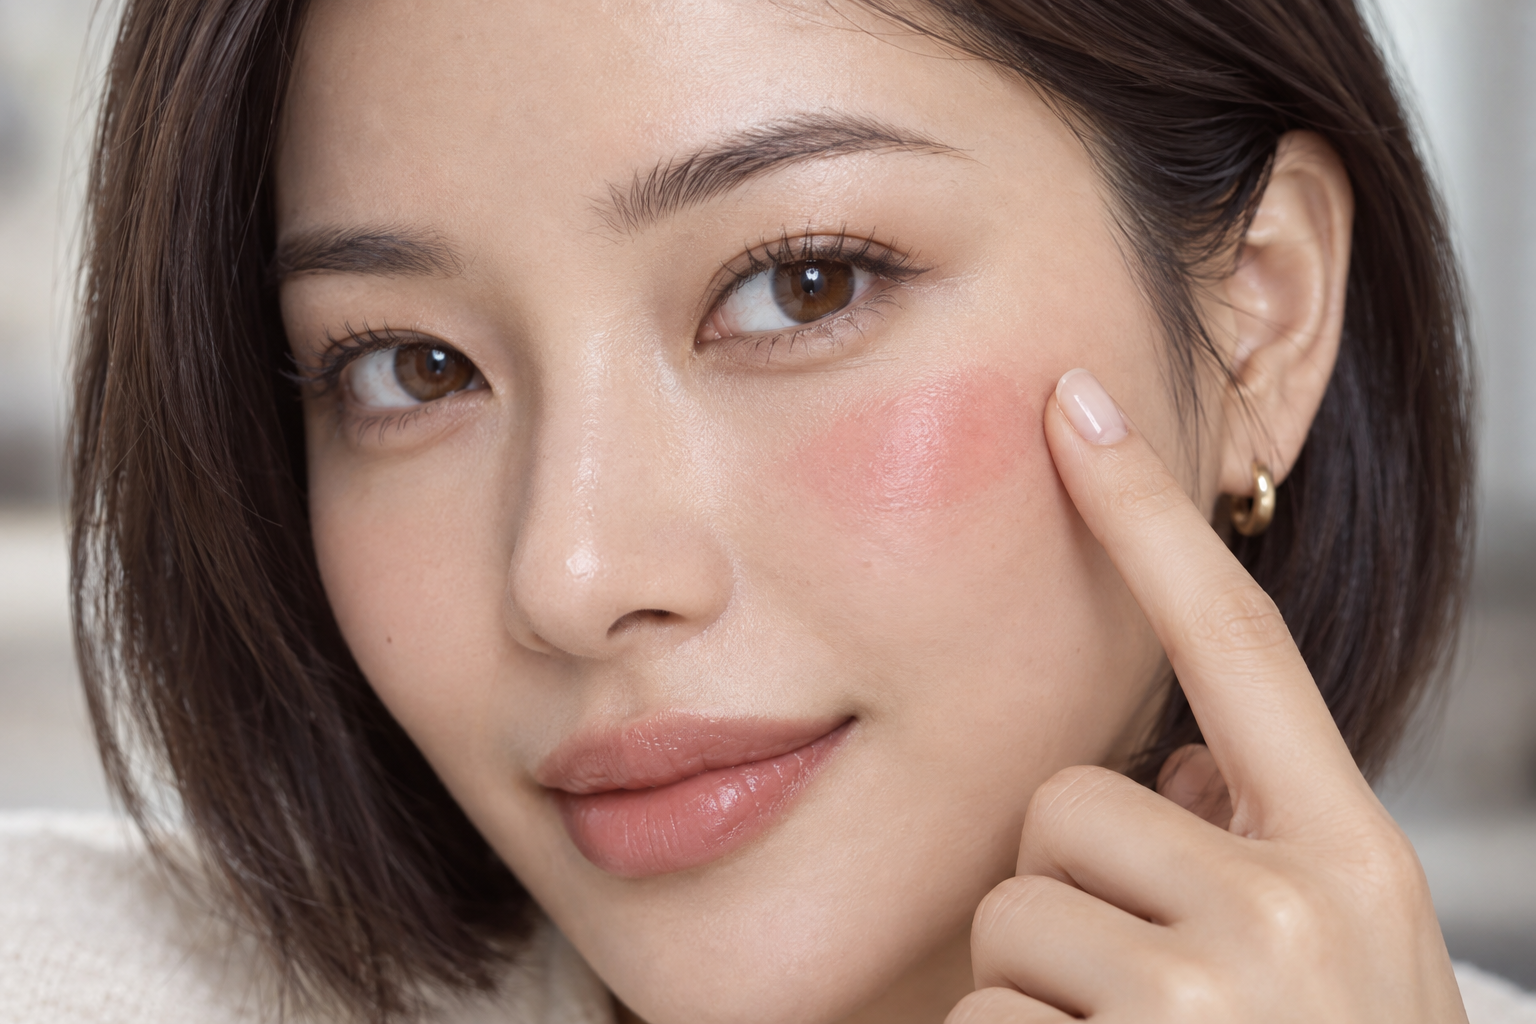
Once you’ve established the color, concentrate on its perimeter. Use a clean fingertip or brush to tap around the edge, leaving some color concentrated inside the oval.
For creams, gentle pressing can help avoid disturbing your base. With powder, use small, light motions rather than long sweeps. Work promptly with fast-setting liquids, blending one cheek before applying the other.
This edge-first approach helps you avoid blending away the placement itself. If you keep sweeping across the entire patch, the color may travel lower or spread much farther than intended.
5. Check from a normal distance and a slight angle
Step back from the mirror, then turn slightly left and right. Igari’s published advice in MAQUIA includes considering the face beyond its straight-on reflection.
Check whether the blush still reads as an upper-cheek wash. Compare the height and intensity on both sides without chasing exact symmetry. If you want more color, add it within the original patch rather than enlarging every edge.
6. Decide whether your nose needs color
You can stop at the cheeks. A nose wash is an optional styling choice, not a requirement for this version.
If you like that detail, use barely any residual product on the bridge and blend lightly. Keeping it subtle avoids turning separate cheek washes into one continuous stripe.
Adjust the shade and shape to your face
Choose a color you’d enjoy wearing, then judge it in a thin layer. Pink, peach, rose, warm red, and berry are all possible starting points, not complexion assignments.
If a pale blush looks chalky, try a richer shade or a formula with less visible pale base. A deeper color with softened edges can look beautifully delicate; sheer doesn’t have to mean pale.
Use these checks to adapt the placement:
- Limited cheek space: Keep the oval compact and on the cheek rather than pushing it closer to the eye.
- You want a wider wash: Extend the outer edge gradually after the first layer, keeping the lower edge controlled.
- You already have visible cheek color: Add a lighter layer where you want emphasis, or skip nose blush.
- The patch looks too round: Blend slightly outward at the sides instead of adding more color underneath.
- The color is too strong: Press a clean sponge over the patch to pick up some excess. Rubbing may spread it or disturb your base.
Satin, softly matte, and dewy finishes can all work. Choose the texture you like seeing on your skin; shine isn’t an authenticity test.
Let your eyes and lips support the blush
For this soft version, lightly define your brows and add mascara or a quiet neutral shadow if you want. Stronger eye makeup is still an option, but starting simply makes the blush placement easier to judge.
A sheer lip color in a related family helps the look feel connected. Think rose cheeks with rosy lips, or peach blush with a warm lip tint. They don’t need to match exactly.
For your first attempt, leave nose color and extra highlight until last. Put one light layer on both upper cheeks, soften only the edges, then step back. That mirror check will tell you more than another dot of blush.
