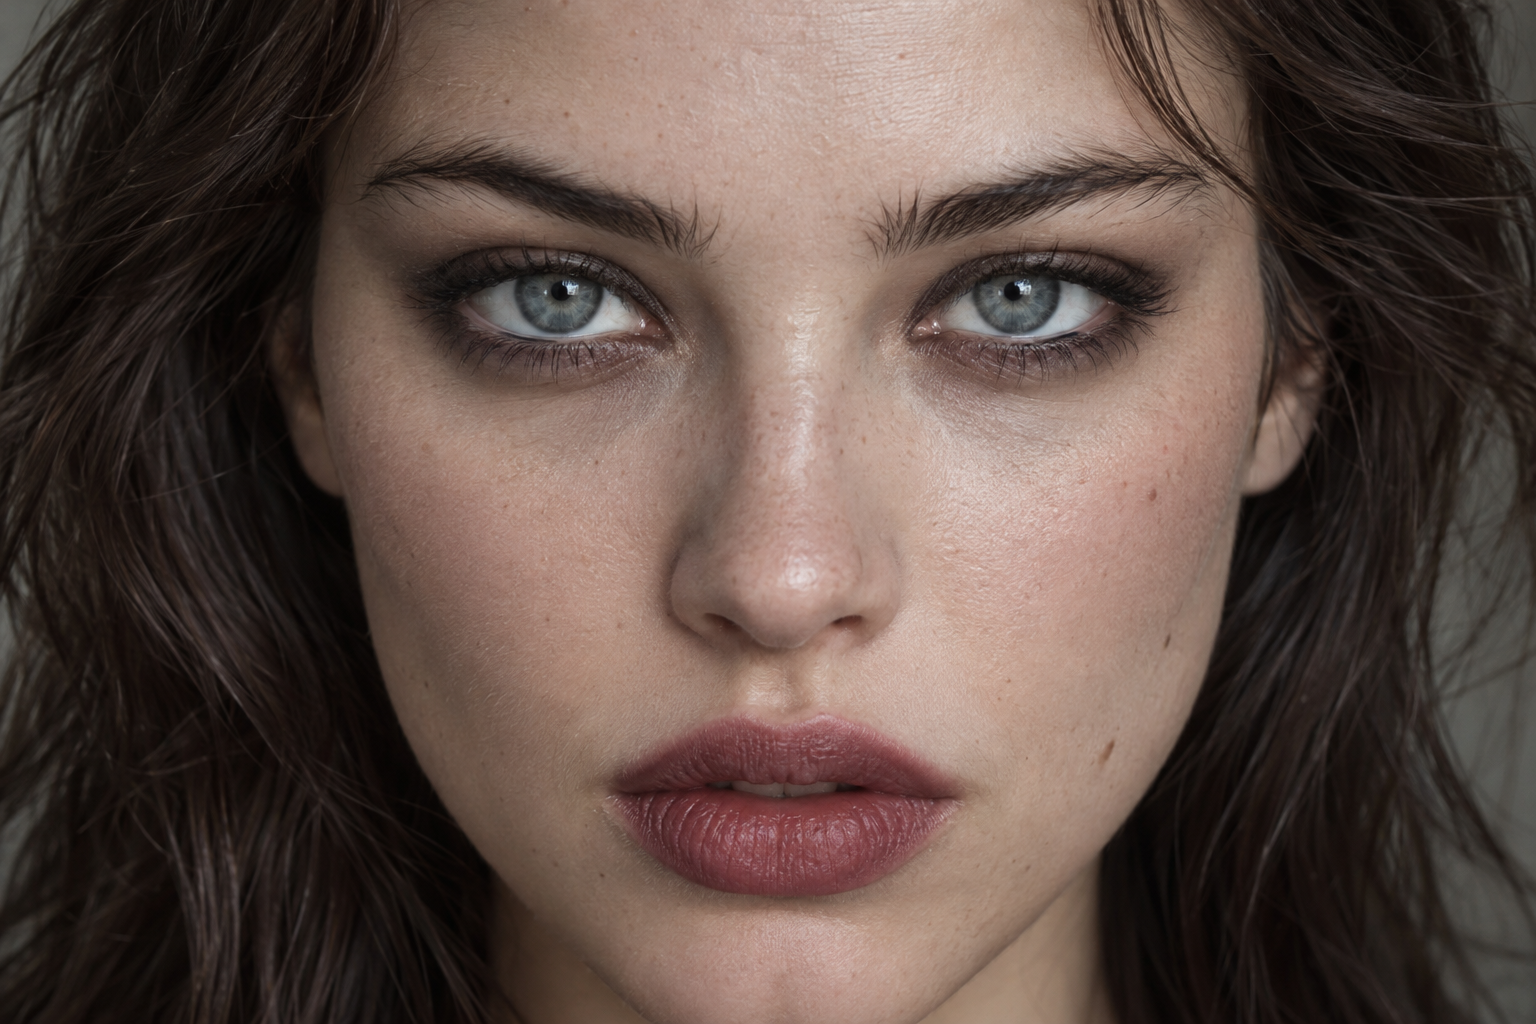
One extra sweep of the brush can take softened eyeliner from beautifully undone to much more shadow than you planned. Wearable grunge makeup starts with a smaller move: keep the deepest color beside your lashes, blur just its edge, and pair it with a softly blotted lip.
You don’t need a full lid of black shadow or a perfectly matched pair of wings. The mood comes from soft boundaries and deliberate color choices, not from letting makeup wander.
Quick answer: Smudge a narrow upper lash line one eye at a time, add lower-lash color only if you want it, and finish with a blurred neutral, berry, brick, or brown lip.
What makes this grunge rather than a full smokey eye?
The techniques overlap, but this version keeps the eye makeup close to the lashes instead of building a shadow gradient from lash line to crease. A little uneven softness is welcome; scattered pigment isn’t the goal.
The lip helps set the mood, too. Muted rose-brown feels understated, while blotted berry or brick adds depth without a sharply outlined finish.
Matte and satin textures make an easy starting point, but neither pale skin nor an entirely matte face is required. “Lived-in” describes freshly applied makeup with softened edges, not yesterday’s makeup left on.
Start with a small kit and choose your intensity
You may already have everything you need:
- An eyeliner intended for the eye area.
- One muted eyeshadow, such as taupe, cocoa, charcoal, or plum-brown.
- A small, compact smudging brush.
- Mascara and a workable lipstick.
- An optional separate lip brush.
Brown can give you a gentler starting point; black creates a stronger contrast, while charcoal sits somewhere between. Choose by the amount of darkness you want, not a rule about which skin tones can wear which shades.
Keep your usual base light or use concealer only where you want coverage. There’s no need to change your entire complexion routine for this look.
Build the grunge eye without spreading it too far
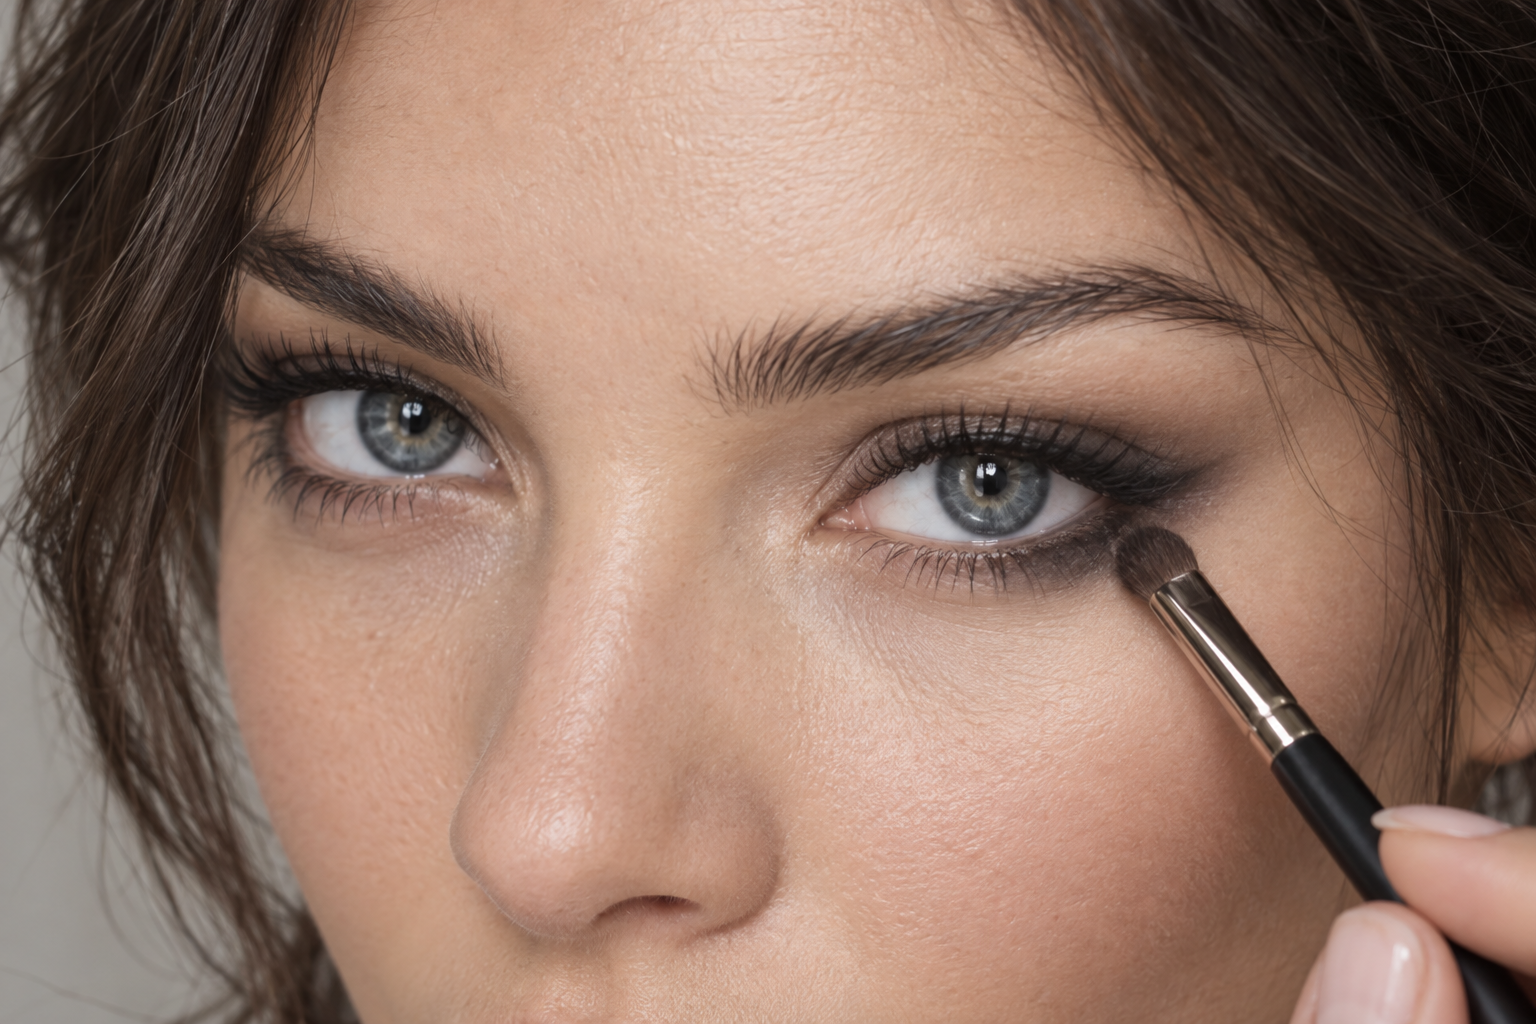
Work through the liner and blending on one eye before starting the other. That matters especially with formulas that set quickly.
Step 1: Draw a short, close upper line
Use small strokes along the external upper lash line, starting around the middle and working outward. Then add a finer line toward the inner section if you want it. Keep the pigment on the skin beside the lashes; waterline lining isn’t necessary.
Use eyeliner made for eyes, rather than lip liner, for this smudged lash-line step.
Step 2: Blend the top edge, not the whole stripe
Place the tip of your brush where the liner meets bare lid. Make tiny side-to-side movements along that boundary rather than sweeping upward across the eyelid. Think a few millimeters of softness to start, then check before widening it.
The lash roots should still look darker than the haze above them. If everything becomes equally gray, tap a little liner back beside the lashes.
Step 3: Adjust for your formula
A creamy pencil may move readily with a brush; a setting pencil needs blending while it’s still workable. Don’t assume you have the same blending window with every liner.
If the line has already set, stop rubbing. Press a small amount of shadow along its upper edge to soften the visible boundary instead. A crisp liquid liner is less suited to this brush-smudging method; let shadow provide the softness rather than trying to drag a dried line around.
Step 4: Add shadow only where it helps
Pick up a little shadow, tap off the excess, and press it over the liner’s edge. Use the nearly empty brush to diffuse the outer boundary.
You can extend the outer corner slightly outward for a less winged shape, but stop before it becomes a long stripe. Shadow adds color and softness here; it doesn’t guarantee that liner won’t transfer.
Step 5: Try the lower lash line in stages
Begin beneath the outer third of the lower lashes with leftover shadow on the brush or a tiny amount of liner. Keep it close to the lash roots and soften the bottom edge.
Look straight ahead before taking it farther inward. An upper-only eye is completely valid, and a full dark ring isn’t required. If you want more intensity, extend a little at a time rather than drawing the entire lower line first.
Step 6: Add mascara, then check with your eyes open
Mascara helps you judge the finished balance. Relax your face and look straight into the mirror: can you see the softened edge, or has it disappeared into a fold?
Adjust only the visible area that needs it. Your eyes don’t need identical brushwork, but they should feel similar in darkness and spread.
Choose a lip that changes the mood
You don’t have to pair dark eyes with a barely-there lip. A quieter lip is simply an easy first option while you’re learning how much eye definition you enjoy.
For a softer combination, try muted rose, brown-pink, or a shade close to your natural lip color. Apply a thin layer of lipstick and gently blot with a tissue. Blotting softens the finish; it isn’t a promise of longer wear.
For more color, tap berry, brick, or brown lipstick onto the center of your lips. With a separate lip brush, move it outward in short strokes, using less product as you approach your natural border. Keep the blurred edge within or close to that border so it looks softened rather than smeared.
These methods are easiest with lipstick that stays workable during application. A fast-setting liquid formula may need its own application approach instead of repeated blending.
If the whole look feels stronger than you wanted, soften the lip first. If it feels too quiet, add another light layer of lip color before rebuilding the eyes.
Fix the placement, not every little imperfection
If the upper smudge has become too wide, remove the unwanted outer edge with a small amount of eye-appropriate makeup remover on a cotton swab. Let the skin dry before replacing any color.
For a lower line that feels heavy, clean away its lowest edge first. You may only need a narrower band, not a complete restart.
Finish with three checks: darkest beside the lashes, softly faded at the edge, lip intensity chosen on purpose. Those boundaries leave room for the undone finish without asking you to surrender control of the brush.