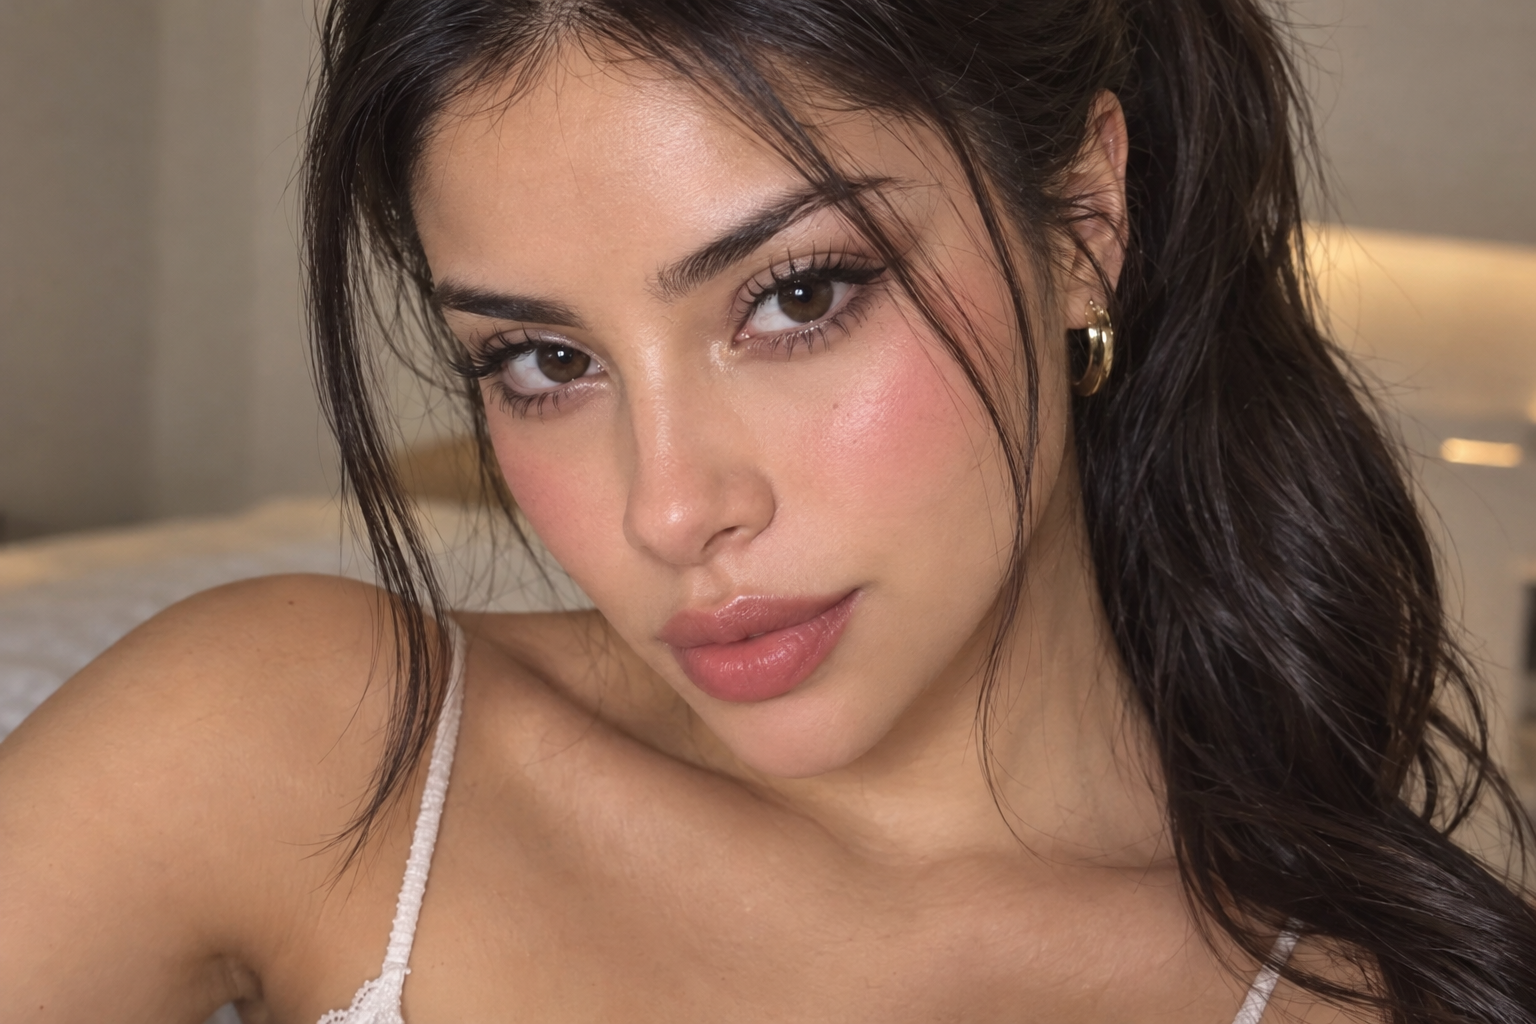
A makeup reference can look beautifully soft, yet copying every shimmer spot and blush mark leaves your own version feeling surprisingly busy. With Douyin makeup, start with three details: a small eye-shimmer accent, softly blended cheek color, and lips with diffused edges and a deeper center.
The trick is contrast, not completing every step in a video. Keep most color soft, then add definition selectively at the lashes. You can adapt the placement, shades, and intensity to your features without copying someone else’s face.
Quick answer: For a wearable Douyin makeup look, use a matching, light-layered base, softly shaded eyes, localized shimmer, fine liner, blended blush, and blurred lips. Extra lashes and under-eye shading are optional.
What makes Douyin makeup recognizable?
Douyin makeup is an umbrella aesthetic associated with Chinese social-media beauty culture, rather than one official routine. Douyin is China’s short-video platform, distinct from TikTok.
Reporting from RADII traces the style’s international spread through TikTok in 2022, drawing from creators on Chinese platforms including Douyin and Xiaohongshu. Cross-border beauty influences overlap, but that doesn’t make Chinese and Korean makeup interchangeable labels.
Recurring details include luminous or soft-matte skin, concentrated eye sparkle, delicate liner, separated lashes, flushed cheeks, and diffused lips. Some versions are understated; others involve considerable layering.
Neither pale foundation nor a particular eye shape is a requirement. Here, “soft focus” describes blended makeup edges, not skin without pores or texture.
Apply a soft Douyin makeup look in seven steps
Choose a reference for its color palette and finish, then use the sequence below as an adaptable starting point. You can work with makeup you already own; there’s no special shopping list.
Step 1: Keep the base light where you want less coverage
Apply your usual foundation or skin tint in a shade that matches you. Spread a light layer first, then add coverage only where you’d like it. A satin finish keeps some sheen; selective powder gives a softer matte effect.
If you’re using cream or liquid blush, leave the cheeks unpowdered until that color is blended. Powder blush is often easier to blend over a lightly powdered base than a tacky one.
Step 2: Blend a gentle wash of eye color
Sweep a muted shade across the visible lid, then soften its upper edge with a clean brush. Rose-brown, peach-brown, taupe, or mauve can all work; choose the color you enjoy rather than treating pink as compulsory.
Add a small shimmer accent near the center of the lid. Keeping it localized creates contrast with the surrounding soft color. With limited visible lid space, check the placement with your eyes open before adding more.
Use makeup intended for the eye area for this step; a cheek or lip shimmer isn't automatically suitable for your lids.
Step 3: Define the outer lashes without building a thick band
Begin with a narrow liner stroke along the outer upper lash line. Look straight ahead with your eyes relaxed, then add a short flick if you want one. Mapping it this way is more useful than stretching your lid and discovering a different shape when you let go.
If liner takes over the visible lid, shorten the stroke or keep it close to the outer lashes. Brown gives gentler contrast; black offers sharper definition. Neither is mandatory.
Finish with mascara, concentrating on separating the lashes. Widely spaced, wispy false lashes appear in more stylized interpretations, but mascara is enough for this version.
Step 4: Treat lower-eye detail as an optional extra
Some tutorials emphasize the small fullness directly beneath the lower lashes, often called aegyo-sal. You don’t need to draw it to make the look recognizable.
If you want to try the effect, smile gently to locate your existing contour. Use a faint eye-shadow shade just beneath it, then relax your expression and check the result. Keep makeup outside the eye and avoid turning a natural shadow into a dark stripe. If there’s no clear contour to follow, skip this step rather than inventing one.
Step 5: Build blush, then blend with a clean tool
Start on the upper cheek below the eye socket and blend outward. Keep most pigment near that first placement, then soften the perimeter with a clean brush or sponge.
That clean tool matters: another pass with a loaded brush can add color when you only meant to blur an edge.
With pigmented liquid blush, dispense a little onto the back of your hand, pick up a small amount, and work on one cheek at a time. Quick-setting formulas need prompt blending. With powder, use a lightly loaded brush, then a separate clean brush around the boundary.
Nose or chin blush is optional. Check the cheeks first before expanding the color elsewhere.
Step 6: Give the lips a soft boundary and a deeper center
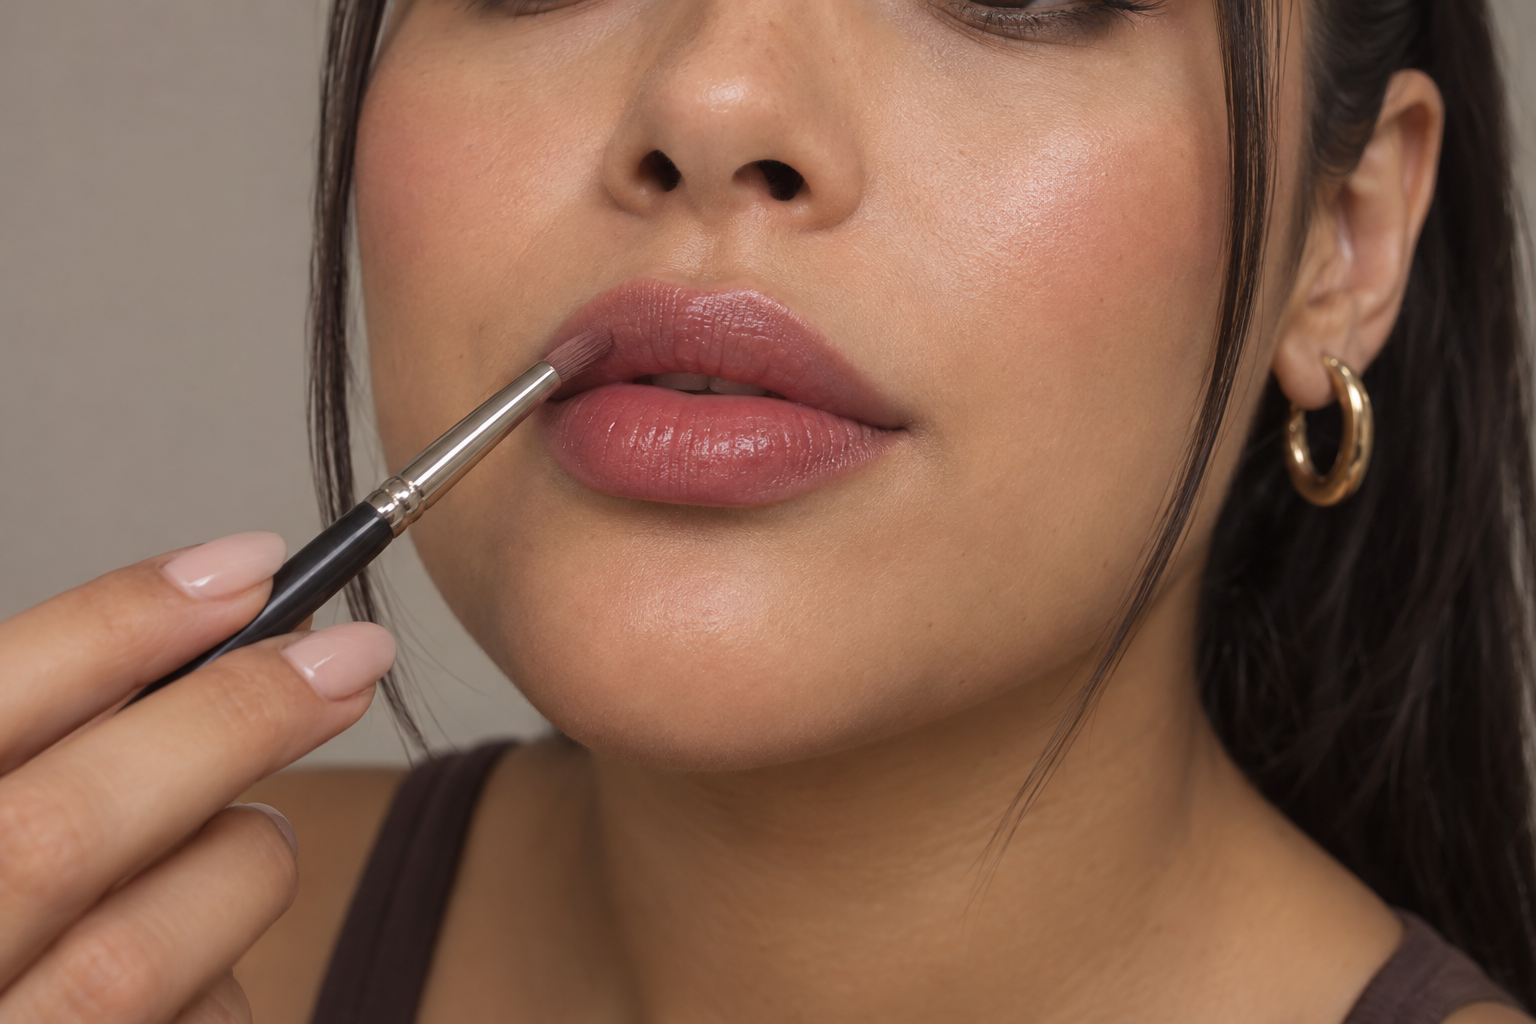
With creamy lipstick, apply a sheer layer, then feather the outer edge using a clean lip brush. Add a little more color to the central portion of both lips and blend where the two depths meet.
For a fast-setting stain, start with a small amount in the center and feather outward before it sets, working in small sections. Painting a complete outline first can leave a firm border that’s difficult to soften later.
Keep the blur close to your natural lip boundary for an easy first attempt. If you want shine, add gloss centrally after shaping the color; applying it everywhere may soften the gradient further.
Step 7: Check the whole face before adding extras
Step back from the close-up mirror and look in ordinary light with a relaxed expression. Can you still see the eye sparkle, cheek flush, and lip gradient as separate details?
If everything feels equally bold, pause rather than adding another layer. Use a clean tool to soften an edge that’s still blendable, or remove a little excess lip color. More rubbing won’t necessarily diffuse a formula that has already set.
Adjust the contrast, not your features
Shade depth changes how this look reads. A pale blush may appear delicate on one complexion but look chalky or barely show on another. A richer rose, berry, coral, or warm red can create the same softly blended effect when applied lightly.
Likewise, champagne, bronze, rose-gold, and silver shimmer create different contrasts. There’s no required sparkle color.
For an everyday version, keep the liner short, use mascara, and skip lower-eye shading. For more definition, deepen the lash line or add separated lashes while leaving the blush and lip edges soft. Changing one feature at a time makes it easier to see what you actually like.
Your first-try shortcut
Try just one lid-shimmer accent, blended cheek color, and center-deeper lips before adding elaborate eye details. Keep a clean blending brush and lip brush nearby: they help soften boundaries without depositing more makeup. Let the mirror, not the number of steps in a tutorial, tell you when you’re done.