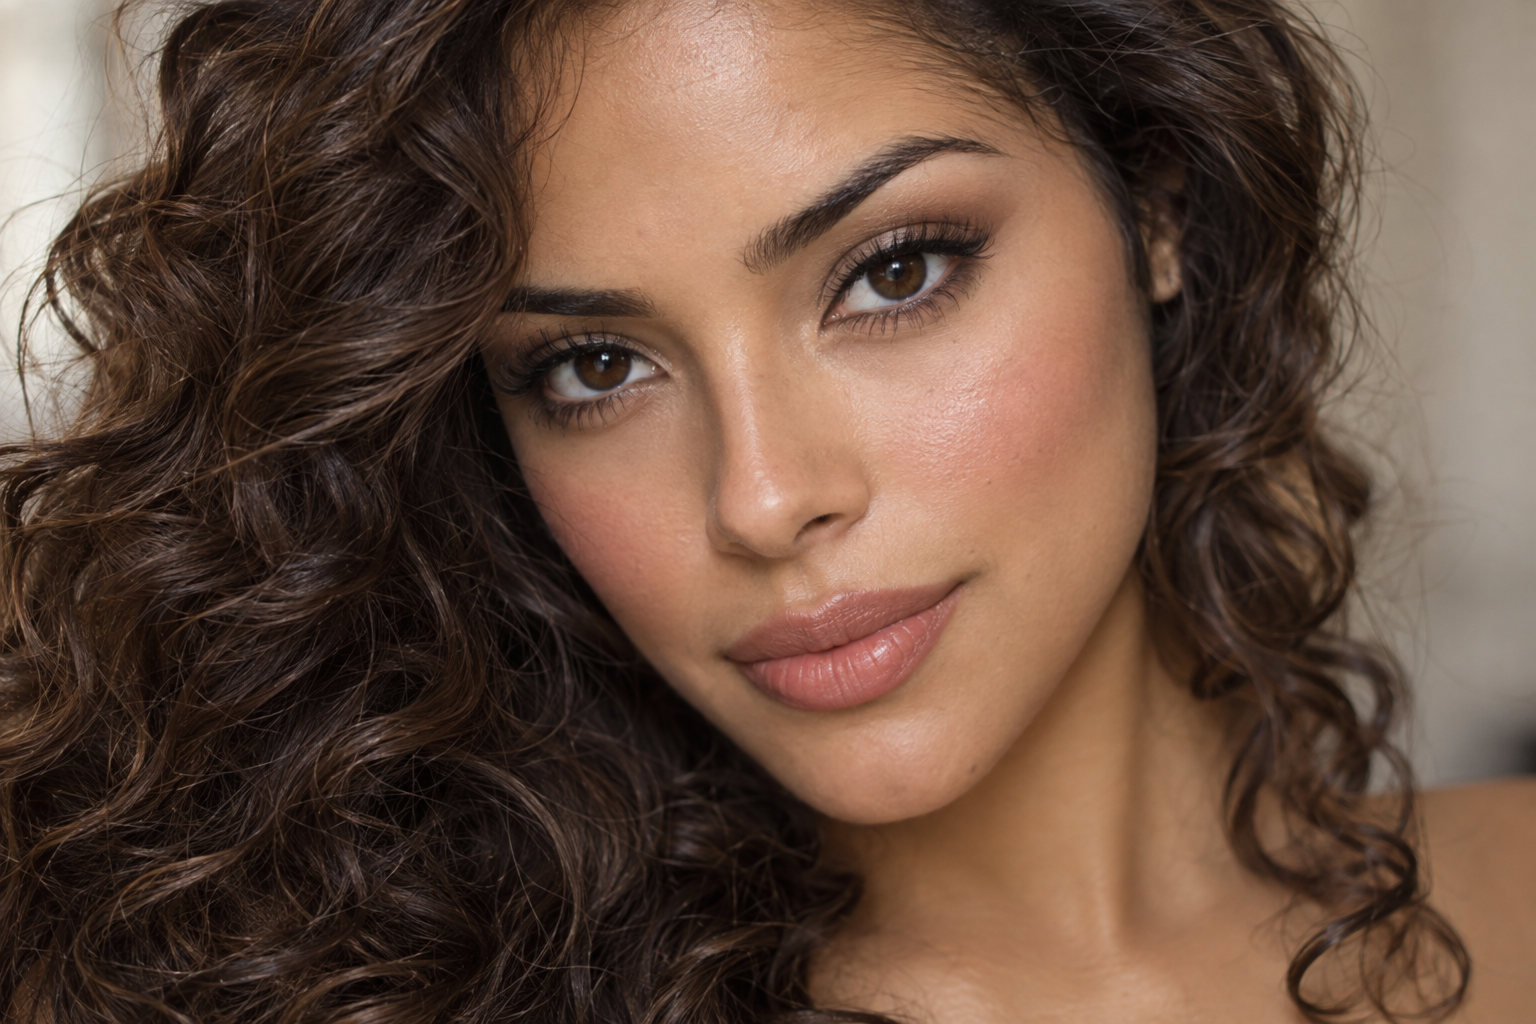
Sometimes the smallest details make a makeup look feel unfinished: liner takes over the lid, or a darker lip pencil looks separate from your lipstick. The answer is usually more thoughtful placement, not another layer.
This Latina makeup tutorial walks you through neutral defined glam: softly shaped brows, brown-shadow eyes, a small optional wing, blended cheeks, and deeper-lined lips. Latina identity doesn't prescribe a complexion, set of features, or makeup style. This is one look you can adapt to your face and taste.
Quick answer: Keep your base light, concentrate eye depth near the outer lashes, blend cheek edges, and soften lip liner inward before adding lipstick. You can get definition without full coverage, false lashes, contour, or overlining.
Choose your colors before you start
Pull out what you already own: optional foundation and concealer, a brow pencil or powder, two neutral shadows, eye liner, mascara, blush, lip pencil, and lipstick. A fluffy eye brush, smaller eye brush, cheek brush, and lip brush are helpful; use familiar tools rather than buying a new set.
For the softer version, choose brown eye definition, rose or terracotta blush, and a lip pencil slightly deeper than your lipstick. Black liner and a stronger lip contrast make the same placement more dramatic.
“Nude” doesn't have to mean beige. Rose-brown, caramel, mauve, or cocoa might give you the understated center color you want. Match your base to your actual complexion, not an assumption about your ethnicity.
Follow this Latina makeup tutorial step by step
Step 1: Build coverage only where you want it
Begin with your usual skin preparation and let it settle before applying makeup. If you're wearing foundation or skin tint, start around the center of your face and blend outward, leaving the edges lighter.
Check the shade along your jaw in consistent daylight: it should connect comfortably with your neck rather than leave a stripe. Add concealer in small amounts where you want extra coverage. You don't need a pale under-eye triangle or heavy powder to make the eyes stand out.
Keep powder selective for now. If you're using cream blush, leaving the cheeks unpowdered makes the next layers simpler to blend.
Step 2: Define your brows with small strokes
Brush your brows into the shape you like, then add short pencil strokes or small touches of powder where you want more definition. Work through the middle and tail before deciding whether the front needs anything.
Brush through again, especially at the inner edge. That second pass softens concentrated pigment, so your brow has shape without looking like one solid block. Brow gel is optional if you'd like to hold the hairs in place.
Step 3: Place shadow where you can actually see it
With your eyes open and brows relaxed, notice how much lid shows. Apply a midtone neutral shadow over the lid and blend its upper edge gently. Depending on your complexion and preference, that neutral might be taupe, caramel, brown, or a deeper cocoa.
If your crease disappears beneath a fold, look straight ahead and place a little shadow just above the hidden area so some remains visible. Don't raise your eyebrows to judge the placement; that changes the canvas.
Press a deeper shade onto the outer third of the lid and near the outer upper lashes. Use a smaller brush here, then soften only the edge. Blending the darkest color across the whole lid can erase the contrast you're trying to create.
With powder, build in small additions. If you're using a cream shadow that sets, work in sections according to its directions rather than waiting until the whole eye is covered to blend.
Step 4: Keep liner narrow, then decide on the wing
Draw short strokes close to the upper lashes instead of trying to pull one long line. Start with the outer half if a full line feels too heavy, and check your eyes open before making it thicker.
For a small wing, mark a short flick at the outer corner while looking straight ahead. Connect it back to the lash line gradually. There's no required angle: choose a direction that stays visible without cutting awkwardly across your fold.
A softened brown outer corner is a lovely alternative if a crisp wing feels fiddly. Smudge a blendable eye pencil before it sets, or use the deeper shadow along the outer lashes. Finish with mascara if you like.
Use eyeliner intended for the eye area rather than repurposing lip pencil.
Step 5: Blend blush into the base, not just onto it
Start with a small amount high on the cheek and blend toward the ear for an upward visual emphasis. If you prefer a rounder, more central flush, keep more color on the cheek apple instead.
For cream blush, tap it onto an unpowdered base, then soften the perimeter with your sponge or brush. Avoid vigorous rubbing, which can disturb the coverage underneath. For powder blush, tap excess off the brush and build with light passes.
Cream over powder isn't automatically wrong, but some combinations turn patchy. If your cheeks are already powdered, test a tiny amount or choose powder blush for a simpler finish. Bronzer and contour are optional, not missing steps.
Step 6: Give the lip outline a soft inner edge
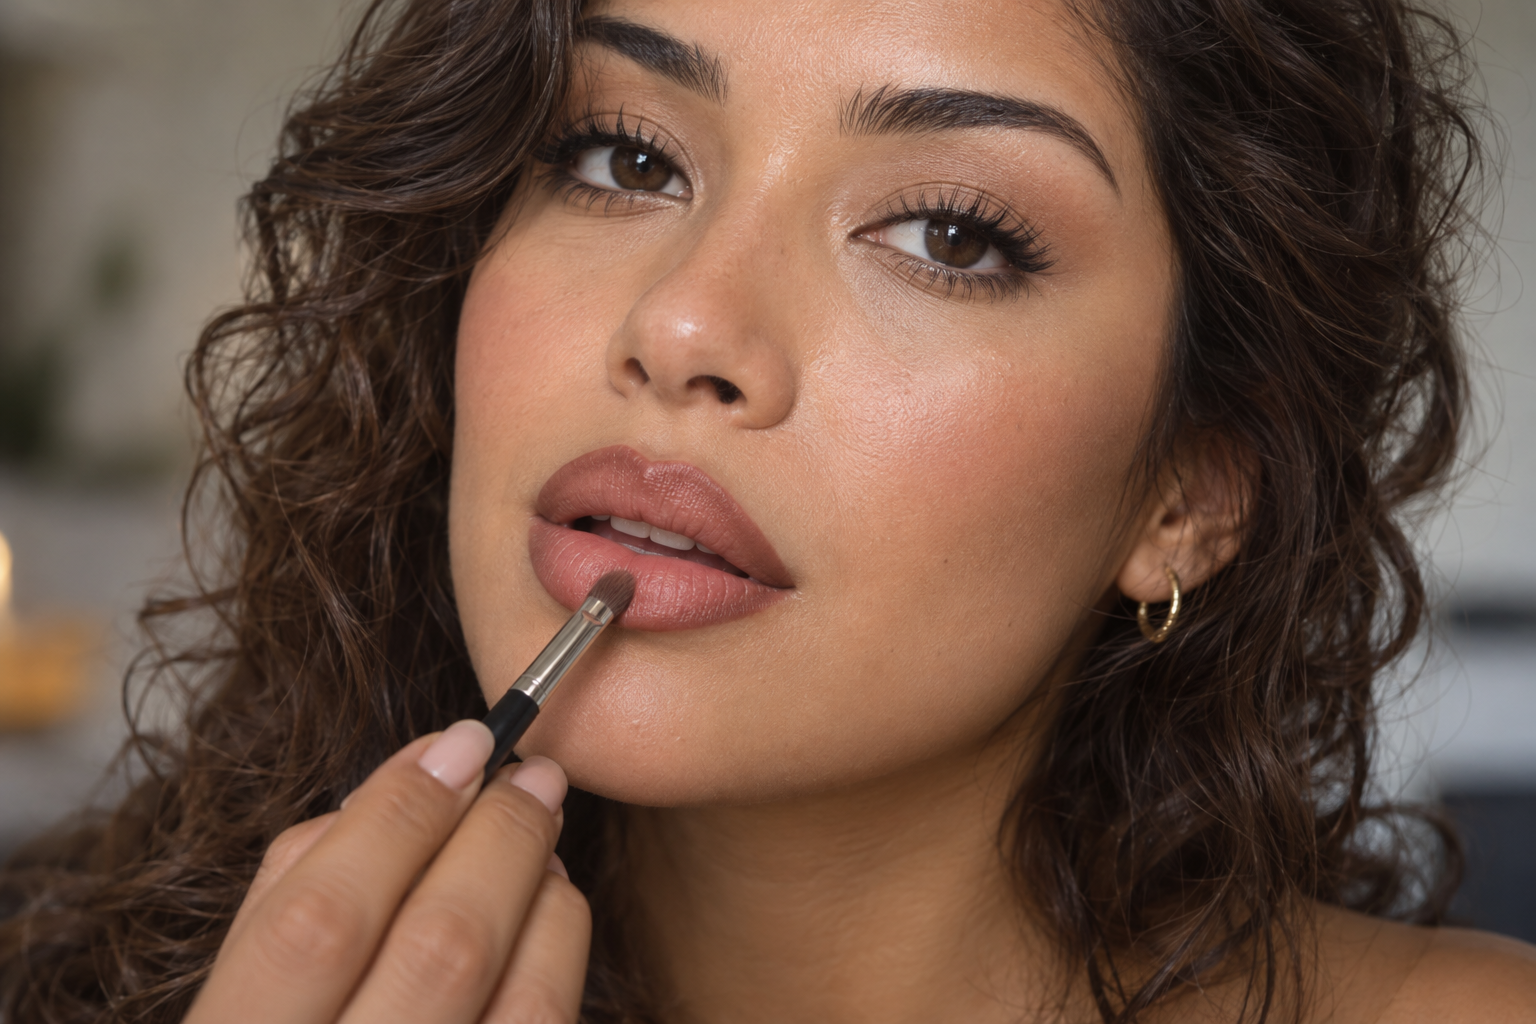
If you've applied balm, blot away excess slip. Trace your natural lip border with light, short strokes, then shade a narrow band just inside it. You don't need to overline to create contrast.
Soften that inner band with a small lip brush while keeping the outer border defined. Apply lipstick at the center, bringing it outward until it overlaps the softened pencil. That overlap is what connects the two colors.
A blendable pencil gives you room to adjust. With a fast-setting liner, work a section at a time if its directions allow. For an easier transition, choose closer shades rather than trying to blend a very dark outline into a very pale center.
Add a little gloss at the center if you want shine. It's a finish choice, not a promise of longer wear.
Step 7: Check the whole face before adding more
Look straight ahead, then step back from the mirror. Check whether your shadow is visible, the wings feel balanced, the cheek edges are blended, and the lip colors connect.
Adjust one thing at a time. If the eyes feel heavier than planned, soften the outer liner rather than adding more shadow everywhere.
Keep two details in your touch-up kit
Carry your lip pencil and center lip color. If the center fades, refresh it first; don't automatically redraw a darker border over the existing one.
For your next attempt, practice just the eyes-open shadow placement and the softened lip edge. Those two transitions do much of the work, even when the rest of your routine stays beautifully simple.