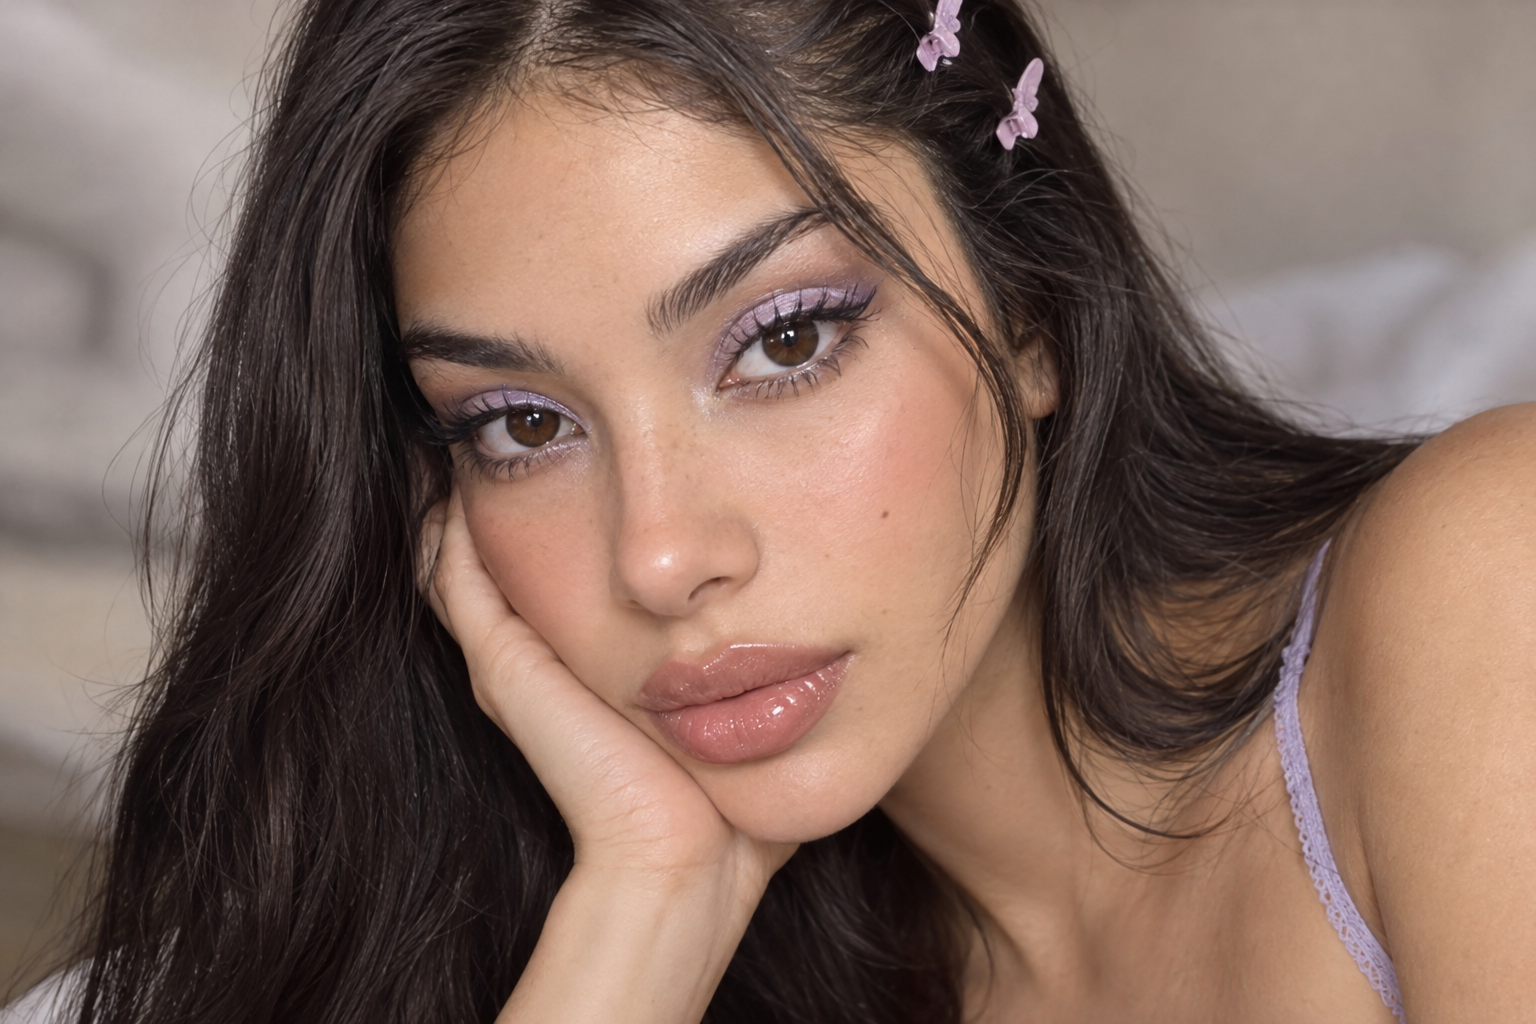
Pale shimmer can look lovely in the palette, then vanish when you open your eyes or spread farther than you intended. For a wearable Y2K makeup look, concentrate the frost on your lids, check its placement looking straight ahead, and pair it with softly lined, glossy lips. Keep your cheeks and brows quieter so the nostalgic details get their moment.
You don’t need pencil-thin brows or an opaque pale lip to make the reference clear.
Quick answer: Press frosted pastel shadow onto the lid, soften its edges, add fine upper-lash liner, and blend lip pencil inward before applying gloss. Keep the rest of your makeup softly finished.
Choose the Y2K details you actually want to wear
Frosted eyeshadow, pastel color, and high-shine lips are recognizable early-2000s beauty references, also documented in Vogue’s overview of Y2K hair and makeup. This version keeps those details without copying every feature of the era.
The emphasis here is reflective pastel eyes and glossy lips, rather than a matte-neutral nostalgic look. There’s overlap between late-1990s and early-2000s makeup, so think styling direction, not strict decade rules.
Try lilac as your main eye color, with pearl pink or pale blue as alternatives. Swatch before applying: a translucent pearl gives a lighter wash, while an opaque pastel base creates stronger contrast against your skin. Neither is automatically the better choice.
Gather a small kit, not a whole new makeup bag
Use what you already have where possible:
- Your usual complexion product or concealer, if wanted
- A soft blush
- An eyeshadow intended for the eye area with a fine, frosted sheen
- An optional matte neutral shadow
- Eyeliner and mascara
- Lip pencil and clear or sheer rosy gloss
Fine shimmer gives this look its reflective finish; you don’t need chunky glitter. Choose a liner close to your lip color or slightly deeper than your chosen lip shade. “Nude” doesn’t have to mean beige.
Build the look in six steps
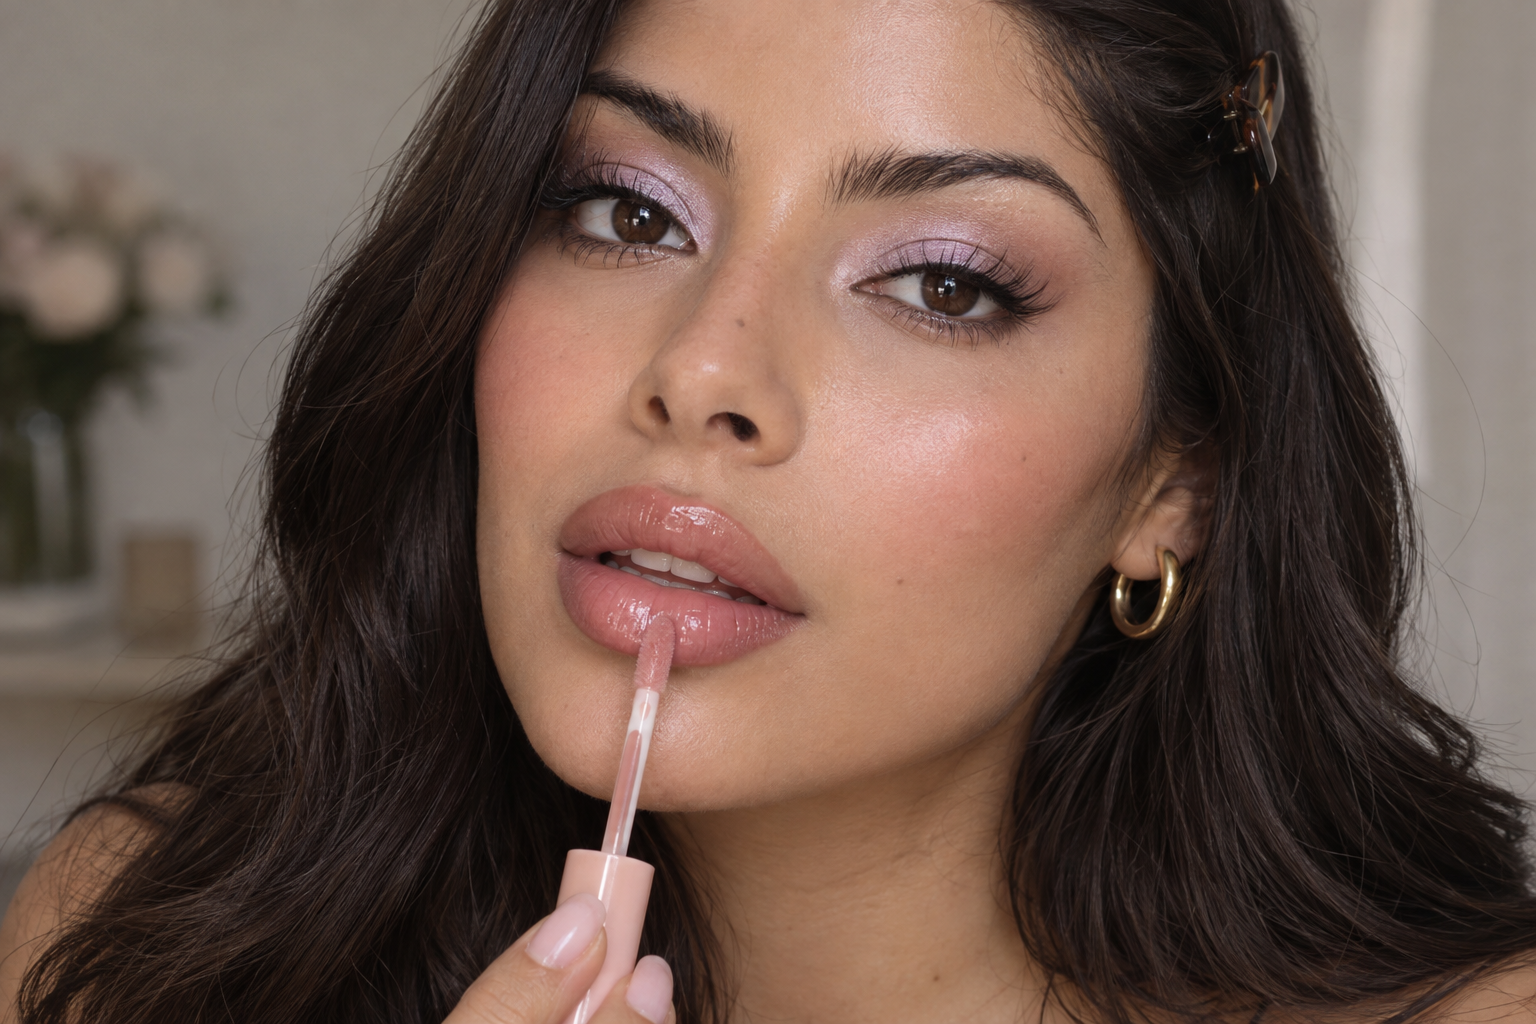
Step 1: Give the eyes and lips a quiet backdrop
Apply your usual base only where you want coverage, or use concealer selectively. Blend a little blush onto the upper cheek and outward, keeping it away from the immediate under-eye area so it doesn’t compete with the pastel shadow.
If you powder, focus on areas where you prefer less shine rather than automatically covering your whole face. Leave cheek highlighter until the end; the eyes and lips may provide all the reflection you want.
Step 2: Press the frost onto the lid instead of sweeping it everywhere
Begin at the center of the movable lid, then carry a light layer toward the inner portion. Leave the outer corner softer for now. Use a clean blending brush to soften the upper boundary without dragging more shimmer toward the brow.
With powder, load a small flat brush and tap off excess before pressing. With cream, use a small amount and blend according to its directions. For liquid shadow, place a small initial amount and soften the edge within the formula’s working time, before it sets.
Only use a damp brush if your shadow’s instructions explicitly allow it. More intensity isn’t always worth losing that sheer, airy finish.
Use shimmer intended for the eye area rather than lip gloss or craft glitter.
Step 3: Open your eyes before deciding you need more color
Look straight ahead with your face relaxed. The important question isn’t how much shimmer covers the closed lid, but where you can see it when your eyes are open.
If a fold hides the color, add a narrow touch just above that fold where it remains visible. Start small rather than covering the whole area between crease and brow. This adjusts visibility; it doesn’t prevent creasing.
If you want a little more structure, blend a matte neutral around the outer crease. Keep it subtle enough that the pastel remains the focus.
Step 4: Define the lashes without covering the frost
Draw a fine line along the upper lashes, keeping the pencil or liner on external skin. A thick line can take up the lid space you’ve just carefully colored.
Finish with mascara. You can leave the lower lash line bare for this version; heavy smoke below the eye shifts attention away from the light-reflecting lid. Brush your brows into their existing shape without changing their thickness.
Step 5: Blend the lip outline before gloss goes on
Follow your natural lip border with a coordinating pencil, using short strokes around the cupid’s bow and corners. Then use a lip brush to feather the pencil’s inner edge toward the center.
Keep the outside border defined while softening the transition inside it. That small distinction gives you intentional lining without a sharply separated ring of color.
If you want more color, add a sheer lip shade now. If not, your natural lip color can be the center of the look.
Step 6: Add gloss gradually, then check the whole face
Start gloss at the middle of the lips and spread a light layer outward. Follow the formula’s directions: a concentrated gloss may need very little, while a thinner one distributes differently.
Avoid repeatedly loading the outer border, where excess gloss can blur your carefully blended edge. This is placement advice, not a promise against transfer or feathering.
Step back from the mirror before adding cheek highlight. If the eyes and lips already catch the light, leave the cheeks softly finished.
Make small adjustments instead of starting over
The shadow looks chalkier than you wanted: Try a more translucent shimmer rather than repeatedly adding layers of an opaque pastel. If you enjoy strong contrast, keep it; the issue is whether it matches your intended finish.
The frost has spread too high: Stop adding shadow. Use a clean brush to soften the boundary, then keep extra cheek shimmer out of the look.
The lip outline feels too stark: Before applying more gloss, blend the pencil farther inward or add a sheer lip color that bridges the outline and center. Shine alone won’t soften a sharp color break.
For your first try, use one pastel and one gloss you already own. Keep two checks in mind: judge the shadow with your eyes open, and soften the liner before adding shine. Those small pauses make the placement much easier to control.