
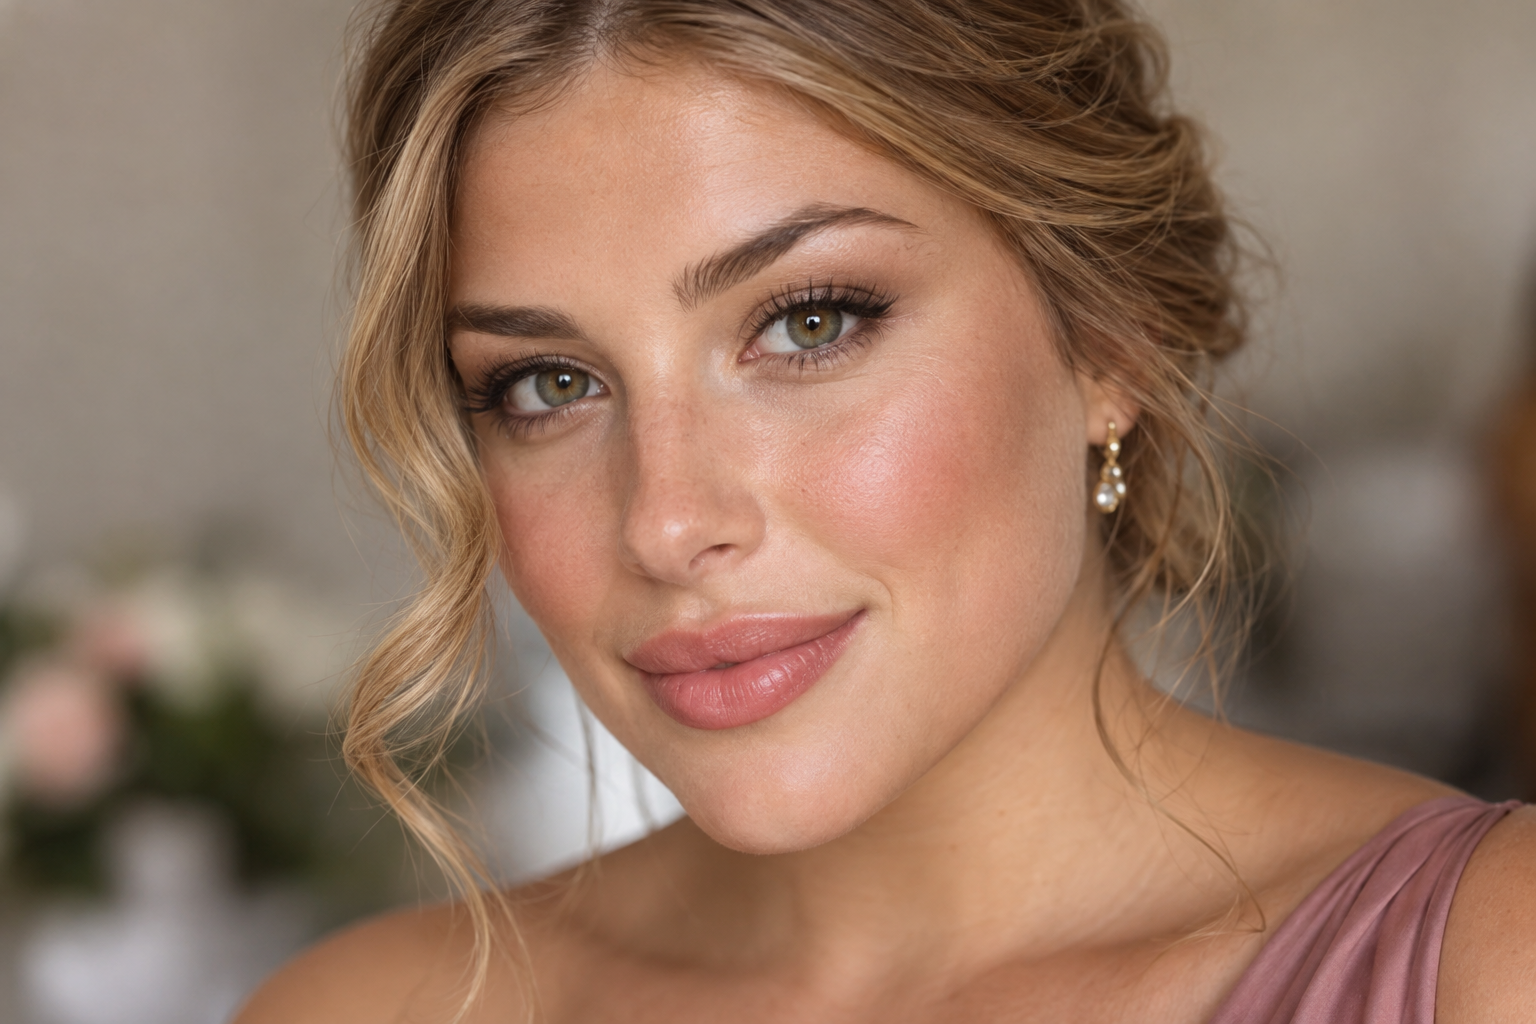
Your makeup looks lovely in the getting-ready mirror, but the group photo is happening hours later, possibly outside, after a car ride and a few happy tears. Bridesmaid makeup works best when you plan for that whole stretch: coordinate the overall style, build definition where you want it, and leave room for small touch-ups.
You don’t need heavier foundation just because you’ll be photographed. Familiar products, thoughtfully placed cheek and eye color, and a rehearsal with your dress give you a more useful starting point.
Quick answer: Agree on the wedding party’s makeup direction, adapt the shades to you, set only where needed, and check the look from farther away. Pack a small personal kit for refreshing before group photos and after eating.
Agree on the bridesmaid makeup direction before choosing shades
“Soft makeup” can mean barely-there mascara to one person and a blended smoky eye to another. Ask what the requested look actually includes: lip color family, eyeliner intensity, shimmer, lashes, and overall finish.
A shared rose lip doesn’t have to mean the same tube for everyone. One bridesmaid might choose muted pink, another brown-rose, and another a deeper rosy berry. Similar intensity can create cohesion without making everyone’s makeup identical.
If an artist is doing your makeup, share a reference image plus your comfort preferences. Mention sensitivities and whether you’re comfortable with lashes, matte lips, or fuller coverage. Also ask what you’ll need to refresh afterward.
Use the dress as a color reference, not an eyeshadow assignment:
- Sage or blue: Soft brown or taupe eyes with rosy cheeks can be a starting point.
- Blush or mauve: Try rosy-brown accents, adjusting their depth so they remain visible on you.
- Burgundy or deep jewel tones: Consider simpler eyes with a rose, berry, or brown-rose lip.
These are options, not rules. Hold the actual fabric near your face before deciding.
Build a comfortable base, then add definition
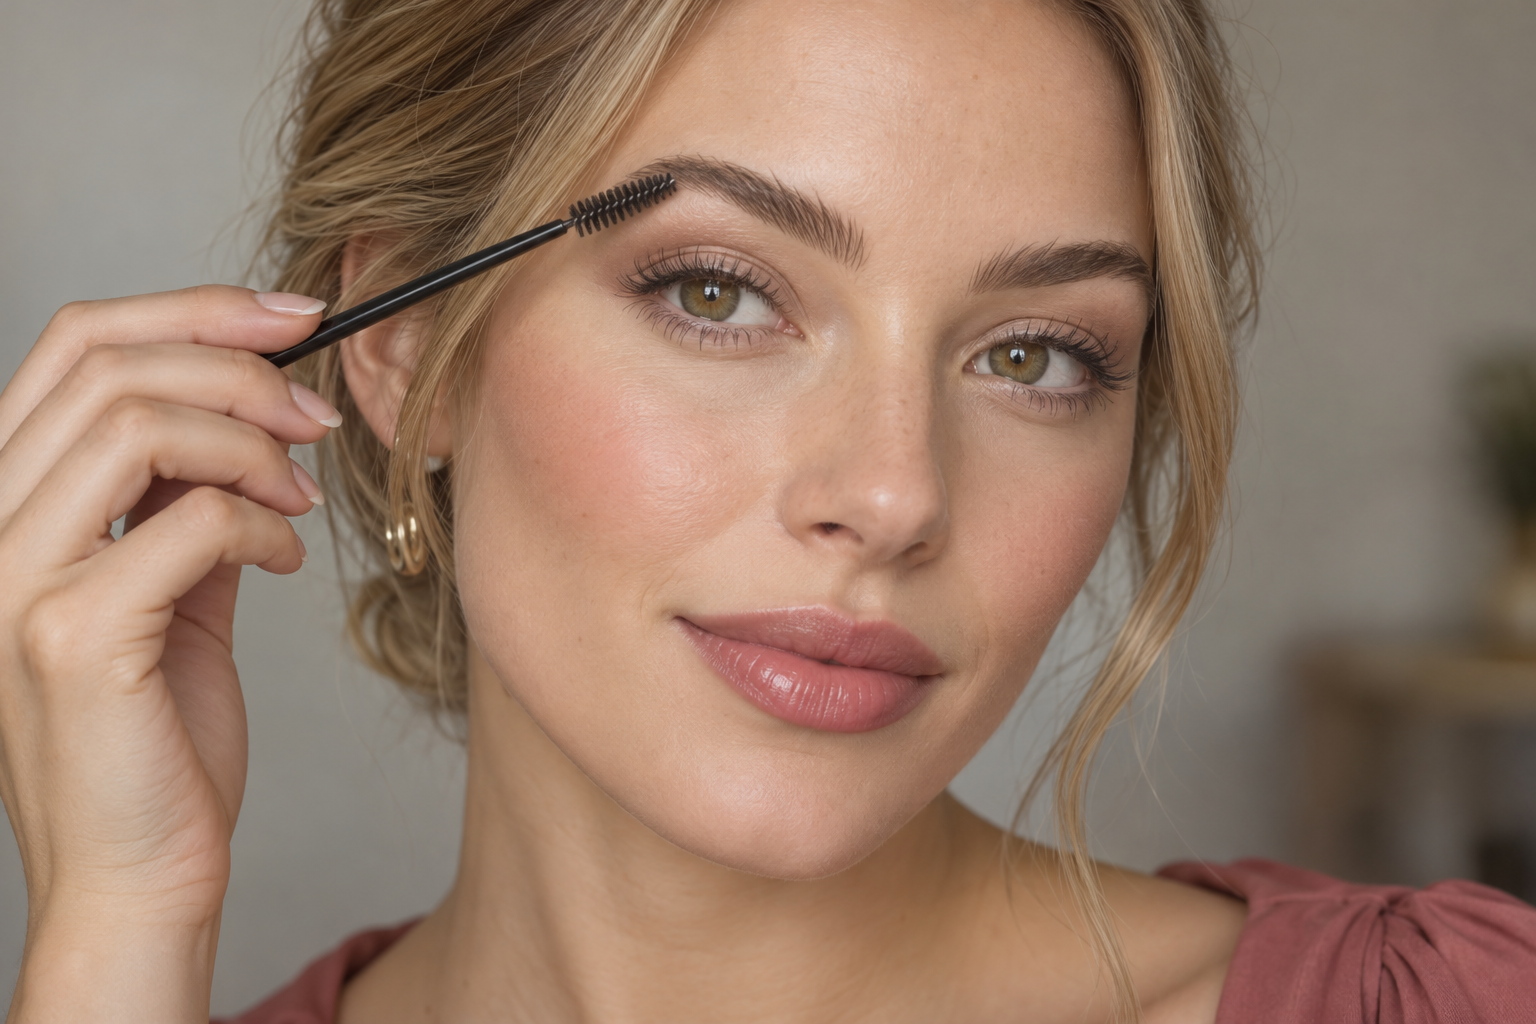
Rehearse with products you already know before buying anything new. Notice where your usual makeup becomes shiny, settles into folds, feels dry, or wears away. That tells you more about your setting needs than an “all-day” label alone.
Follow this application sequence, adapting it to your formulas.
- Keep skin preparation familiar. Use your usual moisturizer and appropriate sunscreen before makeup, following product directions. The American Academy of Dermatology’s skin-care guidance places moisturizer and sunscreen before makeup and notes that too many skin-care products can irritate skin. Let the surface settle before applying your base; there’s no universal waiting time. Primer is optional, especially if your usual routine works without it.
- Place coverage where you want it. Start with a light foundation application, blending outward from areas where you want more coverage. Add concealer locally rather than automatically adding another foundation layer everywhere. Check the jawline against your neck and exposed neckline in daylight, particularly if the dress shows more skin than your everyday clothes.
- Give cheeks softly blended color. Apply blush to the cheek area where you like the fullness, then soften its edges upward and outward. With cream blush, tap gently rather than dragging across the base. With powder, pick up a little, remove excess from the brush, and build gradually. Check both cheeks from the front so one isn’t noticeably stronger.
- Define eyes at your comfortable intensity. Brush brows into place and add pencil or powder only where you want definition. A narrow line along the upper lashes can make the eye shape more distinct without a large wing. If you’re using shimmer, concentrating it on part of the lid gives you control over how much catches the light. False lashes are optional; choose familiar mascara, considering a waterproof-labeled formula if you expect tears. It still isn’t a promise against smudging.
- Set selectively. Press a small amount of powder onto areas that became shiny or creased during rehearsal, rather than coating the whole face by default. If concealer has gathered in a fold, gently smooth it before powdering; powder won’t erase the ridge underneath. Brush away visible excess and leave comfortable, dry areas alone. Check the powder on your complexion rather than assuming “translucent” means invisible.
Highlight can stay on a small area of the upper cheek if you enjoy it. You don’t have to choose between a completely matte face and shine everywhere. Setting spray is optional too: use it according to its directions, not as a substitute for checking your application.
For outdoor portraits or ceremonies, keep sun protection in the plan. The AAD recommends broad-spectrum, water-resistant SPF 30 or higher, with reapplication every two hours outdoors and immediately after swimming or sweating. Don’t skip it for photographs.
Choose a lip finish you’re willing to maintain
The easiest wedding-day lip is one you can comfortably wear and repair. A satin or cream lipstick may need refreshing after food but can be straightforward to reapply. Gloss brings shine, with a little more attention to transfer. A long-wear liquid formula may require a more deliberate application and removal routine.
For a cream lipstick, apply a light coat and blot gently if you prefer less slip. For a film-forming liquid lipstick, follow its directions and allow it to set before adding anything over it; repeatedly layering while it’s tacky can make the finish uneven.
Check the inner lip edge when you smile and speak, not just with your mouth closed. Keep your own lip product in the pouch. If any product burns or irritates, remove it rather than preserving the look; recurring irritation deserves professional advice.
Check the look at group-photo distance
During rehearsal, put on the dress or hold its fabric at your neckline, and arrange your hair roughly as you’ll wear it. Take an unfiltered daylight photo from several feet away with your head and upper torso visible. Add an indoor flash photo if flash is likely.
Look for specific things:
- Can you see the cheek and lip color as clearly as you’d like?
- Does your eye definition still feel balanced from farther away?
- Is powder visibly pale, or is shimmer concentrated somewhere you don’t want it?
- Does the makeup sit comfortably beside the dress color?
If you want more definition, change one element and photograph again. A little more blush or lash-line definition may be enough; extra foundation isn’t the automatic answer.
A phone check helps you make choices, but it can’t reproduce the photographer’s lighting, lens, or editing.
Pack for small repairs, not a second full application
Choose two convenient check-in points: before formal group photos and after the meal. Confirm who will hold your pouch, especially if your dress has no pockets.
Bring lip color, blotting sheets or clean tissues, a small powder compact with its own applicator, and a mirror. Add concealer only if you’ve rehearsed using it for spot repairs.
Inspect before applying anything. For surface shine, gently press and lift a blotting sheet or tissue, then reassess. Blotting can lift some makeup, so avoid rubbing. Add a little powder only where you still want it.
If coverage has worn away, repair that spot instead of powdering over it. Skip more powder on an area that already looks dry, and check the remaining lipstick before refreshing the center.
Your most useful preparation is one complete rehearsal, followed by a tiny note: what to blot, what to refresh, and who has the pouch. That leaves less to figure out when everyone’s being called for photos.
