
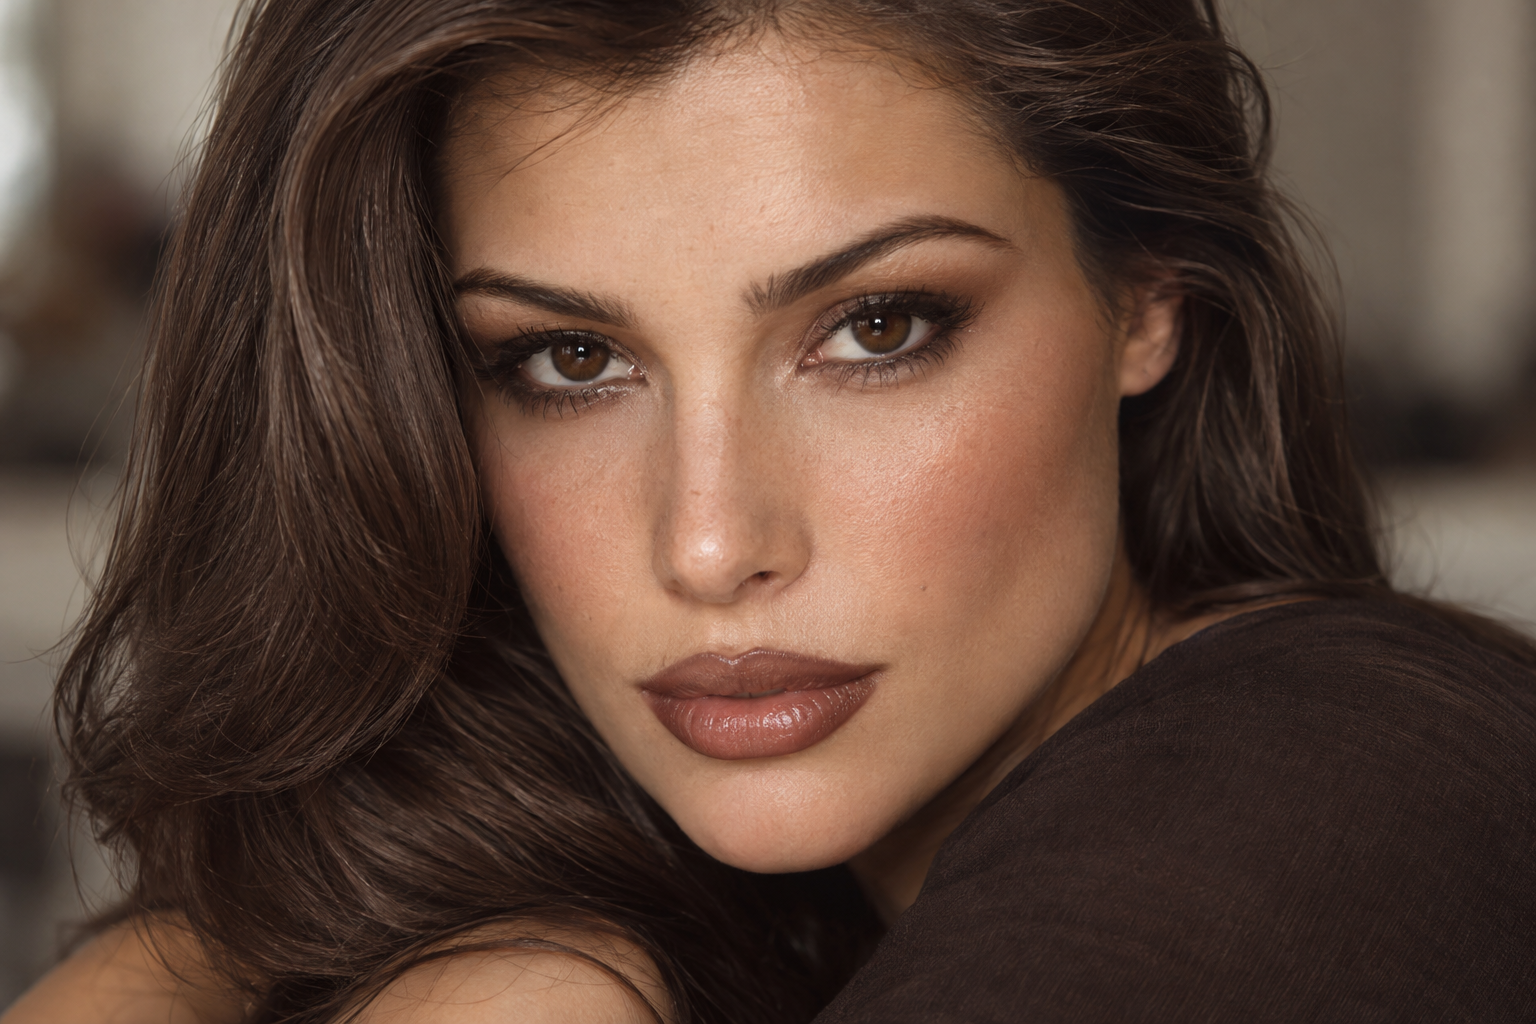
Brown shadow can turn into one big blur, and brown lip liner can look disconnected from the lipstick inside it. For wearable 90s makeup, keep the deepest eye color close to your lashes and blend only the inner edge of your lip liner. Add a softly matte or satin base and muted rose-brown blush, and you’ve got a coordinated look without piling on every nostalgic detail.
Quick answer: Pair a medium-brown lid wash with deeper upper-lash definition, softly diffused blush, and brown lip liner blended inward into slightly lighter lipstick. Keep the lip perimeter visible, but soften the transition toward the center.
Choose your browns by contrast, not the shade name
This is one muted, wearable interpretation of 90s makeup, not a rulebook for an entire decade. Compared with a frosted, high-shine Y2K-inspired look, the focus here is restrained shine and brown definition. There’s overlap between the eras, including brown lip liner.
You can build this with products you already own:
- A medium-brown shadow that’s visible on your complexion.
- A deeper brown shadow and a brown eye pencil.
- Mascara and a muted rose, rose-brown, or warm-brown blush.
- Brown lip liner and a slightly lighter satin or matte lipstick.
- Optional foundation, concealer, and powder.
“Medium brown” is relative. A taupe that adds depth on one complexion might barely show on another; cocoa or a richer reddish brown may give you the contrast you want.
For lips, choose the center color against your actual lip pigmentation, not just a hand swatch. Rose-brown, caramel, or muted chocolate can all play the lighter-center role. Nude doesn’t have to mean pale beige.
Start with liner modestly deeper than your lipstick. You can increase the contrast later, but a closer shade pairing makes a softly blended finish easier.
Keep the base light and selectively matte
Apply your usual skin preparation, then add foundation or concealer only where you want coverage. The eyes and lips provide plenty of definition, so a full-coverage base isn’t necessary.
For a softly matte finish, press a little powder onto areas where you want less shine, such as around the nose or the center of the forehead. Leave the rest alone if you like a satin finish.
Before adding more powder, check whether you’re seeing shine or simply natural skin texture. This look doesn’t require you to powder every visible detail out of existence.
Brush your brows into place and fill sparse areas only if you want to. There’s no need to reshape or thin them to make the makeup feel nostalgic.
Build brown eyes without losing the shape
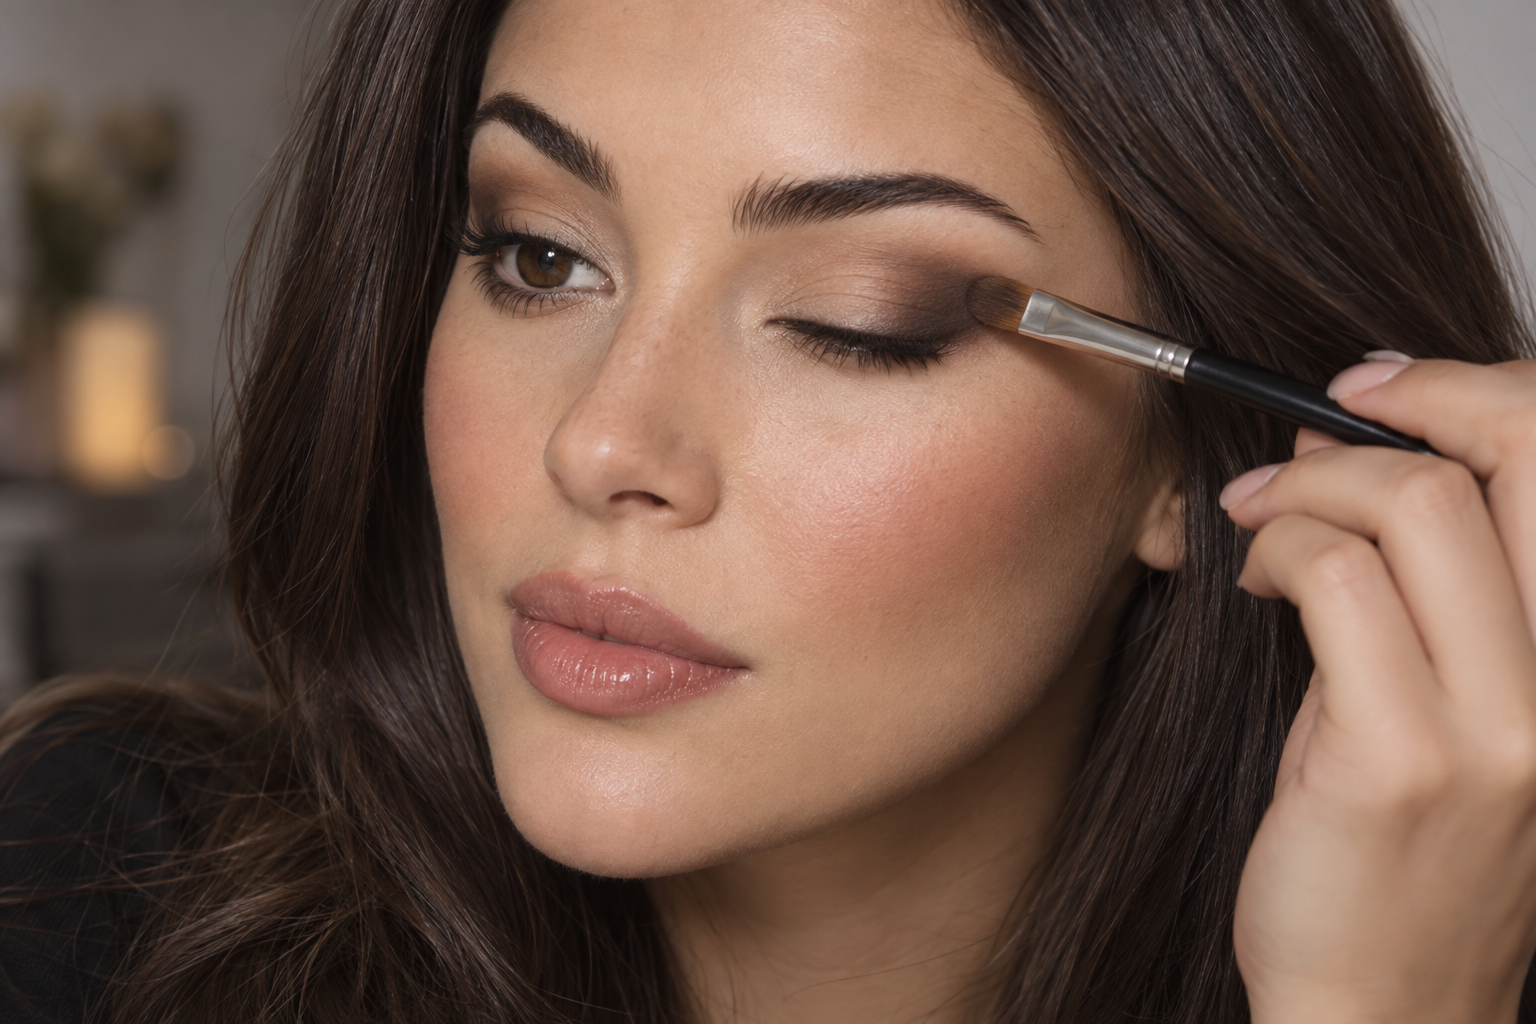
Start with the medium brown across your mobile lid. Use a small amount, then soften the upper edge with a clean blending brush so the color fades rather than ending in a stripe.
Keep your eyes open between passes. If you have hooded eyes or limited visible lid space, check where the wash shows when you’re looking straight ahead. Blend a little above the fold if needed, while keeping the darkest color lower.
Next, press deeper brown onto the outer third of the upper lash line. Blend slightly upward into the lid wash, rather than sweeping it through the whole crease immediately. That small area of depth gives the eye definition without turning every shade into the same brown haze.
Use your eye pencil in short strokes close to the upper lashes. Join the strokes, then soften the top edge with a small brush. Keep the line narrow if a thicker band would cover most of your visible lid.
Formula changes the approach:
- Powder shadow: Build gradually and use a clean brush to soften edges without adding more pigment.
- Blendable cream or pencil: Work in manageable sections.
- Quick-setting formulas: Blend each section before moving on, following the product’s directions rather than relying on a fixed blending time.
Finish with mascara. Lower-lash liner is optional; leaving it out keeps this version softly defined.
Give blush a soft edge, not an invisible color
Place a light layer of blush on the fuller part of your cheek, then blend outward toward the cheekbone. Keep the color on the cheek rather than sweeping it close to your nose.
“Soft blush” means a diffused edge and balanced intensity, not necessarily a pale shade. A deeper rose-brown may create that effect on your complexion more easily than a dusty pink.
If you’re using cream blush, tap it on before powdering that area. For powder blush, make sure your base isn’t still tacky, which can cause the first touch of pigment to cling in one spot.
Check both cheeks before adding another layer. The blush should be visible, but it doesn’t need to compete with the eyes and lips.
Blend the lip liner inward, leaving the border defined
If your lips need comfort first, apply a little bland, fragrance-free balm and blot excess slip before makeup. Scrubbing isn’t a prerequisite.
If a lip product stings, switch formulas; comfortable lips also make the liner easier to blend.
Then build the gradient:
- Trace your natural border. Start at the Cupid’s bow and center of the lower lip, then connect toward the corners using short strokes.
- Soften the inner edge. With a small lip brush, pull a little liner pigment inward. Leave the outer border in place so you retain that visible brown definition.
- Apply the lighter lipstick. Put color through the center and overlap the softened liner edge. Don’t stop short of it, which can leave a gap between the two colors.
- Check the corners and transition. Use the brush to connect any patches, then gently press your lips together without rubbing them back and forth.
If your liner sets quickly, outline and blend a small section at a time instead of tracing your entire mouth first.
The easily missed detail: blend the transition, not the whole outline. Sweeping over everything can erase the contrast you were trying to create.
Make two small checks before adding more
Look at the complete face in normal light, with your eyes open and lips relaxed.
If the eyes look heavier than intended, soften the upper shadow edge with a clean brush before adding another shade. If the lips look more outlined than you wanted, blend the inner edge again or choose a center color closer to the liner. Blending alone won’t erase a large shade difference.
Keep a small lip brush and your lipstick handy for touch-ups. Reconnect the center color to the liner before redrawing the border: often, that little transition needs attention more than the outline itself.
