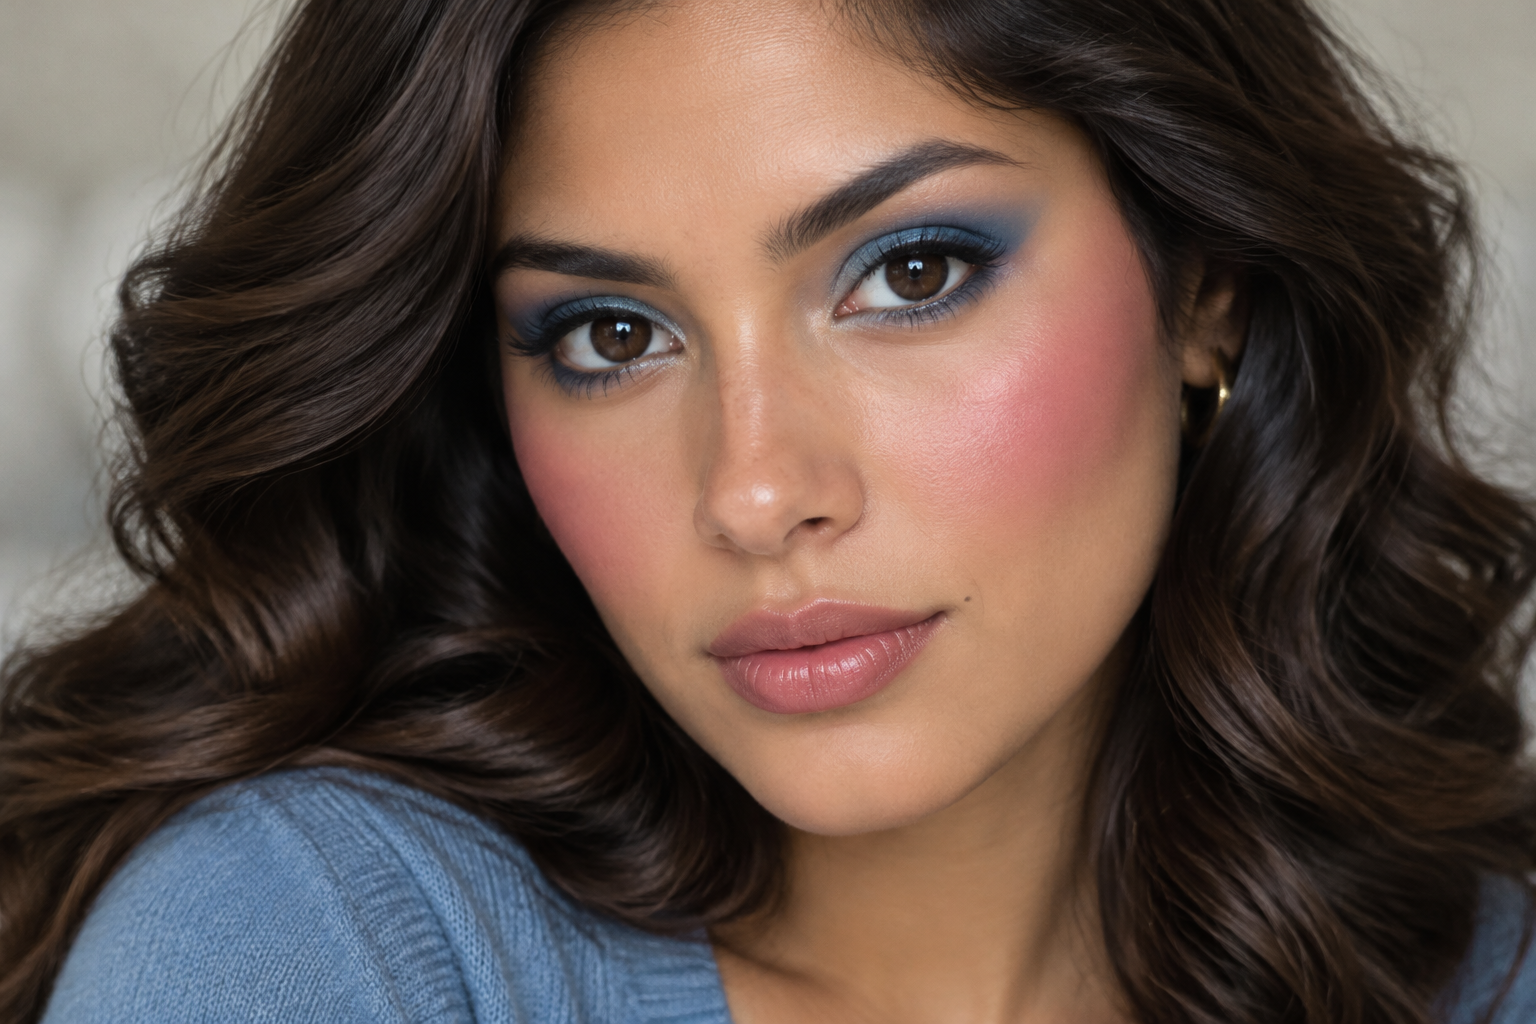
Blue eyeshadow looks lovely in the palette. Pink blush looks lovely on your cheeks. Put them together, though, and suddenly the look can feel more theme party than dinner plans.
The trick to wearable 80s makeup is to keep both colors visible while controlling their boundaries: concentrate shadow near the lashes, sweep blush high toward the temples, and soften the edges. Your usual base and a sheer lip make the combination feel familiar rather than like a complete transformation.
Quick answer: Pair one colorful eye shade with high, outward-blended blush. Leave space below the brows, keep the blush strongest on the cheek, and start with a softer lip.
Keep the 80s cues, not every dramatic detail
Blue, violet, teal, and pink eye color, expressive blush, and defined lashes offer recognizable inspiration. You don’t need bright pigment from lash line to eyebrow or several statement features at maximum intensity.
The decade wasn’t one uniform makeup look. British Vogue’s 1980s archive showcases dramatic editorial beauty, while a newspaper beauty feature from May 1980 also described sheer color and softly edged blush moving toward the hairline.
This is an 80s-inspired adaptation, not a reconstruction. The color and cheek placement carry the reference; the amount you apply is yours to choose.
Choose a pairing from what you already own
Start with blue or violet shadow and rose or raspberry blush. Teal with coral is another option if you prefer a warmer cheek.
Choose enough pigment for the shades to show on your complexion. A pale pink may look softly rosy on one person and chalky on another; a richer berry can give clearer color without requiring a heavy layer. No single shade belongs exclusively to a particular skin tone.
Your kit can stay small:
- One eye-area-approved shadow or liner.
- One blush, plus a brush or sponge suited to its formula.
- Your usual mascara and optional dark liner.
- A familiar lip color you can apply sheerly.
A special retro palette isn’t necessary. Neither is buying three blues when one will do.
Apply the look in seven steps
Step 1: Keep your base comfortable and familiar
Use your normal foundation, a little concealer, or no complexion makeup. There’s no need to increase coverage simply because you’re adding color.
If using powder blush, let a tacky base settle first. A sticky patch can grab pigment unevenly and make the first brush mark harder to blend.
Step 2: Place eye color close to the upper lashes
With powder shadow, press a lightly loaded brush onto the lid immediately above the lashes. Build the color there before moving upward; pressing gives you more control than sweeping a full brush across the whole lid.
For cream or stick shadow, apply a small amount and blend according to its directions. Some formulas set quickly, so finish one eye before starting the other rather than drawing thick patches on both.
Use only products intended for the eye area, not a matching blush or lipstick by default. The FDA’s eye-cosmetic guidance advises stopping a product that irritates your eyes and seeking medical advice if irritation persists; skip eye makeup during an eye infection or surrounding inflammation.
Step 3: Check the shape with your eyes open
Look straight ahead before adding more shadow. If the color disappears into your lid fold, place a little just above that fold where you can see it, while retaining a clear gap below the brow.
Use a clean blending brush to soften the top edge without spreading pigment across the entire upper lid. You’re aiming for a visible patch of color with a diffused boundary, not necessarily a perfectly symmetrical shape when your eyes are closed.
Step 4: Give the lashes a little definition
Apply your usual mascara. If you want more contrast, add a fine dark line along the upper lashes, keeping it narrower than the colored area so the blue or violet remains visible.
Leave the lower lash line simple for your first attempt. You can always add color there later, but it’s easier to judge the eye-and-cheek balance without it.
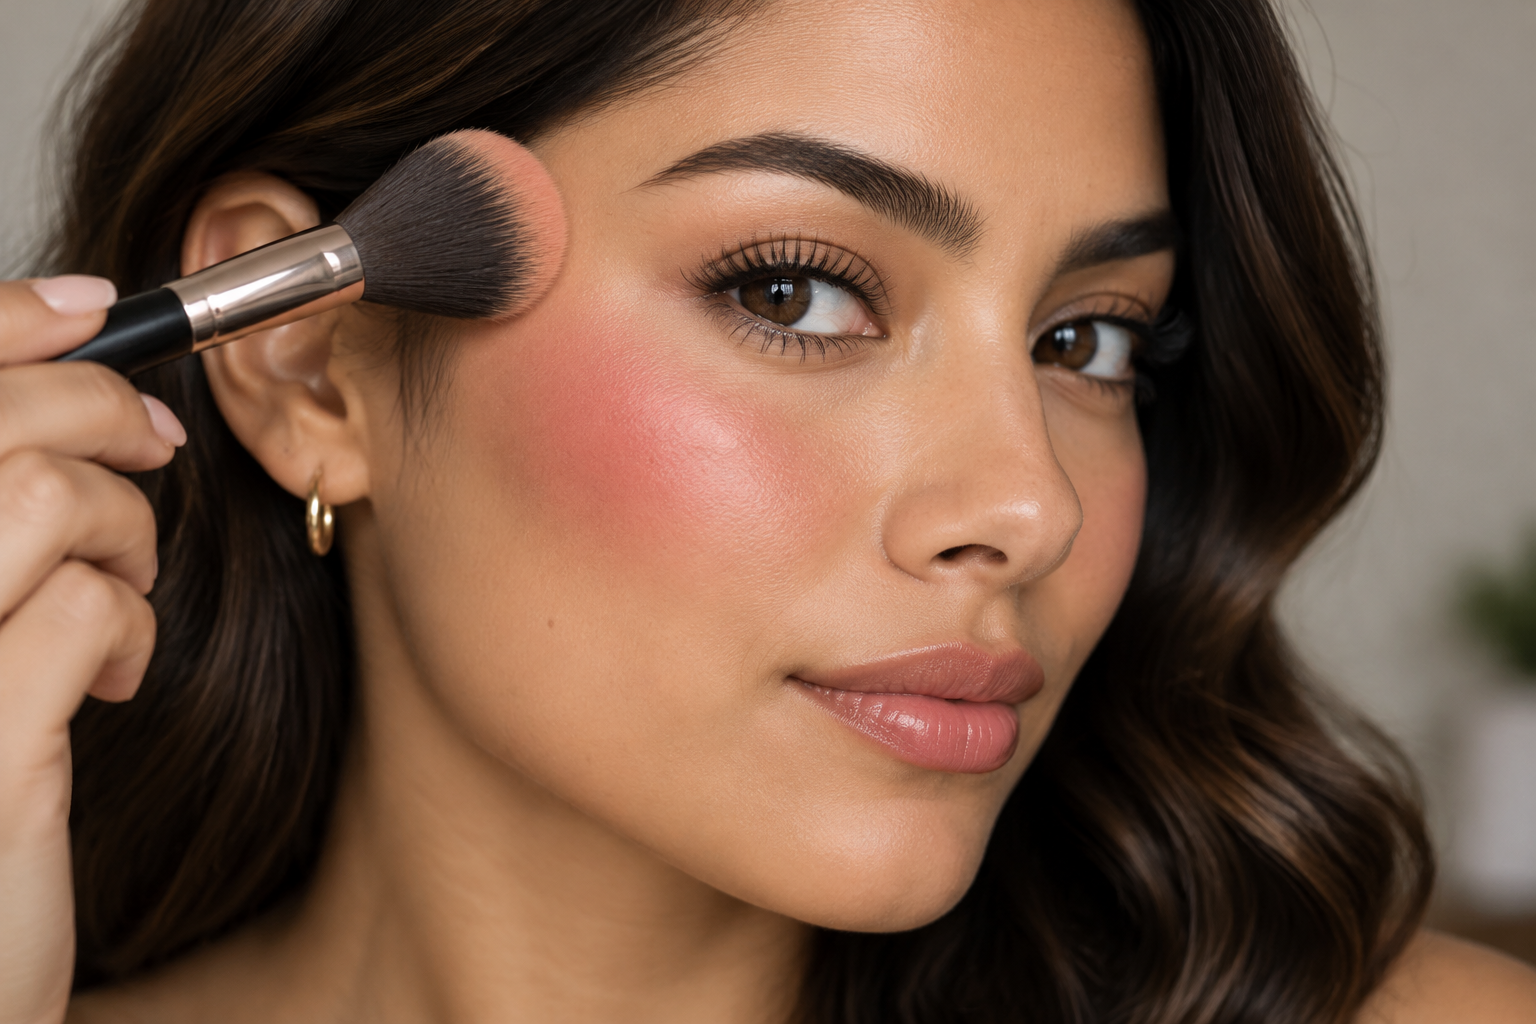
Step 5: Build blush on the upper outer cheek
Start on the high part of the cheekbone, around the area beneath the outer corner of your eye. Blend outward toward the temple, keeping the richest color on the cheek rather than beside the hairline.
Here’s the useful detail: don’t reload your tool for the temple sweep. Use the pigment left on it to create a lighter tail. That keeps the directional shape without making a continuous stripe.
With powder, use a lightly loaded brush and small passes. With cream or liquid, pick up a little product from the back of your hand if the directions allow, then tap it onto the cheek. Rubbing can disturb the base underneath. Keep ordinary cheek products off the eyelids unless specifically approved for that use.
Step 6: Finish brows and lips without adding another project
Brush brows into their natural direction and fill only where you want extra definition. There’s no need to redraw their shape for the retro reference.
Try a sheer rose, berry, or familiar neutral lip. If your lipstick is opaque, tap on a small amount and blend it out rather than applying a full coat. A softer lip is a starting point, not a ban on bright lipstick.
Step 7: Check the whole face from a little farther away
Step back from the close-up mirror to roughly conversational distance. Both the eye color and blush should still be readable, but neither needs a hard outline.
If a blush edge looks abrupt, tap along the boundary with a clean sponge edge or blend with a clean brush. Check that before adding another layer of color.
Adjust the color’s footprint before changing the shade
If a full blue lid feels like more than you want, keep the blue and make its area smaller. Try a narrow upper-lash accent using an eye-intended liner or shadow applied according to its directions. Don’t wet a powder unless the product permits it.
For daytime, choose a smaller colored shape or a sheer wash with visible pigment. For evening, deepen the same placement first. That adds intensity without introducing several new shades.
Likewise, blush can remain distinctly rosy while its temple edge stays delicate. If a quick-setting formula becomes patchy, work in smaller sections rather than trying to blend a large application after it has set.
Before an event, do a practice wear with your existing formulas. Placement alone won’t guarantee crease-free shadow or lasting blush.
Your first try: one shade, one sweep, one check
Start with one colorful lid, one high cheek sweep, and your usual lip applied lightly. Then look at the whole face before reaching for more makeup.
If something feels too strong, soften an edge or shrink the colored area first. You can keep the lovely blue and rosy cheek without turning up every feature at once.