
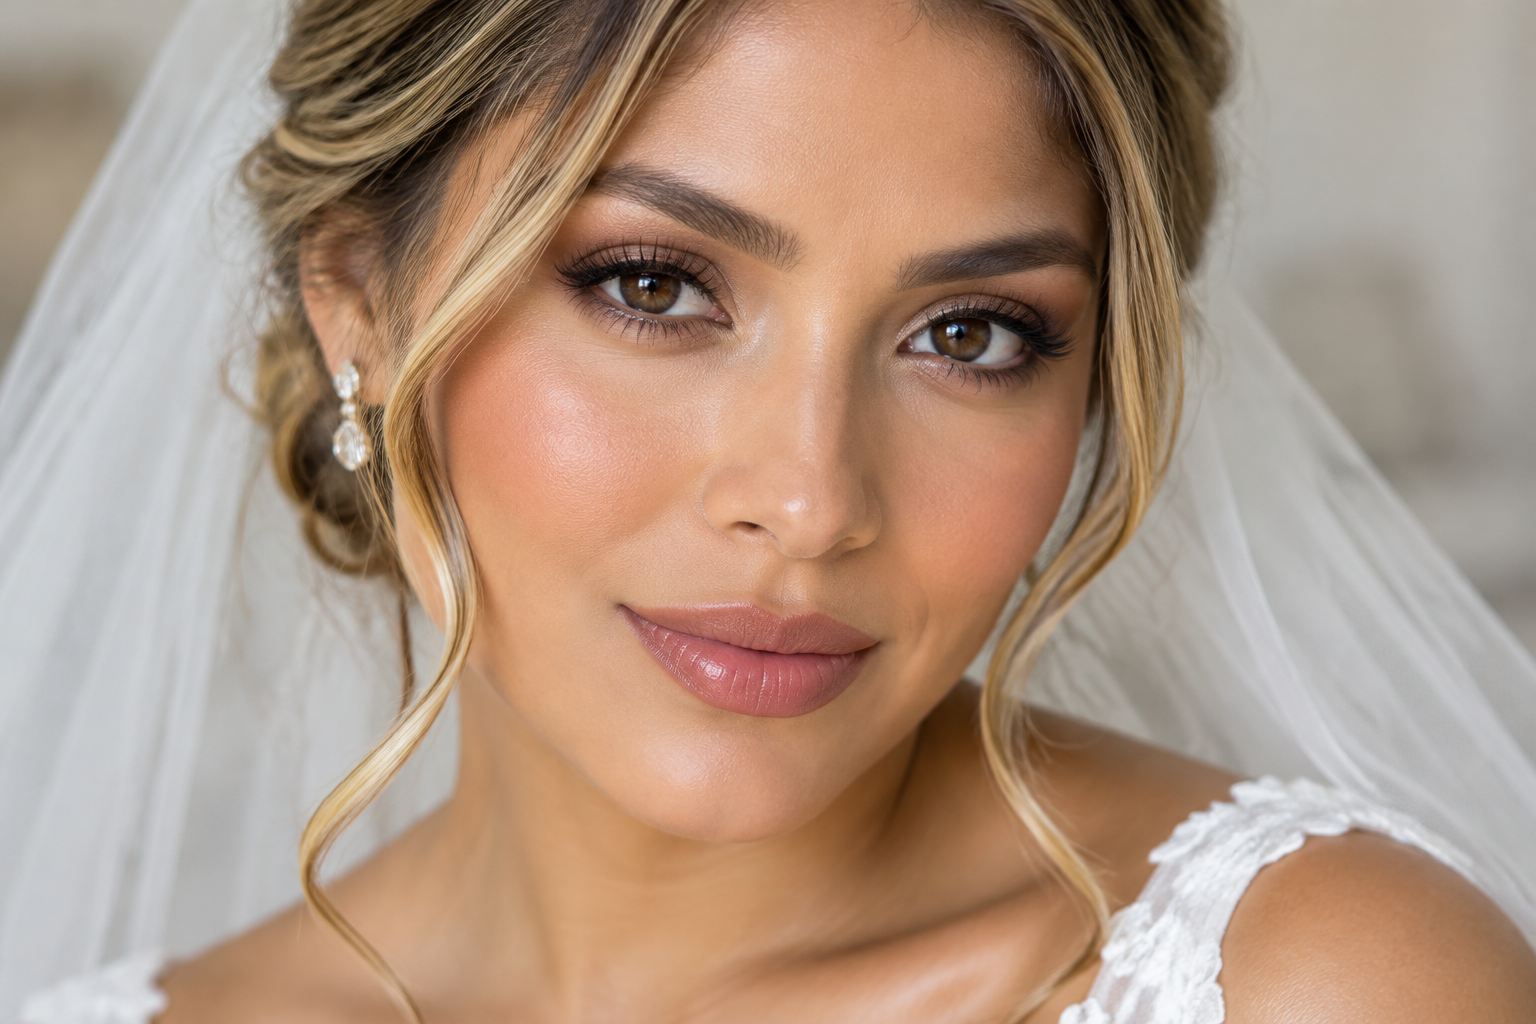
You love the reference photo, but the trial leaves you staring at a lip color you’d never wear and lashes you can feel every time you blink. Soft glam bridal makeup should bring out your familiar style, not replace it. Start with colors you already enjoy, add definition where you want it, and keep coverage selective.
The softness comes from blended edges and a balanced finish, not compulsory beige lipstick or barely visible blush.
Quick answer: Keep your signature features, blend eye and cheek color gently, and add coverage only where you want it. Rehearse the complete look for comfort, wear, and photographs before deciding what needs more definition.
Choose what you want to keep before choosing what to add
Pick two details that make your usual makeup feel like yours. Maybe that’s a berry lip, freckles showing through foundation, brushed brows, or a little winged liner. Those are useful anchors for both DIY makeup and a professional trial.
Then name anything you don’t want: a fully matte face, a sharply outlined brow, or lashes that touch your glasses. Specific preferences give an artist much more to work with than “natural, but glamorous.”
For color, start with shades you happily wear rather than an imagined bridal palette:
- Rose, peach, or terracotta can bring warmth and visible cheek color.
- Mauve, caramel, or berry can give lips definition without a stark outline.
- Taupe, bronze, or soft brown can add eye depth with softly blended edges.
These are options, not skin-tone assignments. Look at each shade on your face, especially its depth. A pale “nude” in the tube may look chalky on you, while a richer shade can look beautifully understated.
Build your soft glam bridal makeup in six steps
1. Keep skin preparation familiar
Use the skin care you already know sits comfortably beneath makeup. This isn’t the moment to introduce an exfoliating routine or several new layers.
The American Academy of Dermatology’s application guidance places moisturizer and/or sunscreen before makeup. Follow your products’ directions and use the rehearsal to check for pilling or slipping, rather than relying on a universal waiting time.
For outdoor exposure, retain sun protection. The AAD recommends broad-spectrum, water-resistant SPF 30 or higher, with reapplication every two hours or immediately after swimming or sweating. Plan shade and reapplication rather than treating your morning application as an all-day solution.
2. Place coverage where you actually want it
Start foundation around the areas where you want coverage, then blend outward toward the hairline and jaw. You don’t need the same amount on your cheeks, nose, and forehead.
Press or stipple over an area needing coverage; use lighter blending strokes at the edges. Once that layer is settled, add concealer locally instead of automatically applying more foundation everywhere.
Check your jaw, ears, and visible neckline together. The goal is a coherent color match, not extending foundation over your dress neckline. Visible pores and lines are normal, including in wedding photographs.
3. Define eyes without making every edge sharp
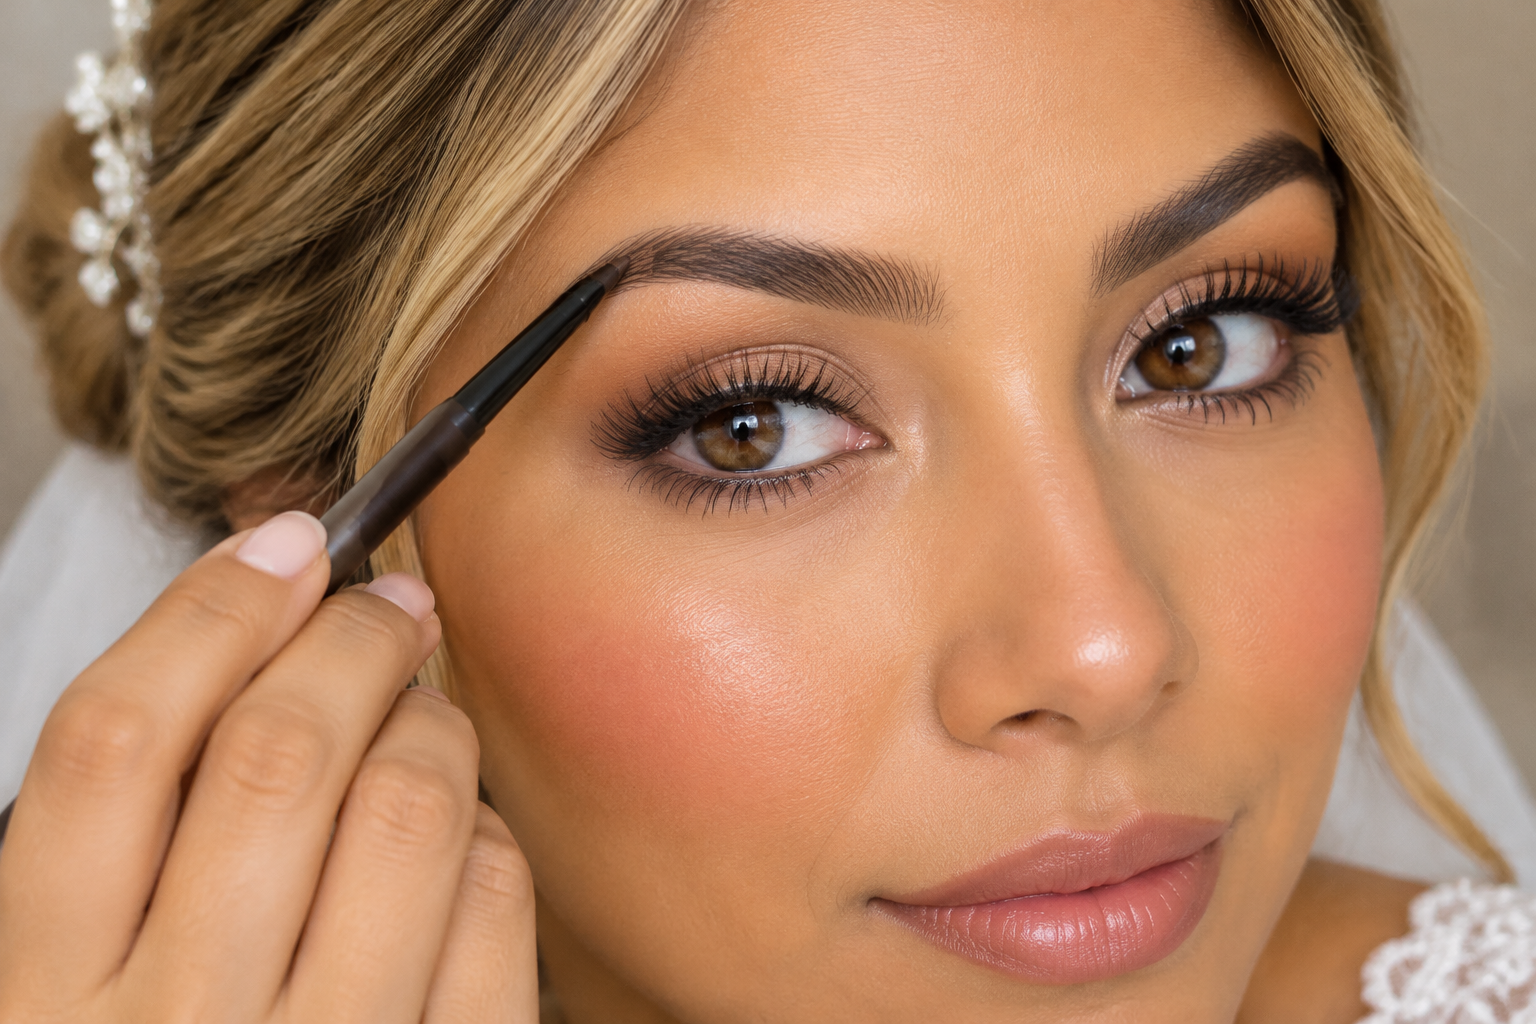
Blend a shadow wash across the lid, then add a little depth near the outer corner if you want it. Keep the deepest color close to the lashes and soften its upper edge so there isn’t an abrupt stripe.
For pencil liner, use short strokes along the upper lash line and gently soften them with a small brush. If you prefer liquid liner, keep the line narrow; its crisp finish doesn’t need to be smudged to belong in a soft look.
Fill brow gaps with small, hairlike strokes rather than drawing a new outline. Brush through afterward to distribute excess color.
Mascara alone is a complete option. If you want false lashes, rehearse the exact style and adhesive for comfort. The FDA notes that lash adhesives can cause irritation or allergic reactions. Stop an irritating product and seek medical advice if irritation persists.
4. Give cheeks color before deciding on glow
Place blush on the part of your cheek where you want color most visible, then blend toward the outer cheek. Check while your face is relaxed, not only while smiling.
For cream blush, tap it into place with fingers, a sponge, or a brush rather than dragging it across finished foundation. For powder blush, begin with a lightly loaded brush and build gradually.
Highlighter and contour are optional. If you enjoy shimmer, keep it to a small area of the upper cheek instead of adding shine everywhere. Look straight ahead and turn your head to check the result.
5. Choose a lip you’ll enjoy wearing through dinner
A bridal lip needs to suit your preferences and your willingness to reapply. Creamy lipstick is easy to refresh but may transfer; a long-wear formula may require more careful repair and can feel less comfortable on some lips.
Apply familiar balm during preparation, then blot excess before color if it makes your lipstick slide. Use liner along your natural lip edge where you want definition, softening it inward so it doesn’t remain an isolated border as lipstick wears.
Check the finished lip with the eyes and cheeks. You don’t have to choose a pale shade just because the dress is white.
6. Set the areas that need it
Use a small brush or puff to press a little powder onto areas where shine or movement bothers you, such as beside the nose or through the center of the forehead.
Leave comfortable, less shiny areas alone. If powder makes a patch look dry, adding more usually isn’t the adjustment you’re looking for.
Setting spray is optional. Follow its directions and test it with the rest of your makeup; it doesn’t replace a touch-up plan.
Rehearse the whole look, not just the eyes
Wear the intended combination for several hours and include an ordinary meal. Notice whether your lashes distract you, lipstick becomes uncomfortable, liner transfers, or foundation separates.
For a useful photo check, wear a white or similarly light top and include your face and neckline in the frame. Take unfiltered daylight and indoor pictures, plus a flash photo if feasible. A phone test can flag something you want to adjust, but it can’t guarantee your photographer’s results.
Review specific details:
- Does your lip color remain distinct from the surrounding skin?
- Can you see the eye definition you wanted?
- Does the base look consistent with your neck?
- Is cheek color visible without feeling stronger than you like in person?
Change one thing at a time and photograph it again. If your lips look less defined, try a slightly deeper color before increasing foundation coverage. Take another photo later in the wear test, too.
At a professional trial, ask for the exact lip shade and note which areas needed repair. Those details are more useful on the day than trying to remember the entire appointment.
Pack for small repairs, not a second full application
Keep your kit accessible with a trusted person:
- Your chosen lip color and liner, if used
- Blotting paper or soft tissue
- A small powder compact, if helpful during rehearsal
- A mirror and clean applicator
- A little concealer only if your test showed you needed it
For shine, press with blotting paper or tissue first, then inspect before adding powder. If coverage has lifted, repair that spot rather than layering over intact makeup. Gently blot tears without rubbing wet tracks.
For creamy lipstick, smooth or remove uneven remnants before refreshing. For film-forming lip color, follow the product’s reapplication directions and use the method that worked during rehearsal.
Your most useful wedding-morning note is simple: what stays, what gets defined, and what needs touching up. Keep that beside your kit, so a last-minute photo doesn’t turn into a last-minute makeover.
