
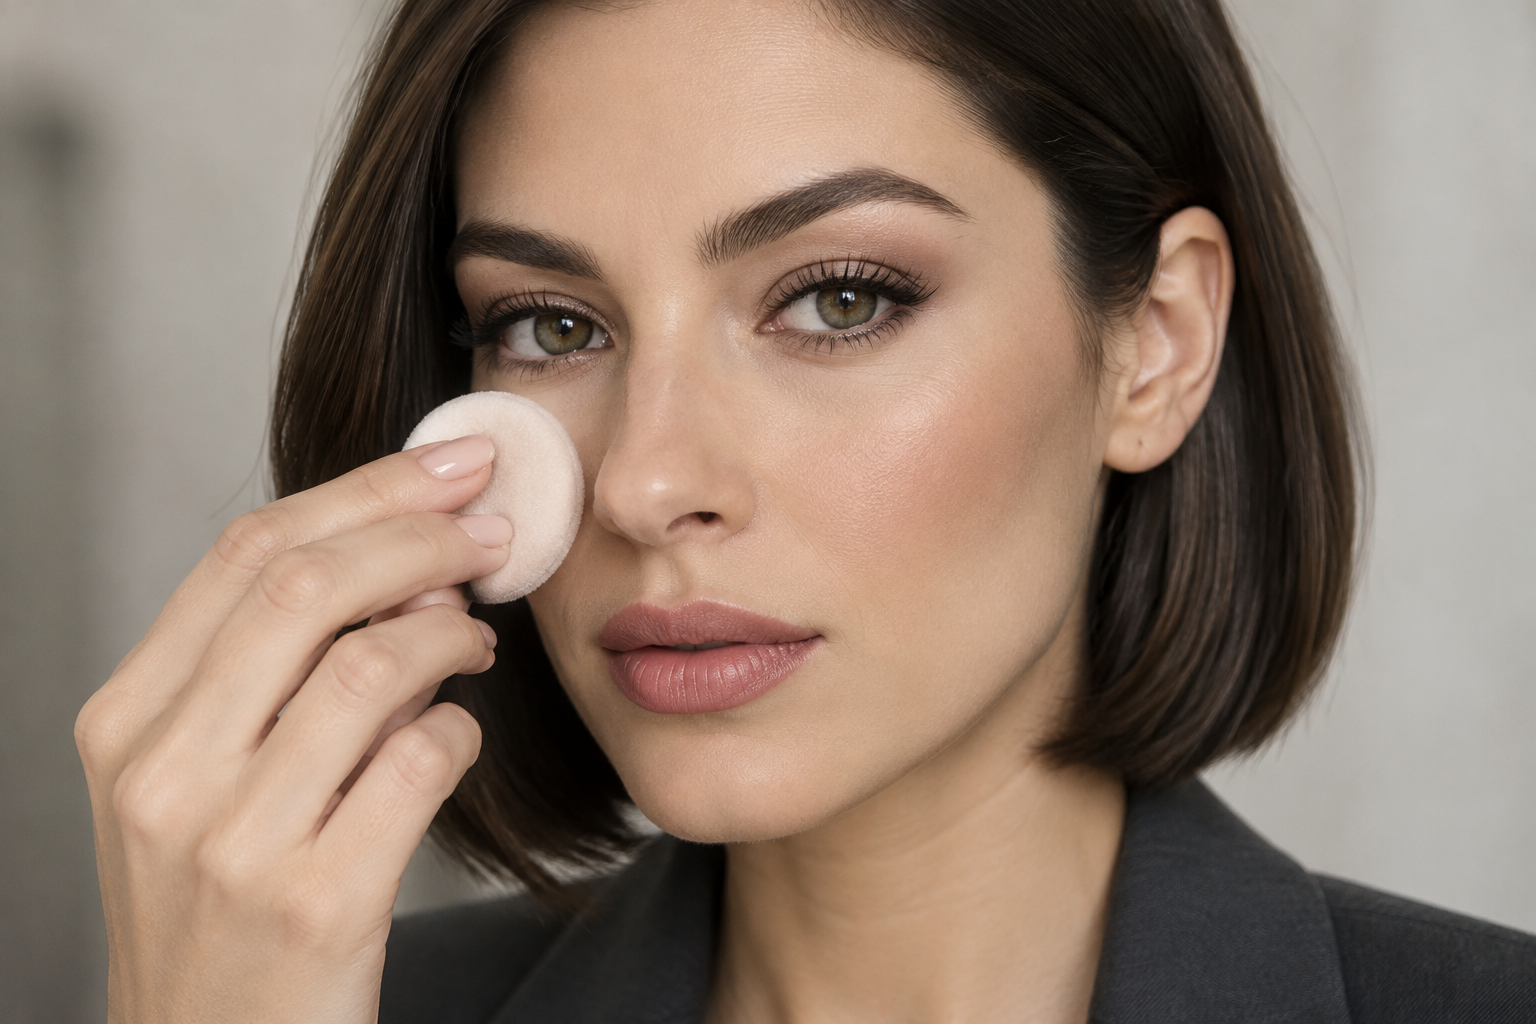
Your makeup looks lovely before you leave, then lunch arrives with a shiny nose, a faded patch of concealer, and lipstick that’s mostly gone from the center. The answer isn’t necessarily another layer of everything.
For work makeup that’s easy to refresh, build coverage only where you want it, set selected areas, and choose eye and lip details you’re comfortable maintaining. Your style and work setting decide how much definition feels right, not a universal rule about looking “professional.”
Quick answer: Use a familiar base, targeted concealer, localized powder, and simple definition. At touch-up time, identify the issue first: blot unwanted shine, repair missing coverage, or refresh lip color.
Build your work makeup routine in six steps
The useful order is preparation, coverage, setting, then color and definition. You can skip anything you don’t want, including an all-over base.
Step 1: Prepare without piling on extra layers
Start with familiar skin care that feels comfortable beneath your makeup. A work morning isn’t the best moment to discover that a new rich cream makes your usual foundation slide.
For daylight outdoor exposure, including your commute, the American Academy of Dermatology recommends broad-spectrum, water-resistant SPF 30 or higher, applied after other skin care and before makeup. Follow the sunscreen’s directions rather than using less to accommodate foundation.
Let your preparation settle before applying coverage; there’s no universal waiting time. Stop using a preparation product if it irritates your skin rather than trying to cover the reaction.
Step 2: Choose your coverage route
If you only want coverage in a few places, concealer alone may be enough. If you prefer a more even-looking canvas, apply your usual tint or foundation first, then see what still needs concealer.
Blend the base outward from the areas where you want the most coverage, using your usual brush or sponge. Check the jawline in good light so you aren’t left with a visible edge.
More coverage is a valid preference, too. Build it in controlled layers instead of assuming every area needs the same amount.
Step 3: Place concealer precisely, then blend its border
Put a small dab directly on the area you want covered. Tap around its perimeter first, keeping some coverage in the center rather than spreading the whole dab across a much larger area.
Under the eyes, start where you actually want brightness or coverage, often near the inner corner. You don’t need a large triangle of product just because there’s room for one.
Liquid concealer may spread readily; a firmer cream may need smaller tapping motions. Check the finish before adding more. If product has gathered in a crease, gently redistribute it before setting rather than powdering over the ridge.
Step 4: Set only the places that need setting
Use a small brush to pick up a little powder, tap off excess, and press it onto selected areas. Think beside the nose, on the chin, or over a patch of concealer, rather than automatically sweeping across your whole face.
A small brush is especially useful around the nose: it lets you reach the crease without coating the cheek beside it. Leave areas unpowdered if you like their sheen and the makeup feels comfortable there.
Check the powder’s intended job. Setting powder, shine-control powder, and powder foundation aren’t interchangeable by default. Some touch-up powders also set makeup; others are designed only for retouching. A coverage powder can add opacity and color, so inspect before layering.
Step 5: Add the definition you enjoy
Brush your brows into place and add pencil or gel only if you want it. Apply blush where you like the color to sit, then soften its edges so it blends into your base.
If you’re using cream blush, apply it before powdering that area. With powder blush, a lightly set surface may make blending easier than a tacky base.
Finish with mascara, optional shadow, or liner. A soft line close to the upper lashes gives definition without requiring a precise wing, but a wing or shimmer is perfectly welcome if it suits your style. Keep the details you enjoy doing, not every possible step.
Step 6: Choose lips by how you want to maintain them
A sheer tint or balm-like color is often simpler to refresh without carefully rebuilding an outline. Satin lipstick offers more visible color, though it can transfer and wear unevenly.
A defined or matte lip may suit you better if you enjoy a sharper look and don’t mind checking the edges. Finish labels don’t guarantee comfort or wear, so use your own experience with the formula.
If you’ve applied balm first, gently blot excess before lipstick so the color isn’t sitting on a slippery layer.
Adjust for where your makeup actually changes
Look at your face by area, not as one finish that needs correcting. You might want less shine around the nose while leaving the cheekbones luminous. Light reflecting off your skin isn’t automatically a touch-up emergency.
If your cheeks look dry but your forehead gets shiny, keep powder focused on the forehead. If makeup wears away where glasses or a face covering touch, concentrate your repair plan there.
Commuting heat, physical activity, and limited mirror access can also change your priorities. Choose familiar formulas you can manage under those conditions. You don’t need to buy primer, setting spray, and a new foundation before seeing whether simpler placement helps.
Touch up the problem, not the whole face

A midday refresh works best as a short sequence:
- Inspect before adding anything. Is the issue unwanted shine, missing coverage, gathered product, or faded color? Those need different responses.
- Blot shine gently. Press plain blotting paper or a tissue onto the area, then lift without rubbing. Recheck before applying powder. You may prefer the finish after blotting alone.
- Repair a worn patch locally. Tap a tiny amount of concealer onto the exposed area and soften the border. If the existing makeup looks thick or creased rather than missing, gently smooth it first; another layer may make the buildup more noticeable.
- Refresh lips according to what remains. For evenly faded sheer color, reapply. If opaque lipstick has left a strong outline or uneven patches, gently remove the loose remnants with a tissue before rebuilding a thin layer.
Keep your kit small: a mirror, blotting paper or tissue, your lip product, and either concealer or a suitable powder if you regularly need it. Add the matching applicator, not your entire morning collection.
After one ordinary workday, note your two most common touch-up needs. Pack for those. A compact that solves a real problem is more useful than five products carried just in case.
