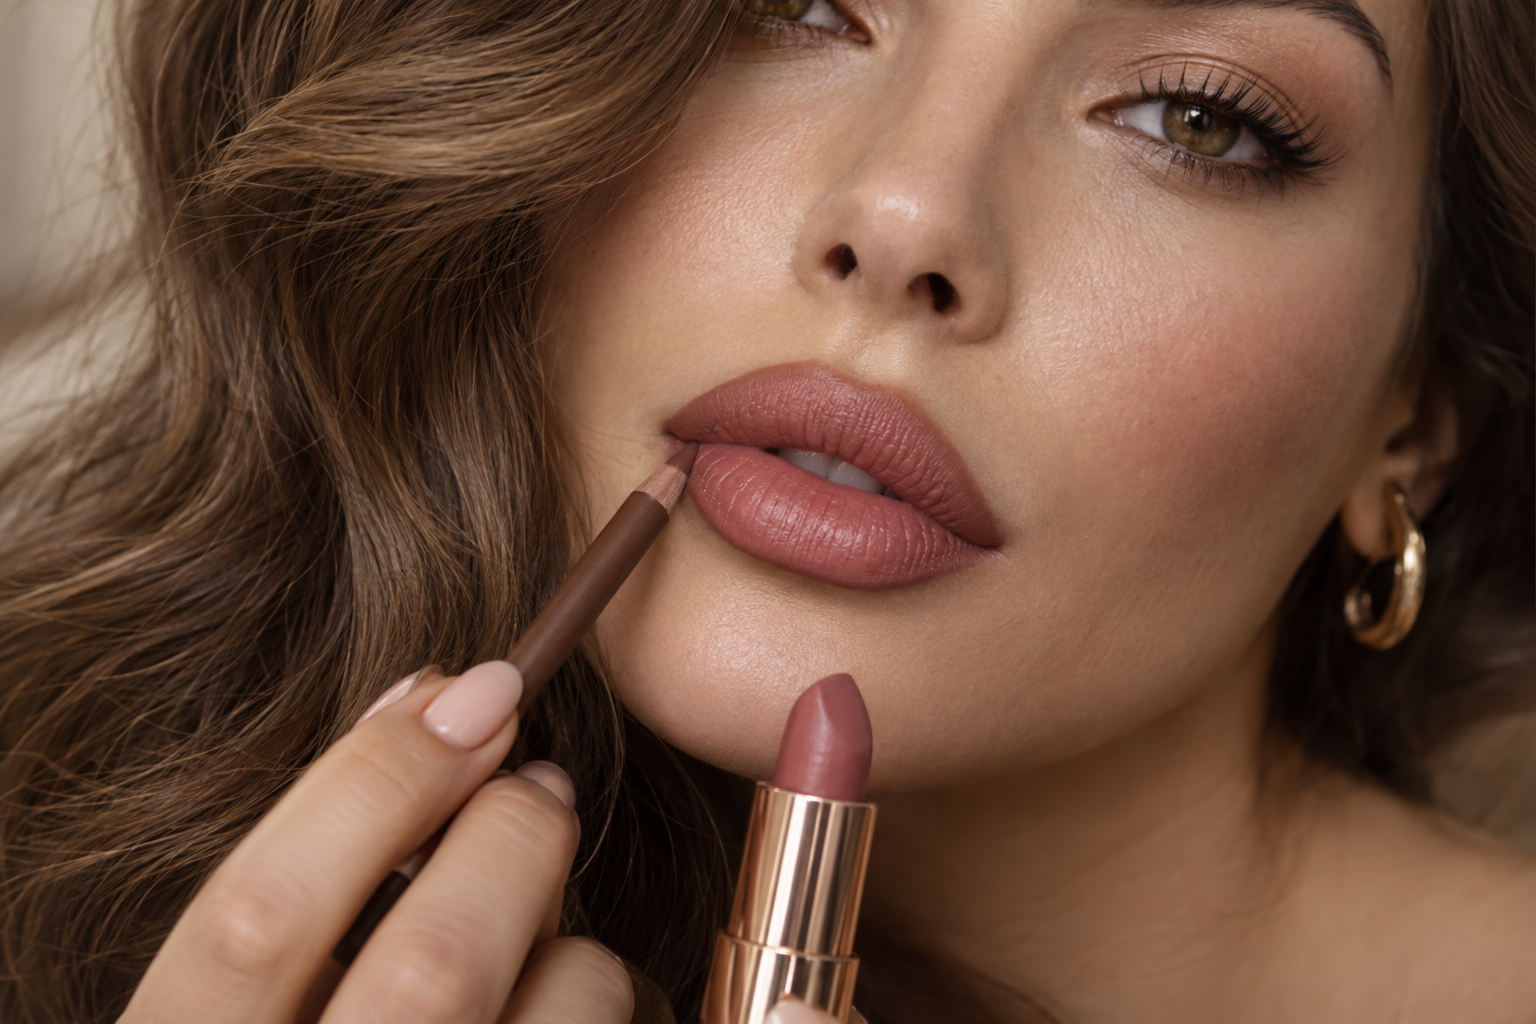
Your lipstick looks rosy in the tube, but once the brown liner goes on, all you notice is the outline. For soft rose-brown lip combos for light skin, start with a pencil close to your natural lip edge in depth, then overlap its softened inner edge with rose lipstick. That small connecting area matters more than finding an exact shade match.
Light skin doesn’t dictate one nude or undertone. Your natural lip pigment, preferred contrast, and lipstick coverage all influence the result.
Quick answer: Pair rose-brown liner with muted rose lipstick, pink-brown with peach-rose, or mauve-brown with dusty rose. Trace lightly, blend inward, and tap lipstick into the liner rather than leaving a separate pale center.
Choose Your Rose-Brown Pairing
Try these combinations with shades you already own. Judge them on your lips, not just your hand: a sheer rose can look quite different over naturally pink, brown, or mauve lip pigment.
Rose-brown liner + muted rose lipstick
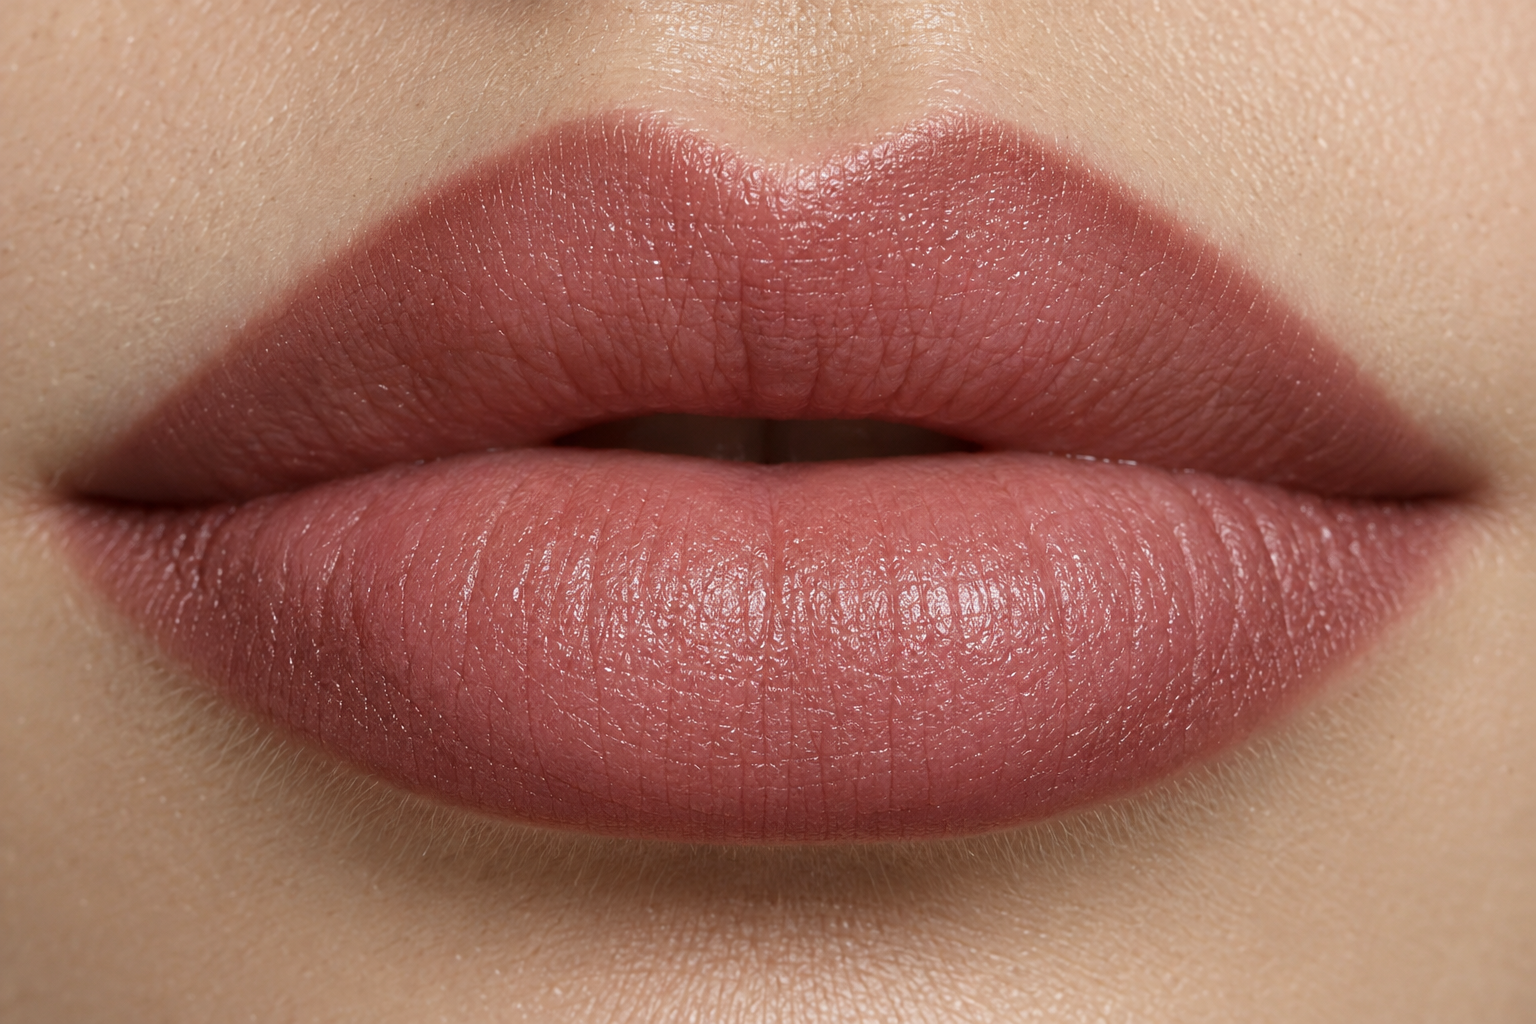
This is a starting point for closely related definition. Choose a pencil that resembles your lip edge, or goes slightly deeper if you want more contrast, then add a muted rose satin lipstick.
Let the rose overlap the liner’s inner edge. Satin is useful for practicing the transition, though blendability still depends on the particular formula.
Pink-brown liner + peach-rose lipstick
For a warmer variation, pair a brown pencil with a pink cast and a peach-rose center. Keep the pencil line narrow so the peach doesn’t sit inside a broad brown frame.
Bring the lipstick almost to the outer boundary, leaving just enough liner visible for your preferred definition. If the center looks more beige than peach, try a rosier lipstick before adding more brown.
Mauve-brown liner + dusty rose lipstick
Choose this pairing when you want a more mauve-leaning look. Start with light pencil pressure so you can assess the color before building depth.
Keep dusty rose across most of the lip, with mauve-brown concentrated at the perimeter. A little clear gloss at the center adds shine without making the whole outline glossy.
Place the Colors So They Connect
The goal is a visible outer boundary with a softer transition inside it. A noticeable outline is also a valid choice; these steps are for when you want the colors to blend.
1. Remove excess slip
If you’ve applied balm, gently blot away any slippery surplus before lining. You’re removing the layer that might make the pencil slide, not trying to leave your lips completely bare.
For chapped lips, favor bland, fragrance-free care rather than scrubbing. The American Academy of Dermatology advises stopping products that burn or sting and seeing a dermatologist if chapping doesn’t improve after two to three weeks of appropriate care.
2. Sketch the natural boundary
Use short, light strokes along your natural lip edge, beginning at the Cupid’s bow and the middle of the lower lip. Connect those marks toward the corners without repeatedly tracing the entire outline.
Ease up near the corners, where extra pencil can create a heavier-looking patch. You don’t need to overline to make this combination work.
3. Feather only the inside
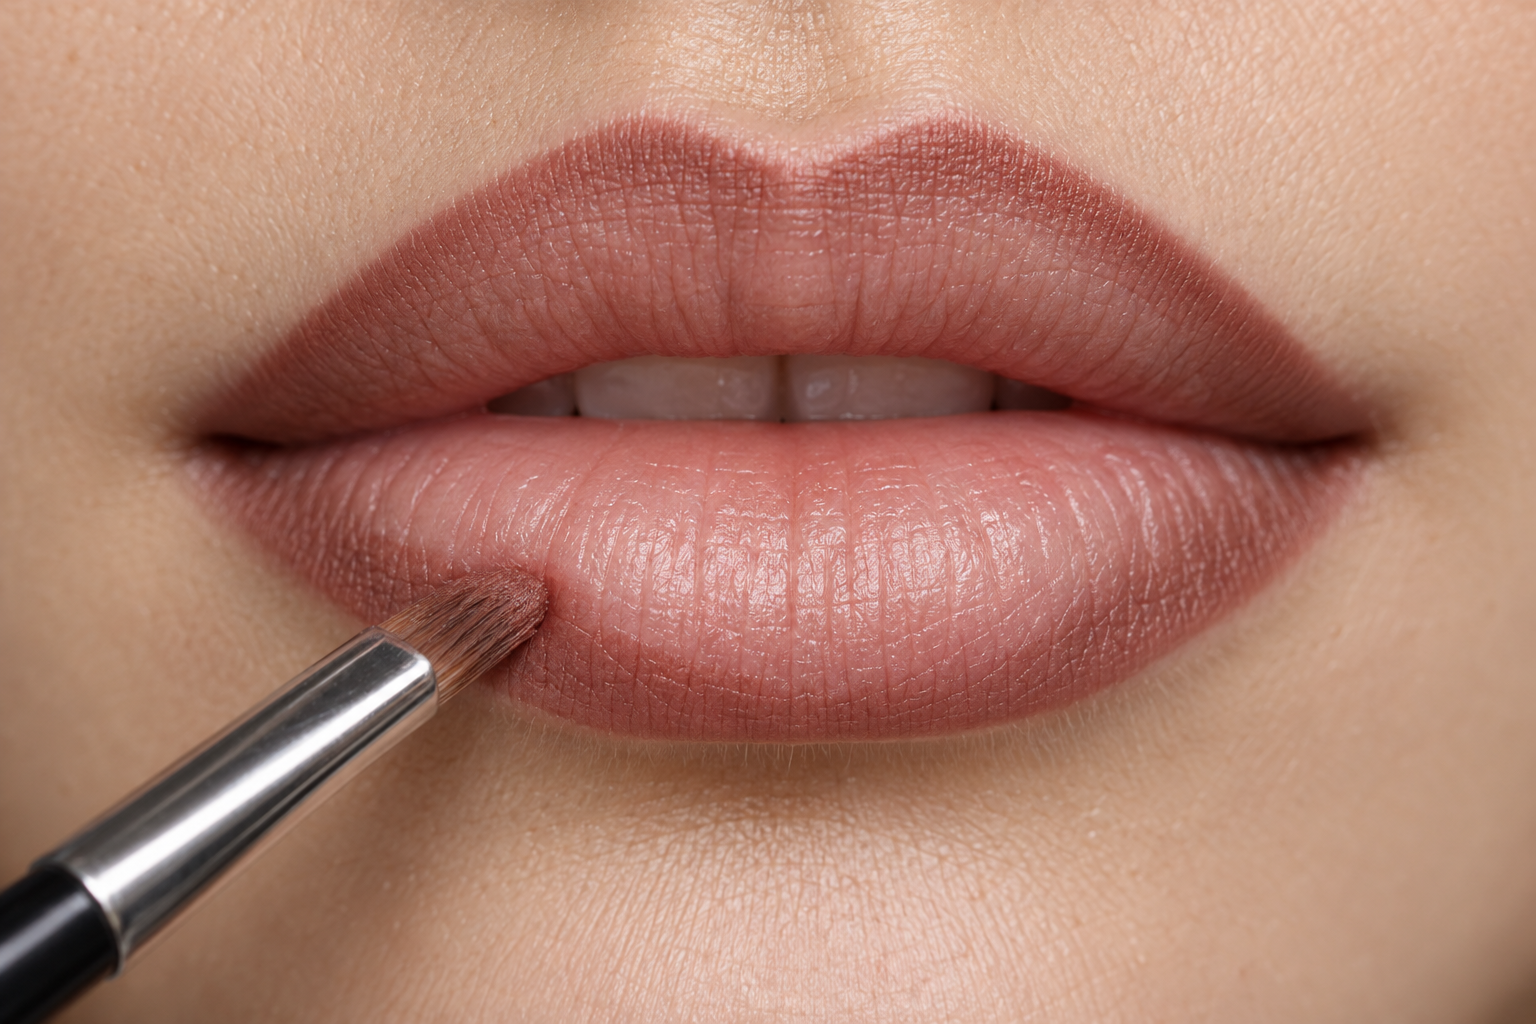
With a small lip brush, pull a little pencil pigment from the inner side of the line toward the center. Leave the outside boundary in place.
This creates a narrow shaded band rather than smudging the whole outline. If your pencil sets quickly, line and soften one section at a time; don’t scrub at pigment that has already dried down.
4. Tap lipstick into the shaded band
Apply lipstick to the middle of your lips, then tap it outward with a brush or fingertip until it overlaps the softened pencil. Don’t stop where the liner begins: that untouched gap is what can make the two shades look disconnected.
With a creamy lipstick, small tapping motions give you control without dragging the outline around. For a setting liquid lipstick, place it precisely while workable and follow its directions instead of repeatedly blending as it dries.
5. Add shine only where you want it
Leave the finish as it is, or dab a little gloss at the center. Spreading gloss across the full lip gives broader shine but may move the color underneath.
Check compatibility before relying on that combination for a long evening.
Adjust the Result Before Changing Products
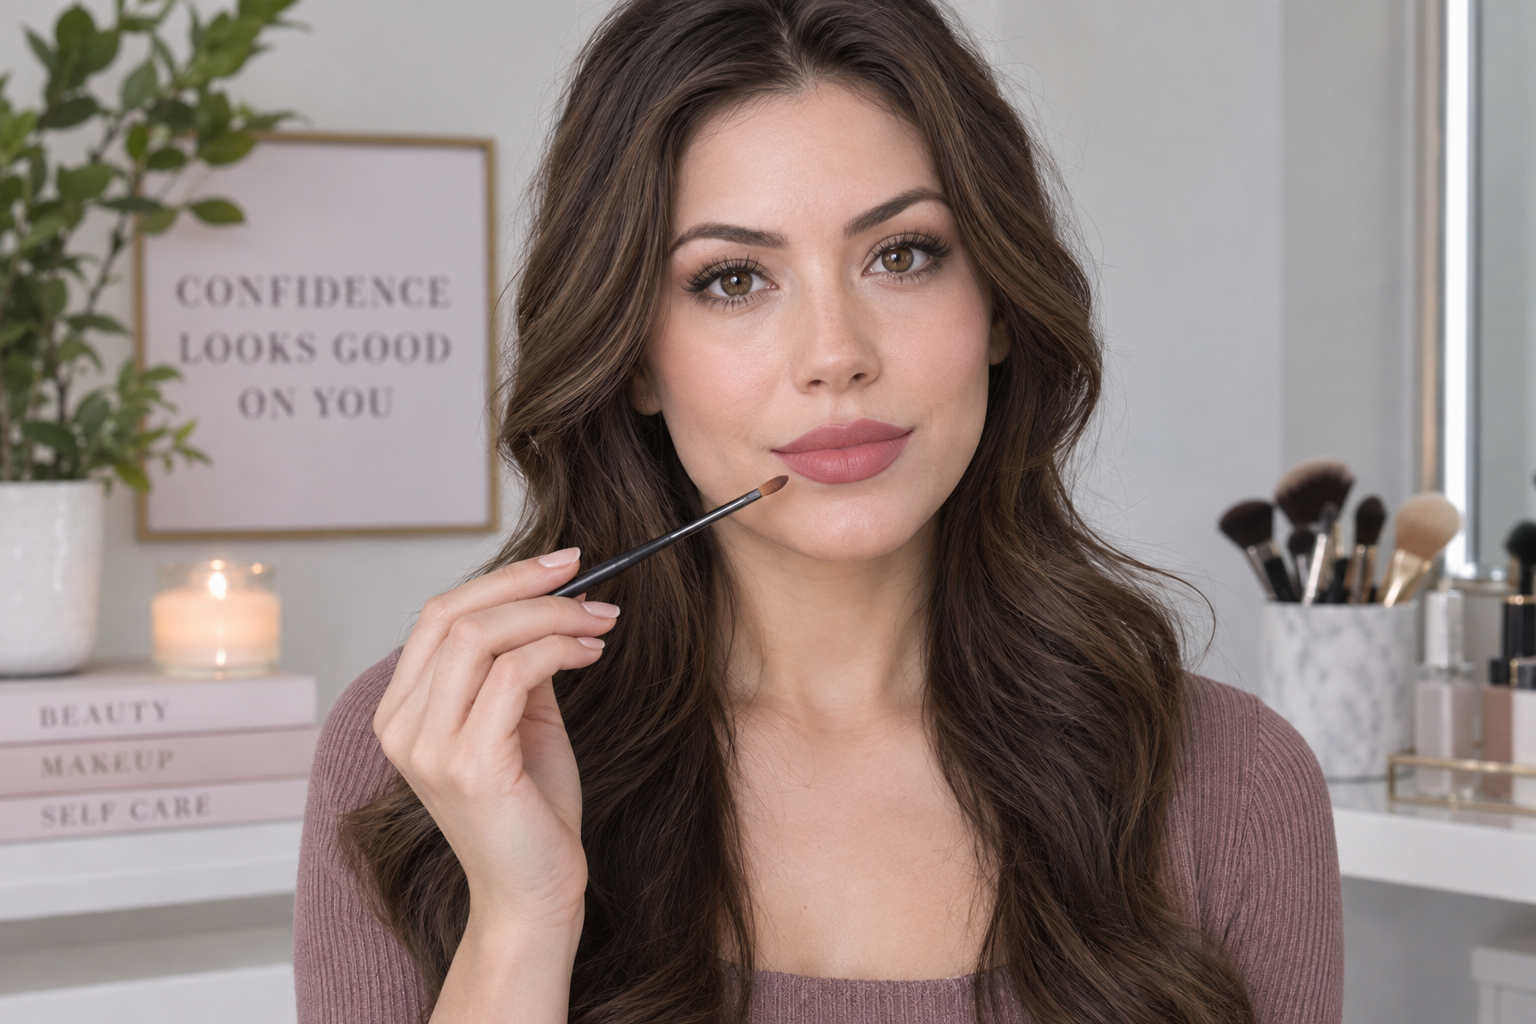
Step back from the mirror to conversational distance, then check in diffuse daylight and the lighting where you’ll wear it.
- The brown edge dominates: Tap rose lipstick over the liner’s inner edge first. More blending isn’t always necessary; sometimes the transition simply needs more rose.
- The center looks too pale: Try less of the pale lipstick or layer a rosier shade. Adding liner won’t necessarily solve a coverage or color mismatch.
- The layers lift or turn patchy: Stop swiping. Try lighter tapping with less product; if they still separate, use a different formula pairing rather than piling on more.
- The definition disappears: Add pencil only where you want it more visible, not around the entire mouth again.
For your next attempt, change just one thing: liner pressure, lipstick coverage, or the amount of overlap. Keep your rose lipstick and a small lip brush nearby for touch-ups. Often, reconnecting that inner edge is all the adjustment the look needs.