
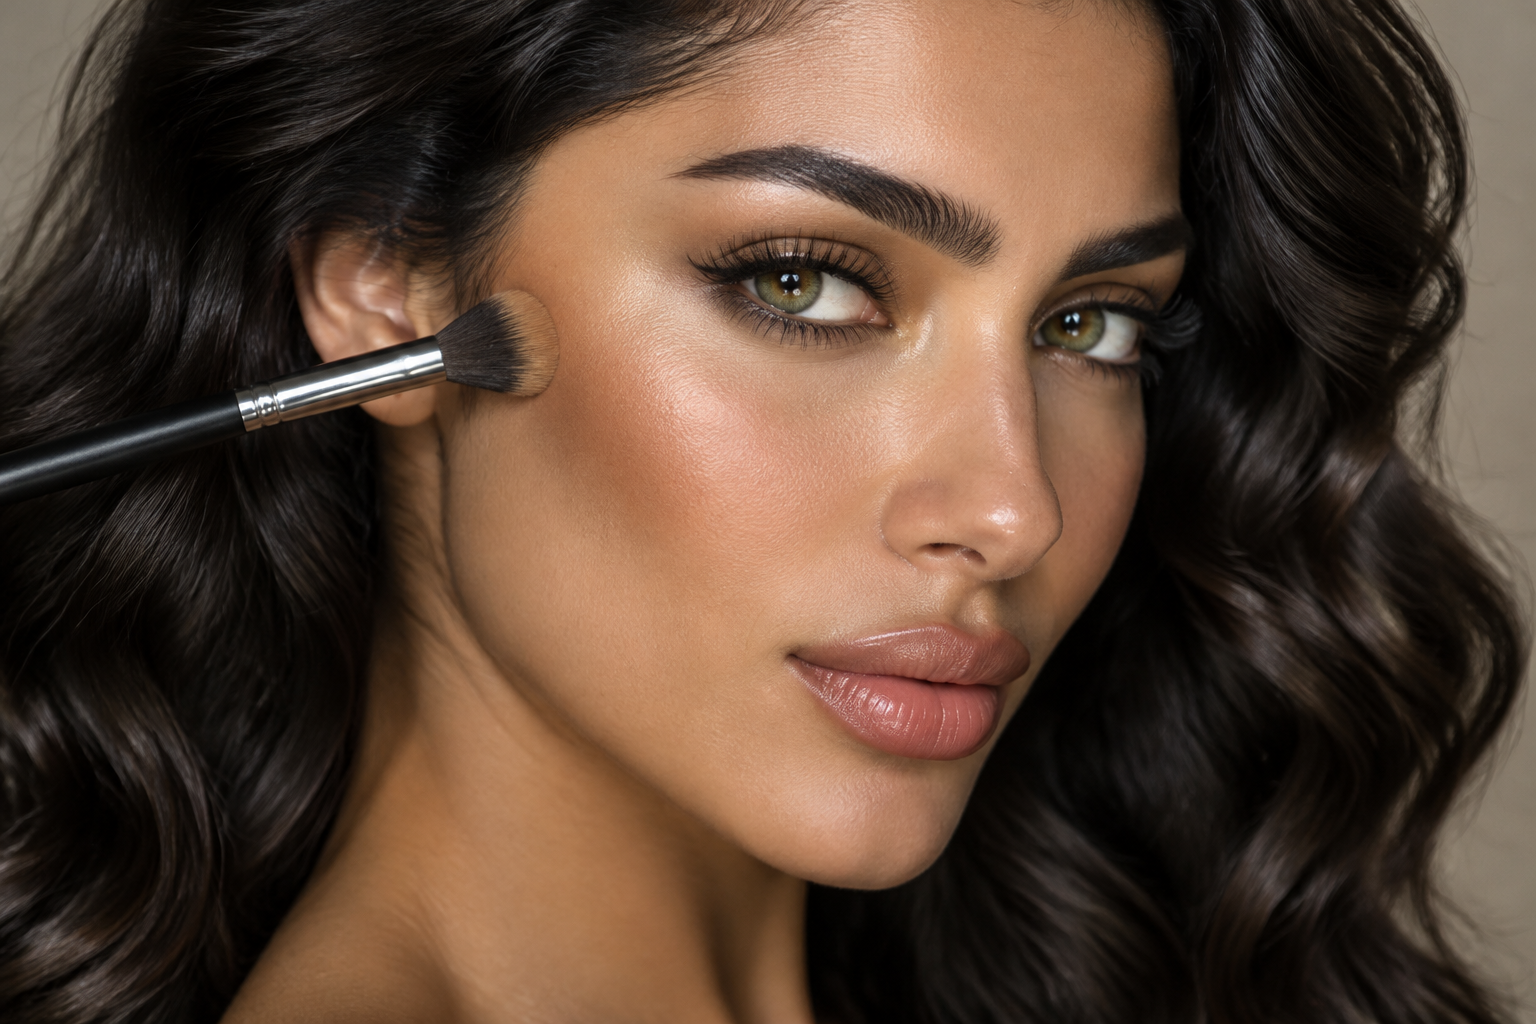
That little cheek stripe can look promising until blending turns it into a brown patch. For soft contour makeup, start near the underside of your outer cheekbone, keep the placement short, and blend its edges upward and outward rather than across your whole cheek.
You don’t need a face-shape chart or shading in every possible spot. Contour adds the appearance of shadow; it doesn’t change your facial structure. Your own features are the guide.
Quick answer: Apply a little contour beneath the outer cheekbone, then soften the edges while keeping the shadow localized. Blend cream with gentle presses and powder with light brush strokes. Hairline, jaw, and nose contour are optional.
Choose a shade that reads as shadow, not a stripe
Contour generally creates depth, while bronzer generally adds warmth. There’s overlap: a bronzer can give definition if its color looks shadow-like on you. But a noticeably golden or orange shade may read as warmth rather than a subtle cheek shadow.
Look for a shade deeper than your complexion that blends into a believable shadow. Neutral or cooler browns are useful starting points, but “cool” doesn’t have to mean gray. A pale taupe can look ashy on deeper skin, and an overly gray shade can look disconnected from a warm complexion.
Check a small blended patch on your outer cheek in even daylight. Judge the softened result, not the concentrated swatch. If the color still looks orange, gray, or distinctly separate from your skin, more blending probably isn’t the answer.
A matte or low-sheen finish usually makes the shadow effect easier to judge.
Match your application to cream or powder
Neither formula automatically looks more natural. What matters is how much pigment you pick up and how it behaves over whatever is already on your skin.
For cream contour: Pick up a little product with a small brush rather than drawing a heavy line straight from the stick. Press it onto the cheek, then blend with gentle taps. A sponge can soften the perimeter, though a brush gives more targeted placement.
If you’re wearing liquid or cream foundation, blending cream contour before powdering that cheek area is a useful starting point. Cream can catch unevenly over powder, although some combinations work well. Cream-to-powder formulas may set quickly, so finish one cheek before starting the other.
For powder contour: Lightly load a brush and tap off excess. If your base feels tacky, a light dusting of setting powder where you’ll contour may help prevent concentrated patches. You don’t need foundation or setting powder if the contour blends comfortably on your bare skin.
Choose a brush small enough to stay beneath the cheekbone, but fluffy enough to soften an edge. A large all-over powder brush can spread pigment farther than intended.
Follow the product’s directions. If a cosmetic causes an unexpected reaction, FDA guidance advises stopping use and contacting a healthcare provider about care.
Place cheek contour using your own features
Start with cheeks alone. You’ll learn more from one controlled placement than from trying to blend a whole face of dark lines at once.
- Find the cheekbone with your face relaxed. Look straight ahead in even light. If helpful, gently feel the bone beneath the outer eye toward the ear. Sucking in your cheeks can exaggerate a hollow that isn’t as obvious when your face relaxes.
- Place a small amount beneath its outer portion. Begin near the ear, leaving a little breathing room rather than depositing product directly against it. Follow the underside of the bone inward with a short, light placement.
- Keep the first application on the outer cheek. Don’t automatically extend it toward the mouth. Stop while the product is still beneath the outer cheekbone; you can lengthen the shadow slightly after checking it.
- Soften upward and outward. With cream, use small pressing motions along the upper edge and toward the ear. With powder, use light, short brush strokes in those directions. Keep the main shadow beneath the bone rather than brushing it over the entire cheek.
- Check before building. Turn your head, then look straight ahead again. Add a little more only if you want greater definition. The two sides don’t need identical drawn lines, especially if your cheekbones sit slightly differently.
The easily missed detail: blend the boundary, not the entire area around it. Repeated sweeping can turn a small shadow into a wide patch. A clean brush helps soften an edge without adding more color.
Add other areas only if you want the effect
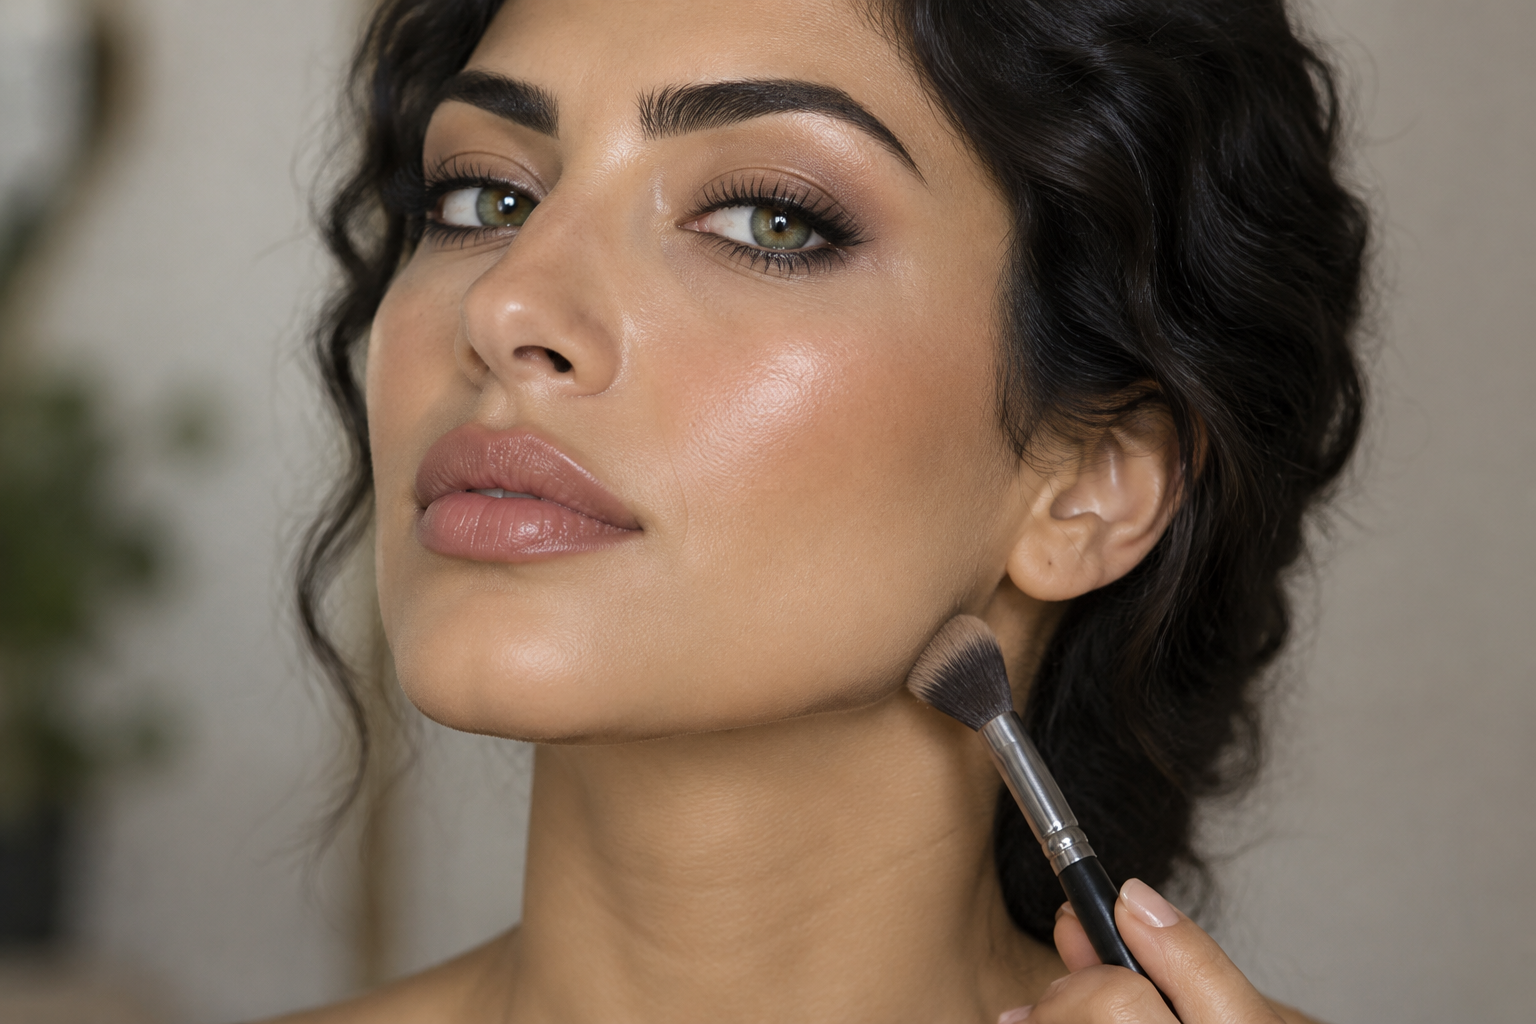
Cheek contour can be the finished look. If you’d like definition elsewhere, choose one extra area rather than treating the face as a checklist.
- Temples and hairline: Keep the pigment close to the perimeter and diffuse it into the hairline. Check for a brown band between your skin and hair, especially where the hairline is sparse.
- Jaw: Apply sparingly near the underside of the section you want to emphasize. Soften the lower edge toward the neck so there isn’t a dark border. Upward blending is useful for cheeks, not a rule for every location.
- Nose: Use a smaller brush and very little pigment along the side planes you want to shade. Soften the edges carefully without spreading color across the bridge. If it looks obvious from the front, skip it or remove some product.
None of these placements is required to balance your face. They’re options for a makeup effect you enjoy.
Fix the problem instead of blending endlessly
A visible line: If the color looks right but the edge is sharp, use a clean brush to soften just the boundary. For cream, a lightly damp sponge can also tap down excess.
A broad, muddy patch: Stop buffing. On a makeup base, gently tap a trace of your existing base product over the area that spread too far. On bare skin, carefully remove the misplaced product and restart smaller.
An uneven patch: Powder may have grabbed a tacky area, or cream may have disturbed the base underneath. Adding more contour can deepen the unevenness. Lift off the affected area if needed and reapply lightly once the surface is even.
A color that stays wrong: Change the shade or use less if it’s simply too dark. Blending can soften pigment, but it can’t reliably turn an unsuitable undertone into your natural shadow.
Try the cheeks-only check
For your next attempt, contour just the outer cheeks and step back to a normal conversational distance from the mirror. Check straight ahead and from each side in ordinary light.
Keep three things in mind: a short placement, a softened edge, and a color that belongs on your skin. If those are working, you may not need another swipe anywhere else.
