
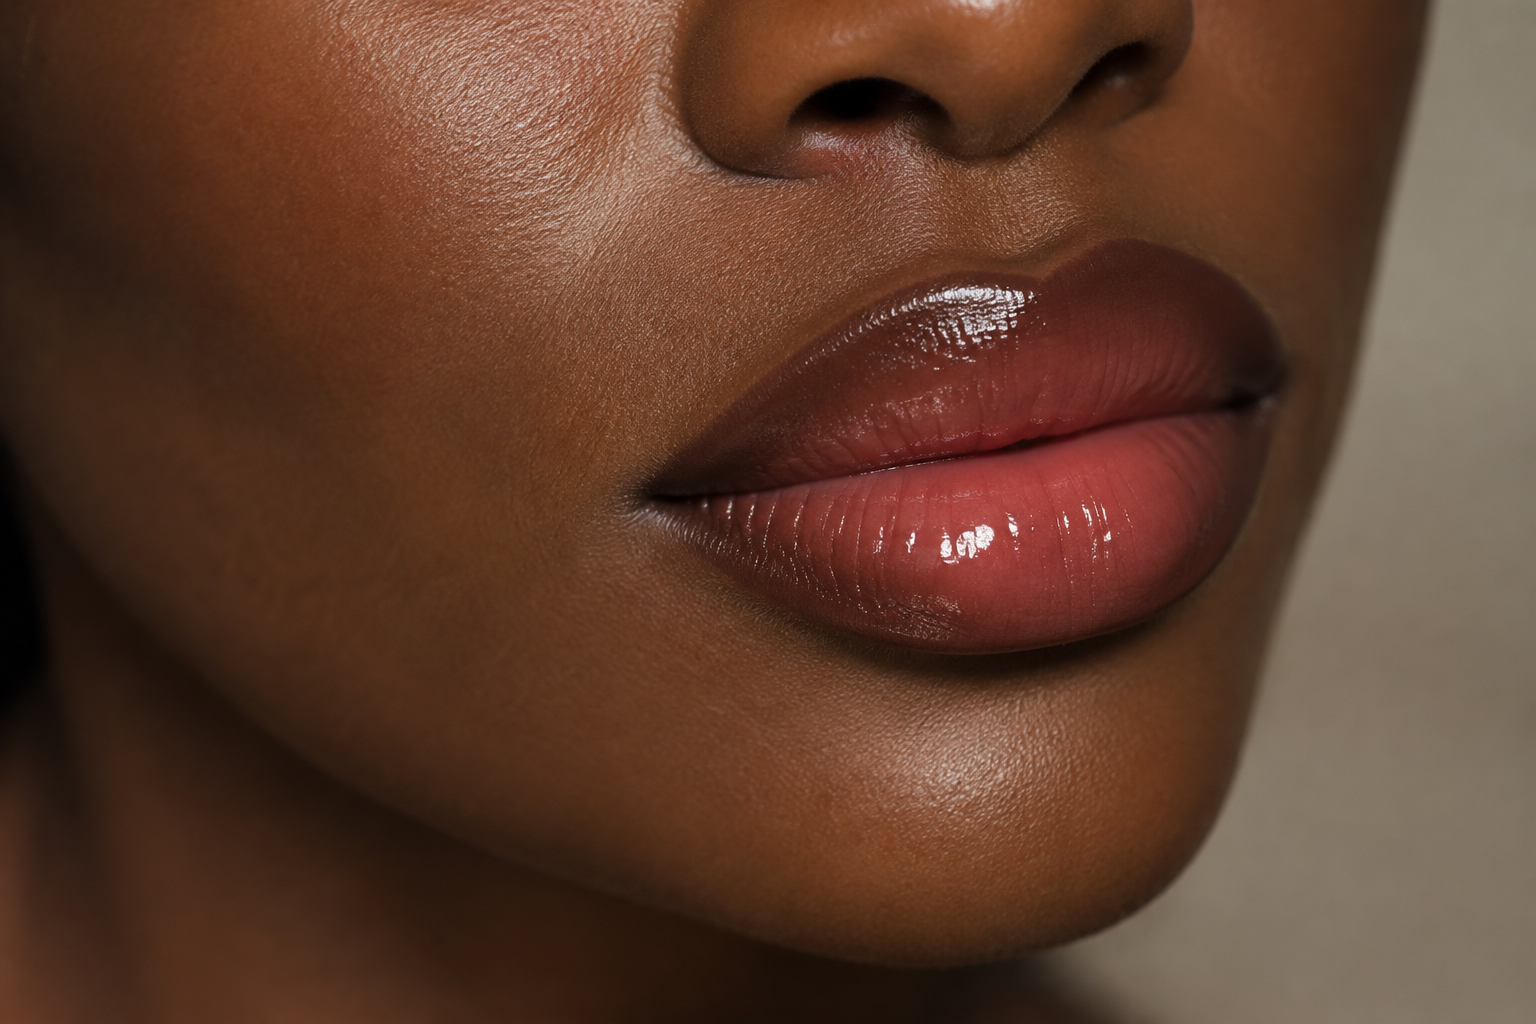
That nude lipstick can look lovely in the tube, then surprisingly pale once it meets your lips. The answer isn’t always more brown liner. Lip combos for dark skin work best when you coordinate three things: the depth of your liner, the color at the center, and how much coverage your gloss adds.
Start with espresso and rose, warm brown and caramel, or plum-brown and berry. Then adjust the contrast to your taste and natural lip color, rather than chasing one supposedly universal nude.
Quick answer: For a soft everyday combo, try deep neutral-brown liner, medium rosy-brown lipstick, and clear gloss. For more contrast, pair espresso liner with rose pink. Blend where the colors meet, and remember that opaque gloss adds another color layer, not just shine.
Choose your contrast before choosing your shades
Decide whether you want a noticeable ombré effect or a more unified color. A deeper liner with a lighter center gives visible contrast; shades closer in depth give softer definition. Neither is a requirement for dark skin.
Look at your lips as well as your complexion. A sheer rosy color may appear differently on a deeper upper lip and a lighter lower lip. Check both before deciding whether you want more coverage or prefer your natural coloring to show through.
Undertone is a starting point, not a restriction. Warm brown and caramel create one direction; cooler brown, mauve, and plum create another. You can enjoy either without passing an undertone quiz.
Finally, separate shine from coverage:
- Clear gloss: Adds shine without a deliberate new tint.
- Sheer tinted gloss: Adds a light wash while leaving underlying colors visible.
- Opaque gloss: Acts as another color layer and may soften or cover the gradient.
A pink gloss that barely changes your lipstick may simply be sheerer than you expected.
Five lip combos for dark skin to try
These are adaptable color recipes, not tested shade matches. Start with what you own; you don’t need three new products for every look.
1. Soft brown nude: neutral brown + rosy brown + clear gloss
Choose a deep neutral-brown liner, a medium rosy-brown lipstick, and a thin layer of clear gloss.
Keep the center reasonably close to the liner’s depth for a gentle transition. Rosy brown adds a pink-brown direction without taking the center all the way to pale beige.
If the center looks chalkier than you want, try a deeper rosy brown. Adding more of the same light shade usually increases its coverage rather than reducing the contrast.
2. Warm caramel: dark warm brown + caramel + bronze-brown gloss
Pair warm dark-brown liner with medium caramel-brown lipstick and sheer bronze-brown gloss.
For this version, look for a caramel with visible brown depth rather than a very light beige. Blend the liner slightly inward before adding color so the warm tones meet gradually.
If the gloss contains shimmer, begin with a small center accent. An opaque bronze gloss can become the dominant color, so check its coverage rather than choosing by the shade name alone.
3. Pink-centered ombré: espresso + rose pink + sheer pink gloss
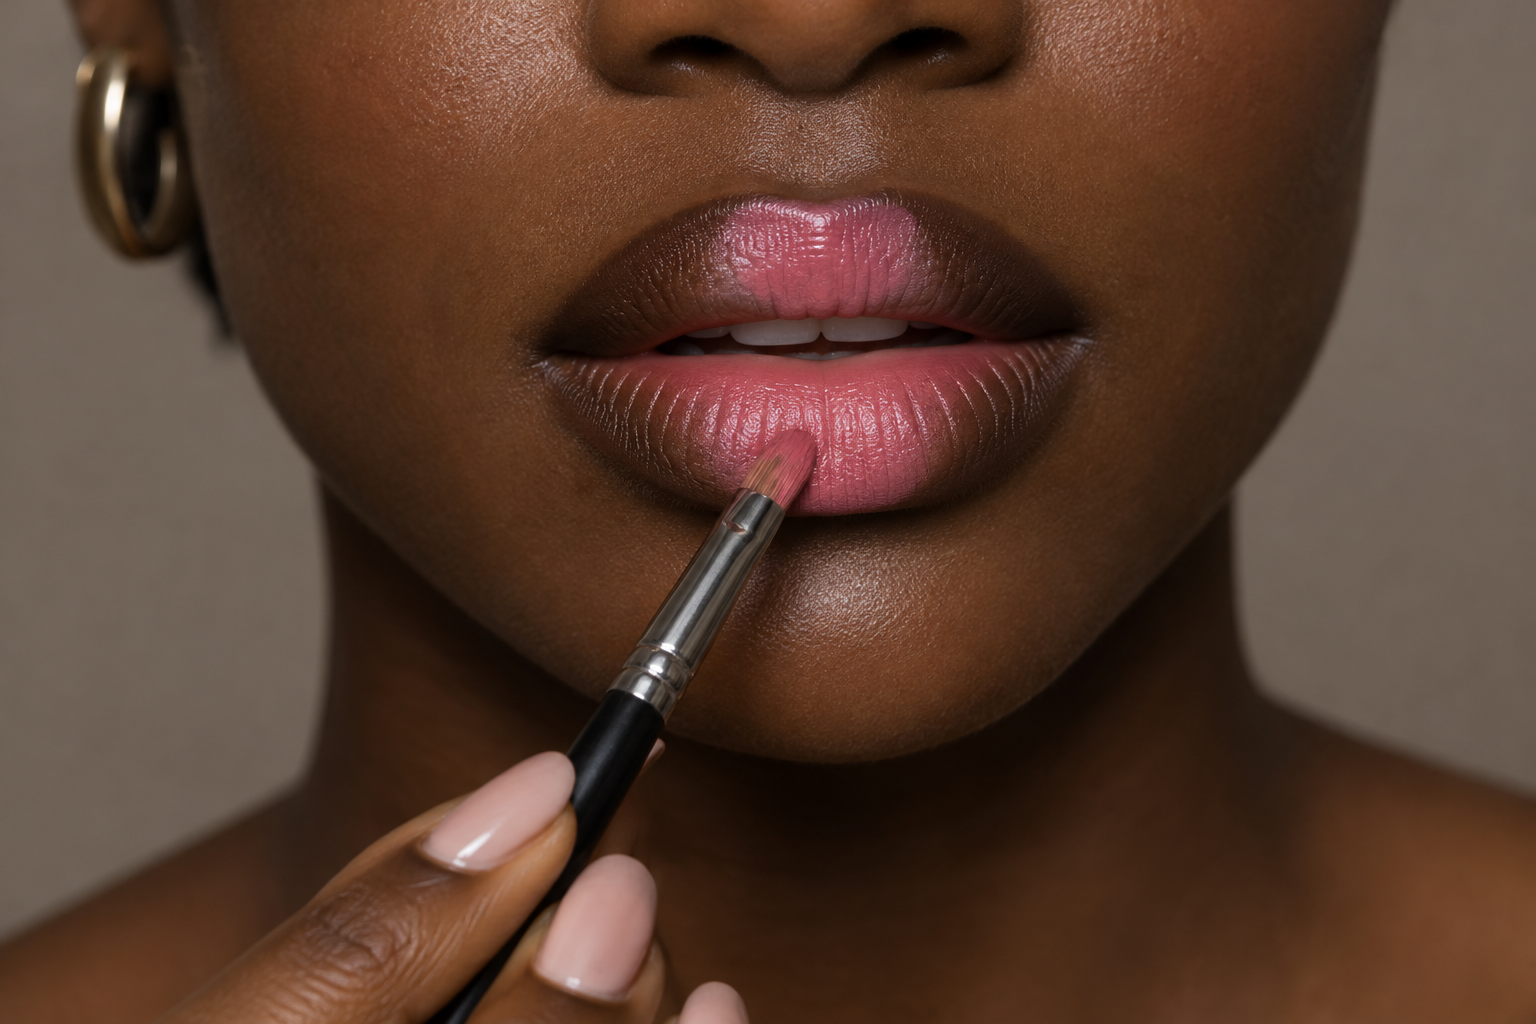
Use neutral espresso-brown liner, medium rose-pink lipstick, and sheer pink or clear gloss.
Place a small amount of pink at the center of each lip, then soften its boundary into the brown. Leave some depth visible around the perimeter if you want a distinct ombré.
For a softer version, choose a deeper rose rather than stretching pale pink across the whole lip. Clear gloss keeps the existing color balance; tinted gloss adds another pink layer.
4. Mauve-berry: plum-brown + mauve or berry + optional gloss
Combine cool deep-brown or plum-brown liner with medium-deep mauve or berry lipstick. Finish with clear gloss, or leave the lipstick satin.
Keeping the liner and center close in depth creates a more unified look, with the color difference providing interest.
If the mauve appears grayer than you’d like, try a rosier mauve or richer berry. You don’t need to abandon the whole color family because one shade misses your preference.
5. Rich red: red-brown + red + satin or center shine
Try deep red-brown or burgundy liner with a rich red lipstick. Choose warmer, cooler, or neutral red according to the look you want.
A red-toned border connects more closely with the center than defaulting to neutral brown. Keep the liner closer to the lipstick’s depth for subtle definition, or go deeper for a stronger border.
Leave it satin, or tap clear gloss at the center. Gloss is optional; these combinations can also become matte looks with suitable formulas.
Apply the combo without blending away the definition
If your lips are chapped, prioritize comfortable, non-irritating care rather than scrubbing them for makeup. The American Academy of Dermatology advises stopping products that burn or sting; chapping that persists despite appropriate care deserves a dermatologist’s advice.
For comfortable lips, follow this sequence:
- Blot excess balm. Leave your lips comfortable, but remove any slippery layer that makes the pencil slide instead of draw.
- Trace your natural border. Use short strokes around the cupid’s bow, lower edge, and corners. Overlining isn’t necessary.
- Soften the liner’s inner edge. With a lip brush, pull a little pigment toward the center. Keep the outer outline defined while diffusing the edge that will meet the lipstick.
- Add center color. Place it inside the liner, then gently press and release your lips or tap the join with a brush. Avoid rubbing sideways if you want to preserve the gradient.
- Adjust for your formula. Creamy lipstick gives you more room to tap and blend. With a setting liquid matte, blend promptly before it dries; repeatedly working over set color can disturb the finish.
- Add gloss gently. Start at the center and pat it into place. Repeated sweeping through the border can move the colors you just arranged.
The easily missed detail: blend the meeting point, not necessarily the entire lip. That’s how you soften a sharp ring without turning three shades into one.
Change one thing when the result feels off
Check the finished look in ordinary daylight and at conversational distance, not only in a magnifying mirror.
- The liner looks disconnected: Tap the join first. If it still feels too strong, choose a liner closer in depth to the center.
- The center looks too pale: Try a deeper center shade instead of layering more light lipstick.
- The upper and lower lips look different: Add coverage selectively if you want closer color, or keep the natural variation visible.
- The gloss changes the whole look: Switch to clear or sheerer gloss, or use less at the center.
For your next attempt, pick one recipe and change only one variable. Keep your chosen liner and lip color together for touch-ups, with gloss if you’re wearing it. You’ll have a much clearer sense of what to adjust than if you replace every layer at once.
