
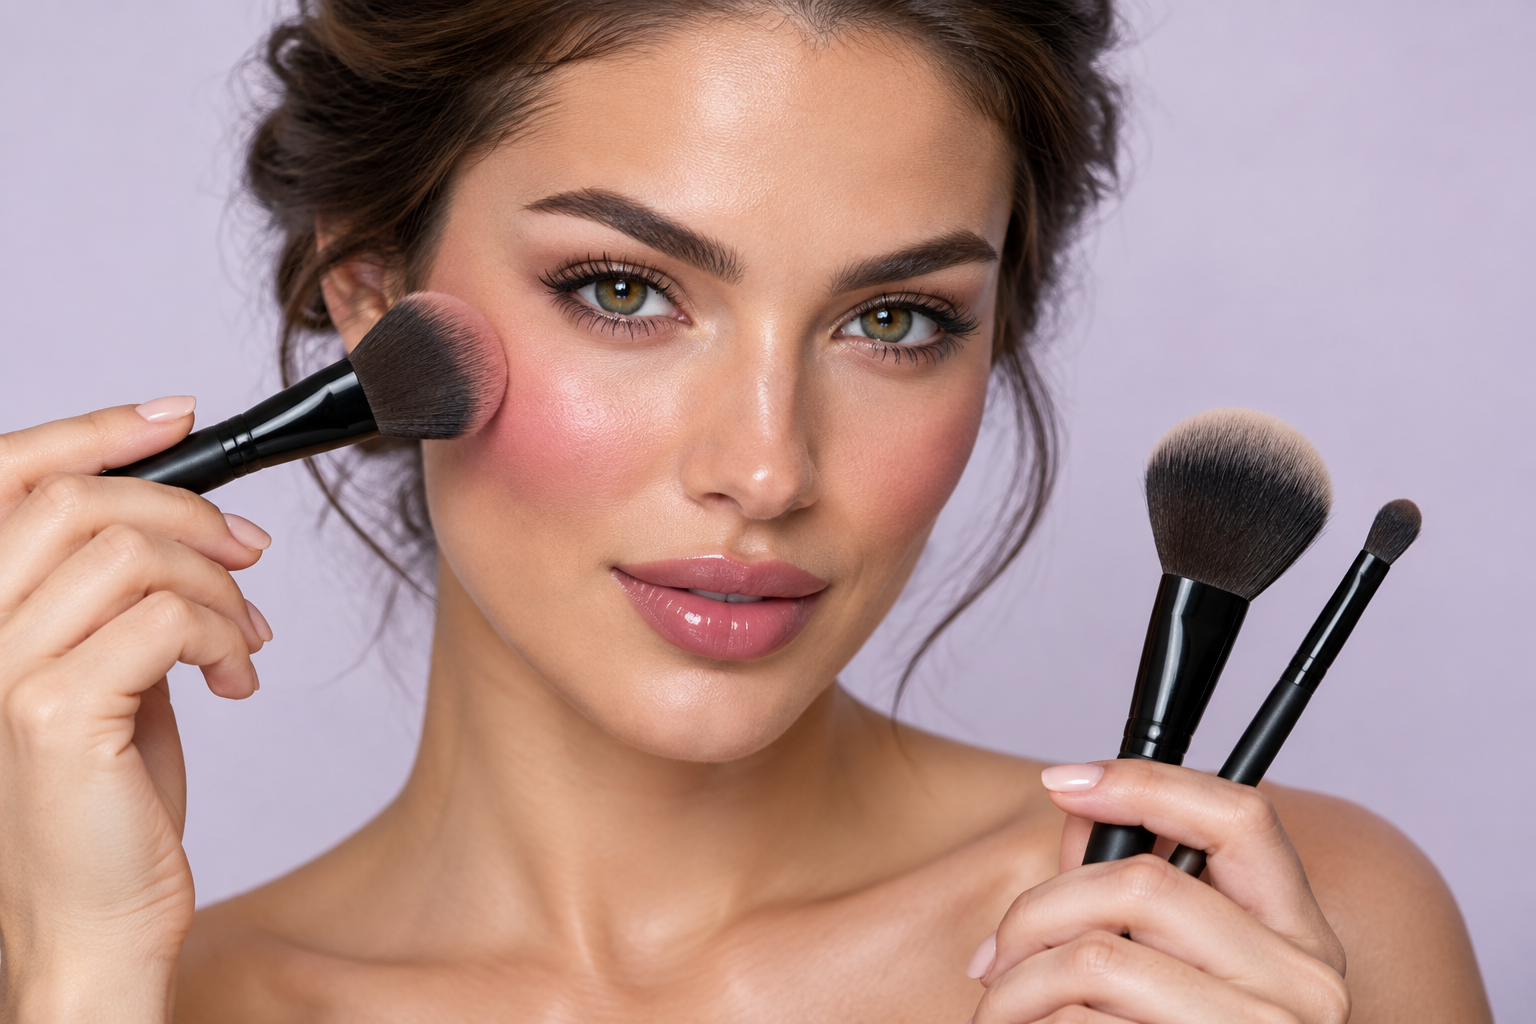
Two brushes can look almost identical and still leave your blush in very different places. The useful difference usually isn’t the name printed on the handle: it’s the size, shape, and how tightly the bristles are packed.
For beginner makeup brushes, learn five shapes: a fluffy face brush, dense complexion brush, rounded eye blender, flat shader, and thin angled brush. You probably won’t need all five. If you wear powder blush and eyeshadow, one face brush and two eye brushes are a sensible starting point.
Quick answer: Match the brush to the job. Fluffy shapes generally soften and spread color; compact shapes help place it. Skip tools for steps you don’t do, especially when fingers or a sponge already work comfortably.
Start with the makeup you actually wear
Before choosing brushes, lay out the products in your everyday routine. Not the elaborate eye look you might try someday. Just the makeup you reach for now.
For a routine with powder cheek color and powder eyeshadow, consider:
- One medium fluffy face brush for your most-used powder face product.
- One small rounded eye brush for softening shadow edges.
- One flat shader brush for placing color on the lid.
If you don’t wear eyeshadow, leave out both eye brushes. If your routine is tinted moisturizer and cream blush blended with fingers, you may not need this trio at all.
One face brush can serve related powder jobs, but residue matters. A brush used for rosy blush may tint your setting powder afterward. Separate brushes can be convenient for color separation without making a large matching set necessary.
The five makeup brush shapes worth recognizing
Brush names aren’t a universal labeling system. Look at the head first, then check whether its intended use suits your formula.
Medium fluffy dome or softly angled face brush
This is the rounded, airy-looking brush for spreading powder over a broader area. A medium size can handle powder blush, bronzer, or setting powder, depending on where you want to apply it.
For cheek color, touch down where you want the strongest color, then use light sweeps to soften the edges. Start with little product: you can add another layer more easily than remove a generous first swipe.
A softly angled head can help follow the cheek’s curve, but size matters more than the angle. If the bristles cover most of your cheek when you want a small blush placement, choose a smaller head.
Dense rounded or flat-topped complexion brush
Closely packed bristles give this brush a firmer feel. It’s an optional tool for applying compatible liquid or cream foundation, not a requirement for wearing base makeup.
Denser brushes often help build coverage, while fluffier ones tend toward a lighter application. Your formula, pressure, and product amount still affect the result.
Start with a small amount of foundation where you want coverage, then work outward using gentle presses or short strokes. If repeated buffing lifts the base underneath, stop working that area rather than pressing harder.
Small fluffy rounded eye brush
This brush softens powder shadow boundaries and diffuses color around the crease. Choose one small enough that its bristles stay near the area you’re trying to blend.
A large eye blender can carry shadow farther toward the brow than you intended. For a smaller placement area, a smaller rounded head gives you more room to work.
You can also use it without adding fresh shadow to soften an existing edge. Blending doesn’t always need another dip into the palette.
Flat, compact shader brush
A shader has a flatter profile and a relatively compact head. Its useful job is placing powder shadow on the lid when a fluffy brush spreads it too widely.
Tap off excess powder, then gently press the broad side onto the intended area. Pressing concentrates color; sweeping moves it around and softens it.
For shimmer, check the formula’s instructions before using a damp brush. Not every powder shadow is designed for wet application.
Thin angled detail brush
Short bristles cut on a slant help place brow powder or draw a narrow line with a compatible liner formula.
Use the narrow edge in short, controlled touches rather than trying to draw one long line immediately. Add this shape only if brows or liner are part of your routine.
A spoolie, the little spiral brush, is a separate optional helper for combing brow hairs and softening the look of brow product.
Two small changes that make brushes easier to use
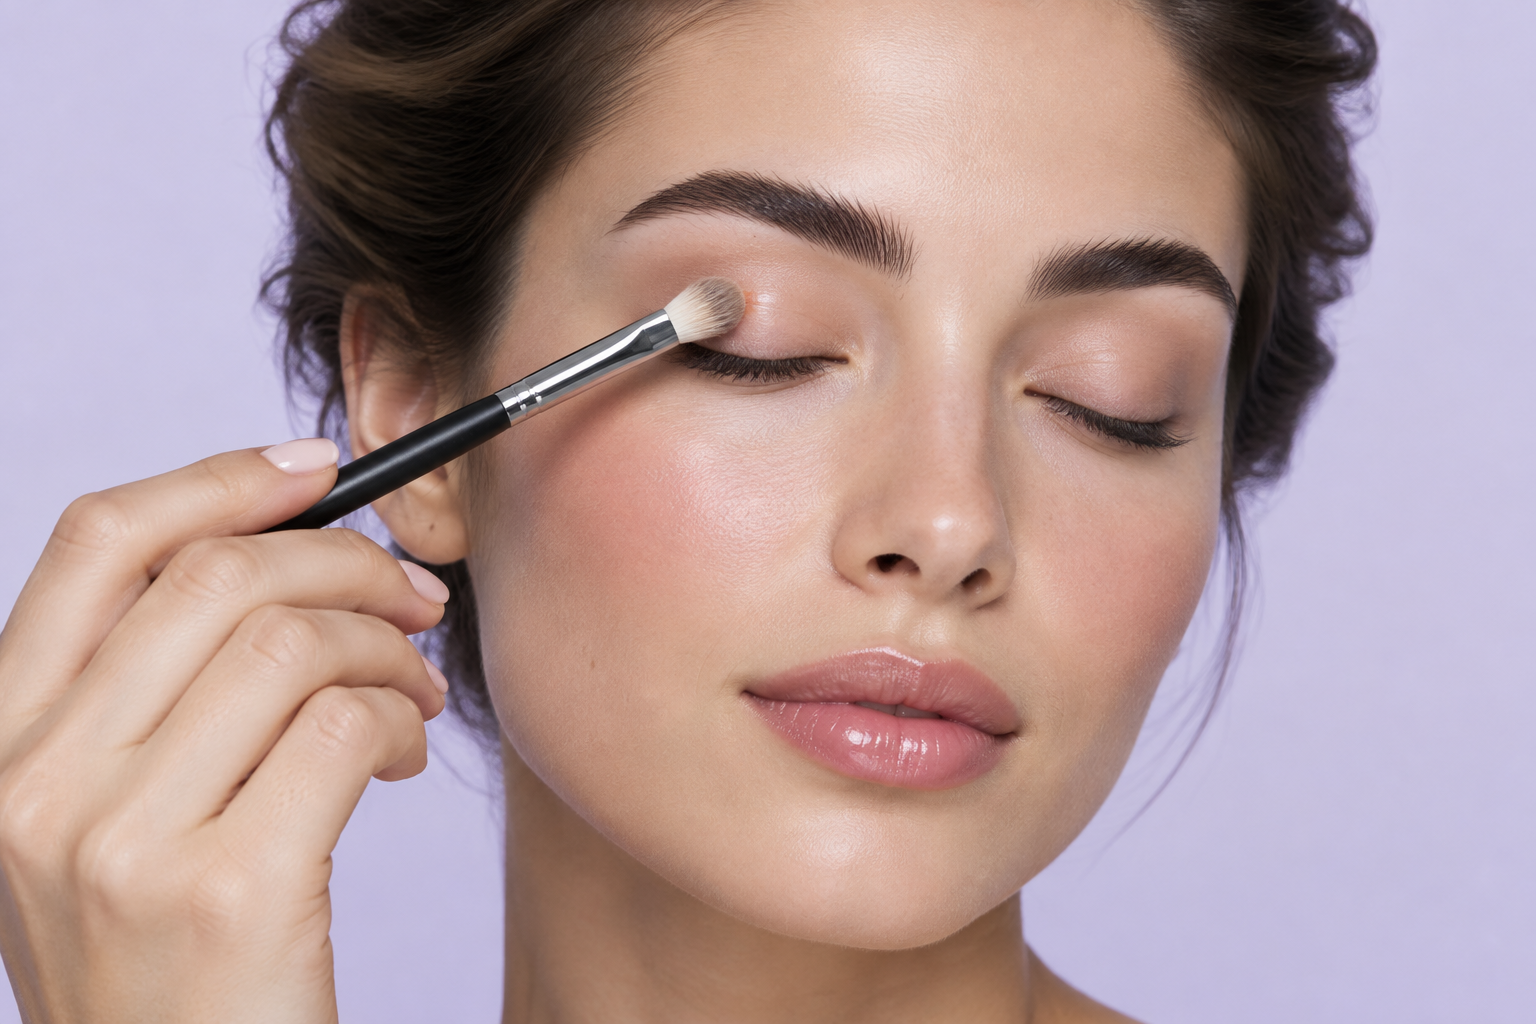
Before blaming the tool, check its footprint and your motion.
Check the footprint before loading it. Lightly rest a clean brush against your cheek or closed eyelid and notice how widely the bristles spread. If they extend beyond your intended placement, a smaller head may be easier to control. Heavy pressure makes that footprint wider, so keep the touch gentle.
Separate placing from blending. For a simple powder eye look:
- Pick up a little shadow with the flat shader and tap off the excess.
- Press it onto the lid where you want the color.
- Use the rounded blender, without adding more pigment, to soften the boundary with light sweeps.
If you keep loading the blending brush, you’re adding color while trying to soften it. That’s often why a small patch of shadow gradually becomes a much bigger one.
When fingers or a sponge can do the job
Fingers can be useful for cream blush, tinted base, or cream shadow when the product’s directions allow it. Tap to place and blend rather than repeatedly rubbing, especially over makeup you’ve already applied.
They’re less convenient when you want a narrow powder-shadow placement or a fine liner edge. That’s where a small brush earns its space.
A sponge is another option for foundation and concealer. If yours is designed for damp use, wet and squeeze it according to its instructions until it’s damp rather than dripping, then press or bounce instead of dragging.
These options won’t necessarily give identical coverage or finish. Keep the applicator that makes your preferred formula easiest to control. A brush label also doesn’t settle formula compatibility: some synthetic eye brushes are designed for both powder and cream.
Keep the useful tools, care for them, skip the extras
The American Academy of Dermatology recommends washing makeup brushes every 7 to 10 days and drying them flat with the tips extending over an edge. Stop using a tool or product that causes irritation.
For your next makeup session, set out only the tools your routine uses. Before adding another, name the problem it would solve: “My lid color spreads too far” is useful. “The set has an empty slot” isn’t.
