
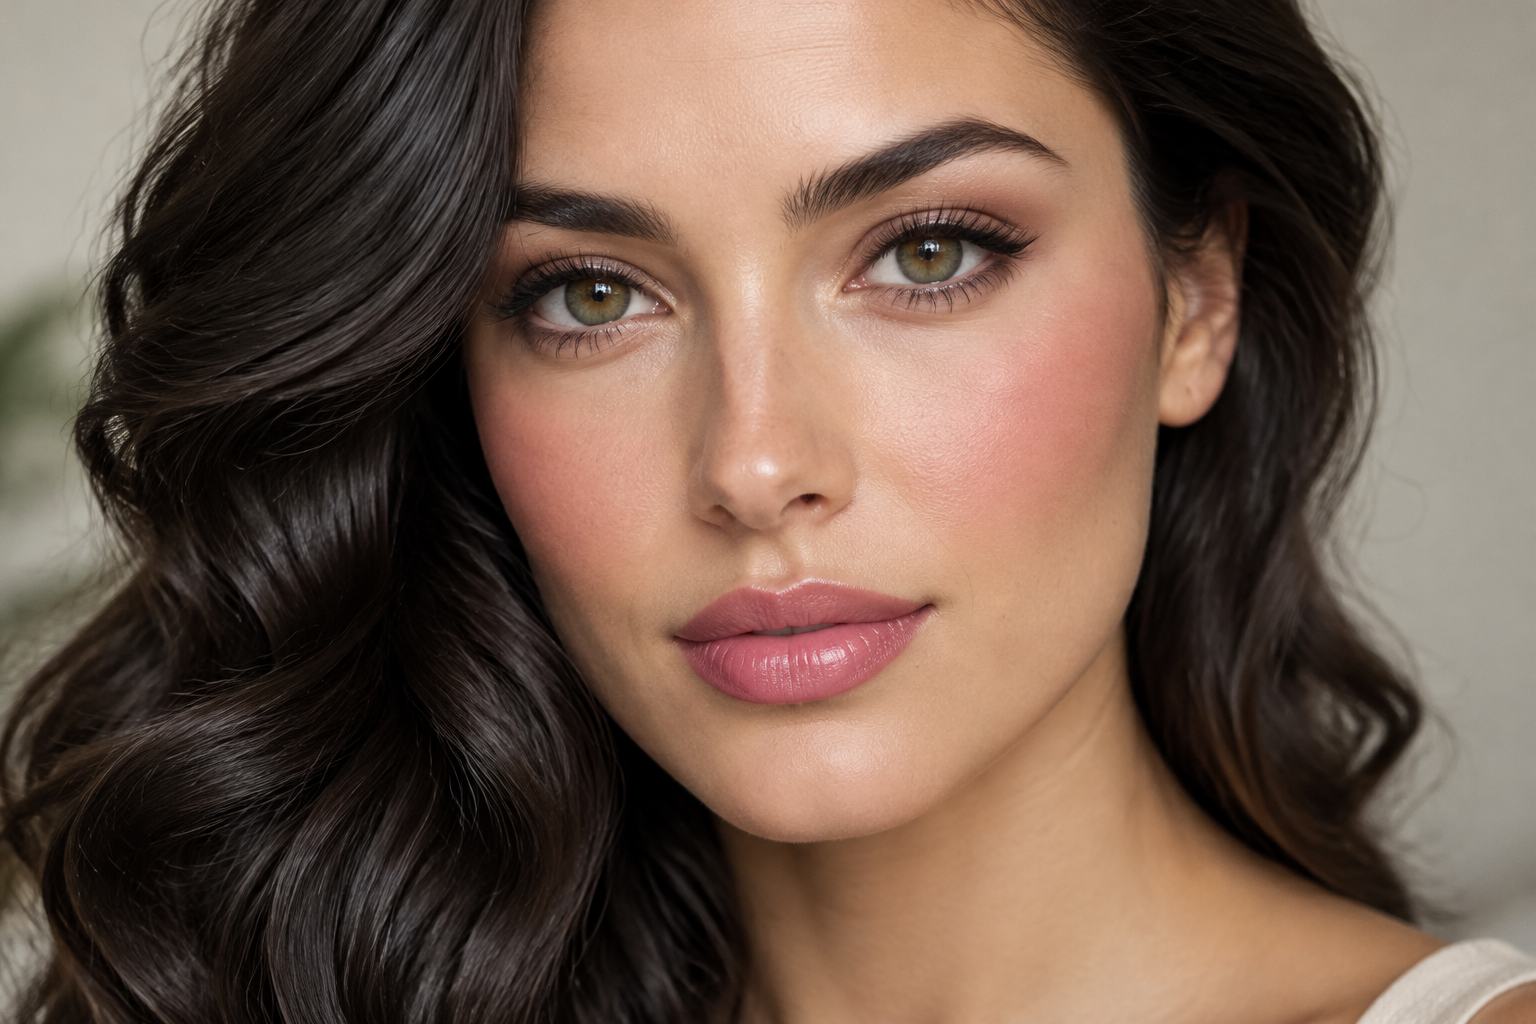
Sometimes a “natural” look is so subtle that the blush disappears as soon as you step away from the mirror. The answer isn’t necessarily more foundation. This natural makeup tutorial pairs a light base with softly filled brows, a neutral lid wash, narrow upper-lash definition, visible cheek color, and a lip shade that holds its own.
Unlike near-invisible no-makeup makeup, this look lets the makeup show. You’re aiming for noticeable color with blended edges, not pretending you woke up wearing mascara.
Quick answer: Keep coverage selective, concentrate eye definition beside the upper lashes, and build blush and lip color until you can see them from conversational distance. Soften the boundaries without blending the color away.
Choose shades and formulas that will actually show up
Gather a skin tint or light-coverage foundation, concealer if wanted, brow pencil or gel, one neutral eye shadow, an eye pencil or deeper shadow, mascara, blush, and lip color. Powder is optional.
Use these checks rather than defaulting to an all-beige palette:
- Base: Choose a shade that blends into your face and neck. Satin, dewy, and softly matte finishes can all suit this look.
- Eyes: Try taupe, cocoa, bronze, or another shade that adds a little depth against your skin.
- Cheeks and lips: Look for visible color, whether that’s rose, terracotta, berry, or something else you enjoy.
You don’t need primer, contour, highlighter, or setting spray to make this routine feel complete. Familiar products are perfectly useful here.
Your natural makeup tutorial, step by step
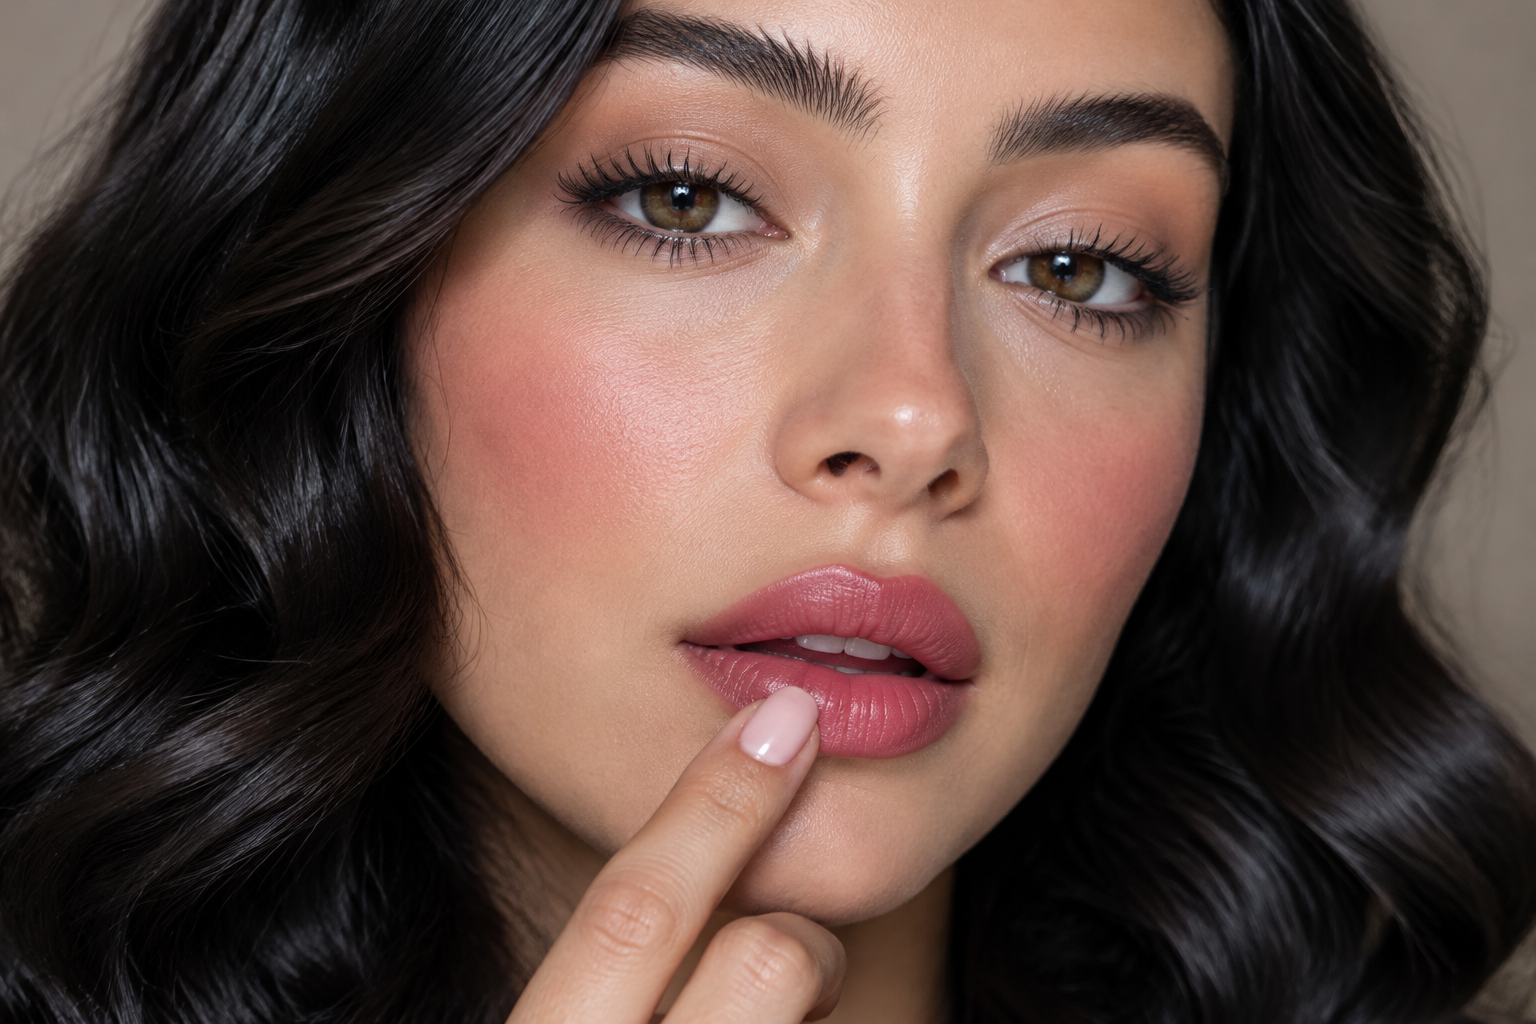
Step 1: Prepare your skin without adding a whole new routine
Use your usual moisturizer and daytime sunscreen according to their directions. Let your preparation settle enough that makeup doesn’t slide around as you apply it; there’s no universal waiting time.
If your skin already feels comfortable, leave the extra layers alone. A softly defined look doesn’t need a complicated skincare prelude, and unfamiliar exfoliants or actives aren’t necessary preparation.
Step 2: Apply a light base, then conceal locally
Begin where you want coverage, often around the center of the face, and blend outward. Use less product as you approach the hairline and jaw so you don’t leave an obvious boundary.
With a brush, use light strokes to distribute the base, then gentle tapping where you want slightly more coverage. With a sponge, press and bounce rather than dragging it across the skin.
Add concealer only where you want extra coverage. For under-eyes, start where you can actually see the darkness rather than automatically painting a large triangle. Tap the edges into the surrounding base; repeatedly blending directly over the center can remove the coverage you just placed.
Leave the rest of the complexion alone for now. You’ll reassess after adding color.
Step 3: Give brows shape without drawing a solid border
Brush the hairs into the shape you like before adding pigment. This shows you which spaces need filling and which are simply hairs lying in a different direction.
Use short pencil strokes in the gaps, following the direction of nearby hairs. Keep the front of each brow lighter than the tail, then comb through with a spoolie to soften any concentrated patches.
Already-full brows may need only brushing or a little gel. You don’t have to create a lifted, laminated shape; softly groomed brows can follow their existing direction.
Step 4: Keep eye definition close to the lashes
Sweep your neutral shadow across the mobile lid and blend its upper edge. Check with your eyes open and relaxed: if the shade disappears completely, bring a little color just above the fold where it becomes visible, without taking it all the way to the brow.
Next, apply a narrow line of eye pencil along the external upper lash line using short strokes. Alternatively, press a deeper eye shadow beside the lashes with a small brush.
Soften only the top edge of that darker band. Leave the deepest color next to the lashes, where it gives definition. Blending the whole line upward can turn a small accent into a dark lid wash.
If your pencil sets quickly, finish one eye before starting the other. A powder accent may be easier if pencil blending feels fiddly. Keep the lower lash line bare for this routine.
Finish with mascara, concentrating at the roots before drawing through the lengths. Brown is an option, but black can look soft too; separated lashes and restrained surrounding color matter more than a compulsory shade.
Use products intended for the eye area. The FDA advises stopping an eye cosmetic if it causes irritation and seeking medical advice if irritation persists.
Step 5: Build blush until it’s visible, not just beautifully blended
Start on the rounded area of the cheek, leaving some space beside the nose, and blend outward toward the upper cheek. Check your placement with your face relaxed rather than holding a big smile throughout application.
For cream blush, pick up a little on your tool or fingertip and tap it onto the cheek before powdering that area. Build gradually, especially with a strongly pigmented formula.
For powder blush, tap excess off the brush and apply in light passes. If the base feels tacky, a light layer of suitable setting powder first can help the blush spread more evenly.
Step back before adding another layer. You want to see the cheek color, but not a distinct starting or stopping line. If it looks stripe-like, use your base brush or sponge with its remaining product to tap along the perimeter.
Step 6: Set selected areas rather than automatically powdering everything
If you want less shine or tackiness, apply a small amount of powder around the nose, center of the forehead, or wherever you prefer a softer finish. Follow the formula’s applicator directions and remove excess before touching the skin.
Press gently where sweeping would disturb your base. Leave other areas unpowdered if you like their finish. Check that the powder doesn’t leave a pale cast; “translucent” isn’t a guarantee of invisibility on every skin tone.
Step 7: Finish with a lip color that contributes to the look
Choose a sheer-to-medium lipstick or tinted lip product related to your own lip color, but with enough pigment to register. A satin finish gives visible color without requiring a sharply drawn outline.
Apply directly for more color, or tap and spread for a softer edge. If you want liner, keep it along your natural lip boundary and blend it into the lip color so it doesn’t sit as a separate ring.
Make the final check from a little farther back
Look in ordinary daylight, then step away from the mirror. Check the jawline, brow fronts, shadow edge, blush perimeter, and lip outline.
If the look feels unfinished, identify what’s missing before adding coverage. It might need another touch of blush or mascara rather than more foundation. If one boundary looks strong, soften that boundary instead of blending away the entire feature.
Keep this decision shortcut: add definition where you want attention; add coverage only where you want coverage. For touch-ups, your lip color and a small concealer are a useful starting pair, with powder only if you want to reduce shine.
