
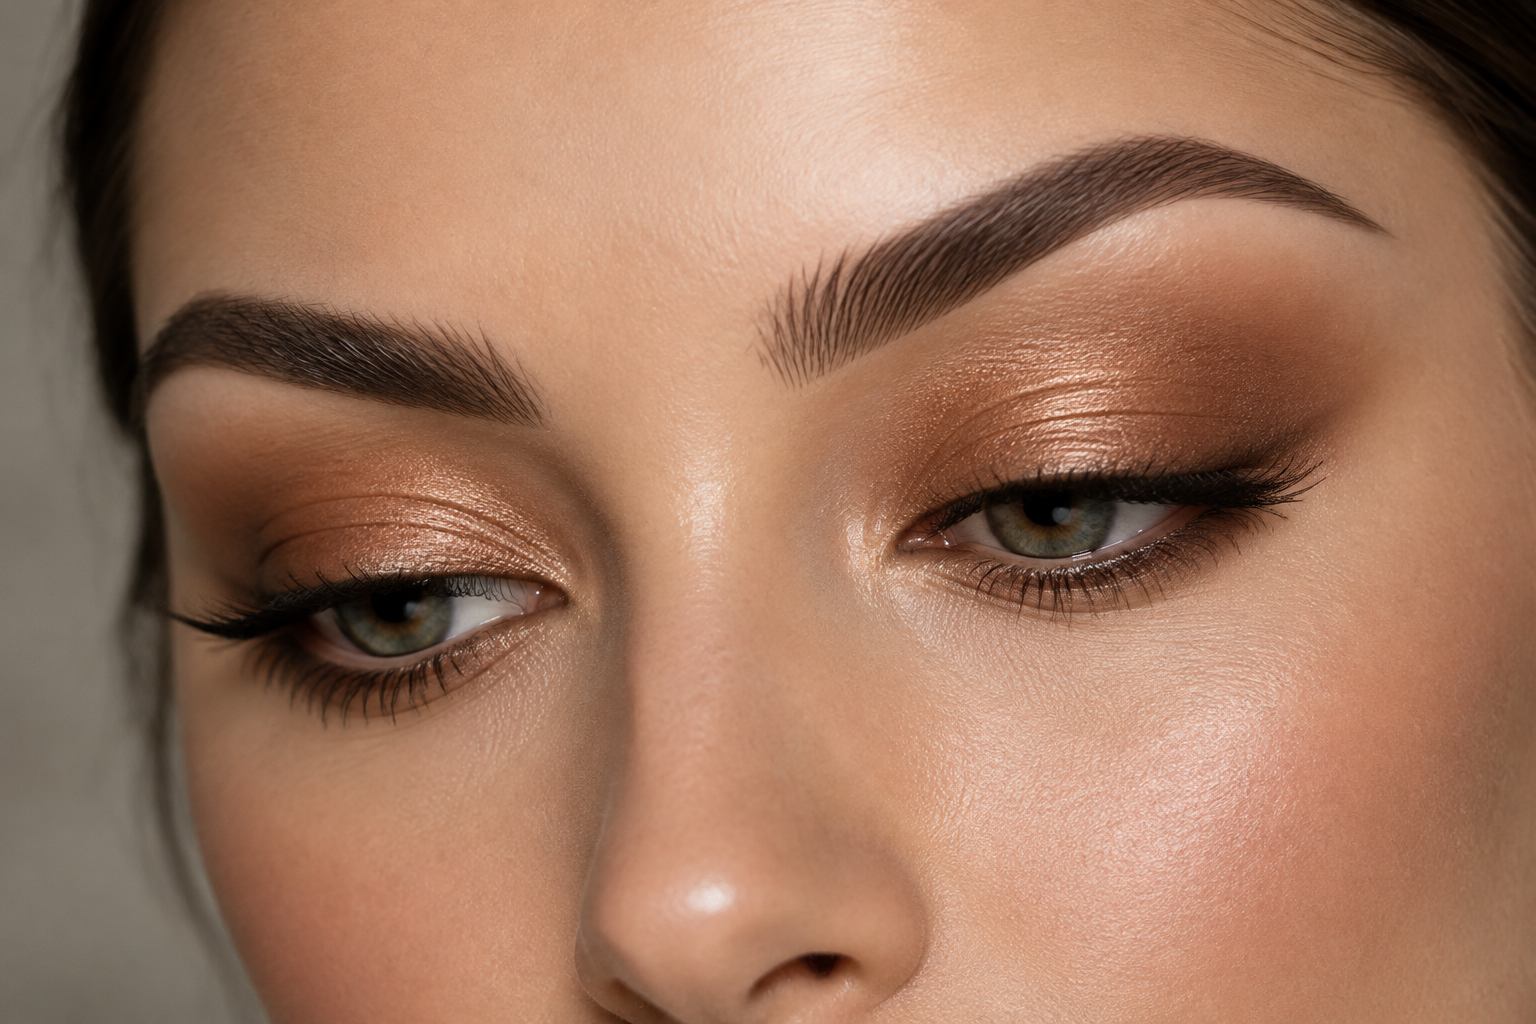
One eyeshadow can look lovely in the pan, then become a stripe on your lid or disappear after enthusiastic blending. The answer isn’t necessarily another shade. For simple eye makeup that feels deliberate, keep the strongest color on your lid, soften its outline, and add a little upper-lash definition.
You’re creating variation through placement, not coordinating a palette. “One shadow” means one eyeshadow shade; mascara and optional primer can still have a supporting role.
Quick answer: Apply a light layer of one shadow to your mobile lid, blend the upper and outer edges without sweeping away the center, then check the color with your eyes open. Finish with mascara if you want more lash definition.
Choose a shade you can see, not a whole palette
Start with an eyeshadow you already own. For a softly defined everyday look, choose a shade that has noticeable but comfortable contrast against your skin. Neutral doesn’t have to mean pale beige: taupe, rose-brown, bronze, and plum-brown are all possibilities.
A shade close to your skin tone gives a subtle wash. A slightly deeper shade creates more definition but makes the boundary more visible, so start lightly.
Choose the finish based on the effect you want:
- Matte: Color without added reflection, useful for a softly shaded look.
- Satin or fine shimmer: A little reflection that can make a single shade feel more dimensional.
- Strong sparkle: More noticeable shine, but not necessary for this routine.
Neither matte nor shimmer needs to disguise your lid texture. Pick the finish you enjoy seeing.
For the powder route, gather your shadow, a small application brush, and a soft blending brush if you have one. A single brush can work if you wipe off excess pigment before blending. For cream, a fingertip or suitable brush may be enough, depending on the directions.
Simple eye makeup, step by step
1. Prep only as much as your shadow needs
Begin with lids that aren’t slippery from freshly applied skincare. If your shadow usually creases or transfers, consider a thin layer of eye primer, following its directions. If your existing formula behaves well without one, there’s no need to add a step.
Use products intended for the eye area. The FDA’s eye cosmetic guidance advises stopping any product that irritates and seeking medical advice if irritation persists. Skip eye makeup during an eye infection or while the surrounding skin is inflamed.
2. Look straight ahead before placing color
With your brows relaxed, look into the mirror and notice how much lid is visible. This is your placement check, not an invitation to hold your eyebrows up throughout the routine.
Your mobile lid is the part between your upper lashes and the crease or fold. Start there. If that area is mostly hidden with your eyes open, you’ll adjust the upper edge later rather than piling more color onto a concealed spot.
3. Press a little shadow onto the lid
For powder, pick up a small amount and tap off excess. Press it onto the center of your mobile lid, then use what remains to work toward the inner and outer lid.
Keep the first layer below the final height you want. Blending will soften and slightly spread the edge, so leave yourself room.
Aim for a light, even wash rather than full opacity immediately. You can add more of the same shade where you want extra presence.
4. Soften the outline, not the entire lid
Switch to a clean, soft brush, or wipe excess shadow from your application brush. Use light, short strokes along the upper boundary and around the outer edge.
Keep those movements small. Repeatedly sweeping from lashes to brow can spread the color farther than intended and remove the concentration that makes the look feel defined.
Stop and inspect after a few strokes. You want a gradual fade into bare skin, with visible color still sitting on the lid.
5. Open your eyes and adjust the visible shape
Look straight ahead again with relaxed brows. If the shadow disappears beneath your fold, carry a small amount just above it, then soften that new upper boundary.
Move it only far enough to see a little color with your eye open. You don’t need to take shadow toward your eyebrow or draw a new crease.
If plenty of lid already shows, leave the color lower. This is a visibility adjustment, not a rule that everyone needs above-crease shadow.
6. Put back color only where it’s missing
If blending has made the lid look too faint, press a little more of the same shadow onto the center or outer part of the mobile lid.
Then soften only the boundary of that addition. Resist restarting the full blending process: the fresh color needs to stay somewhere.
7. Give the upper lashes a little definition
If you’re using mascara, brush from near the upper-lash roots toward the tips, keeping the wand away from the eye. Start with a light application and separate the lashes as you go.
Defined lashes give the shadow a clear visual anchor without requiring eyeliner. Lower-lash mascara, a wing, and an inner-corner highlight can all stay off today’s list.
Using a cream or stick? Change the application rhythm
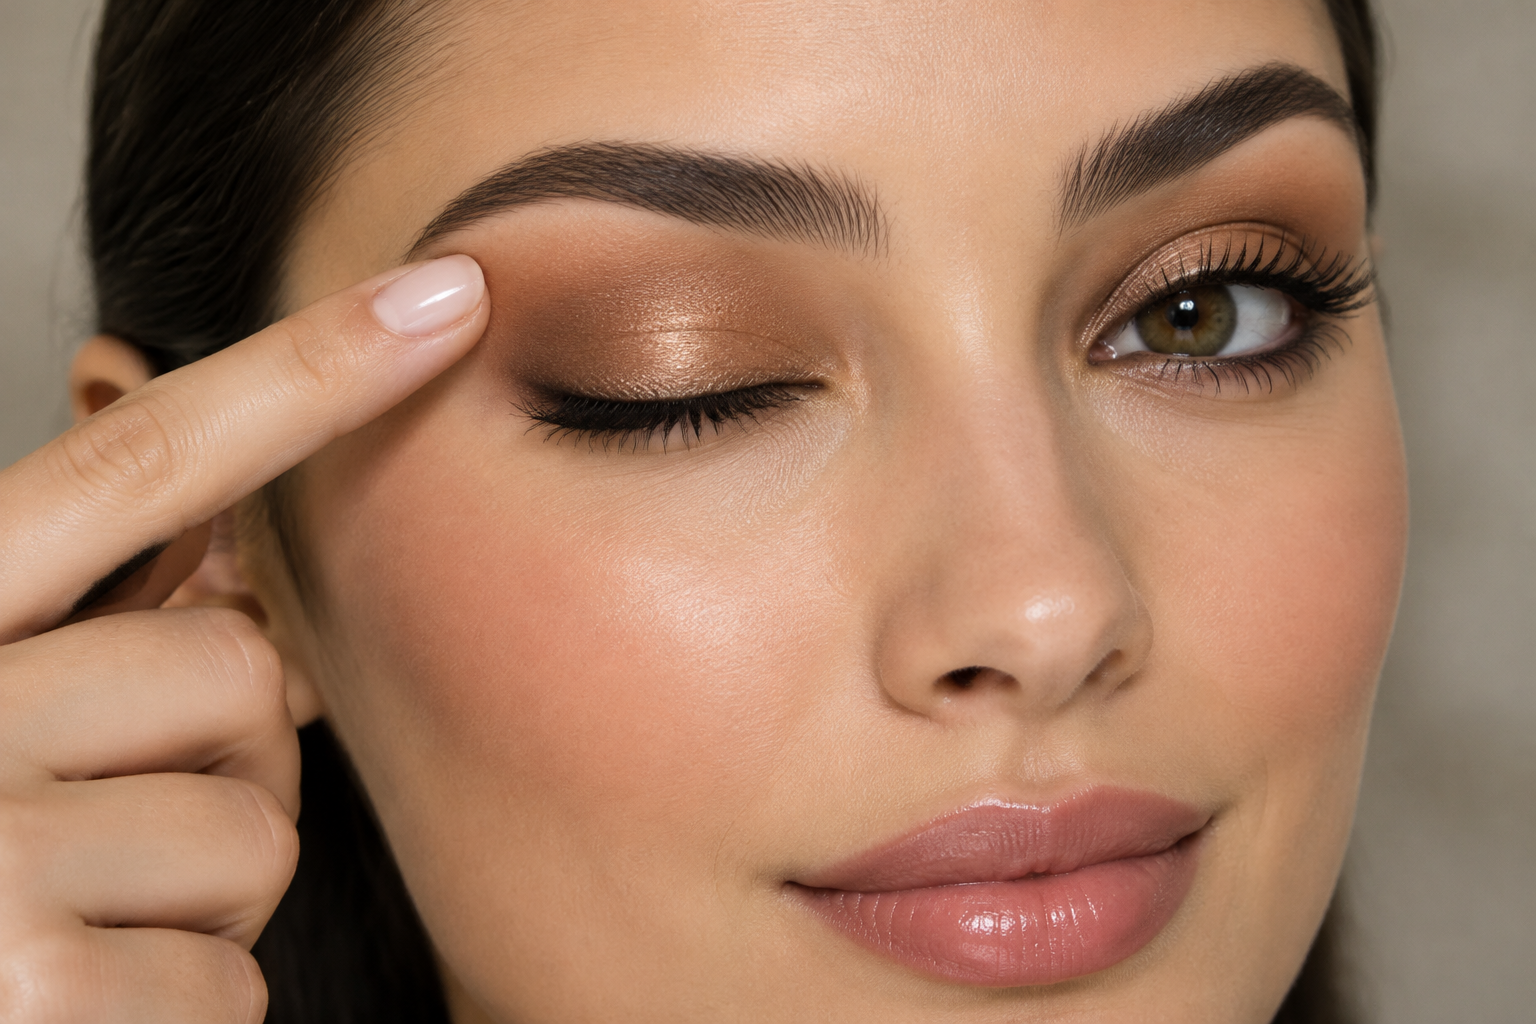
The placement stays the same, but the blending approach changes.
With a cream or stick, begin with a small amount on the mobile lid rather than drawing a heavy stripe along the crease. Follow the formula’s directions for fingertip or brush blending.
If it sets quickly, finish one eye before starting the other. Use a clean fingertip or suitable brush to tap along the boundary while the product is still workable, instead of repeatedly rubbing across the whole lid.
Don’t assume every cream needs primer or every stick can be layered heavily. Let the product directions and your wear experience guide preparation.
Make your final check with both eyes open
Before adding anything else, lower the mirror slightly and look straight ahead. Compare how much color shows and how softly each edge fades, rather than trying to make the closed-lid shapes identical.
Use this small troubleshooting check:
- A visible stripe: Soften its boundary with a clean tool.
- Color that vanishes: Adjust placement before adding intensity.
- Color blended away: Press a little back onto the lid.
The useful habit to keep: open your eyes before reaching for more shadow. Sometimes the look needs more color, but often it just needs that color in a more visible place.
