
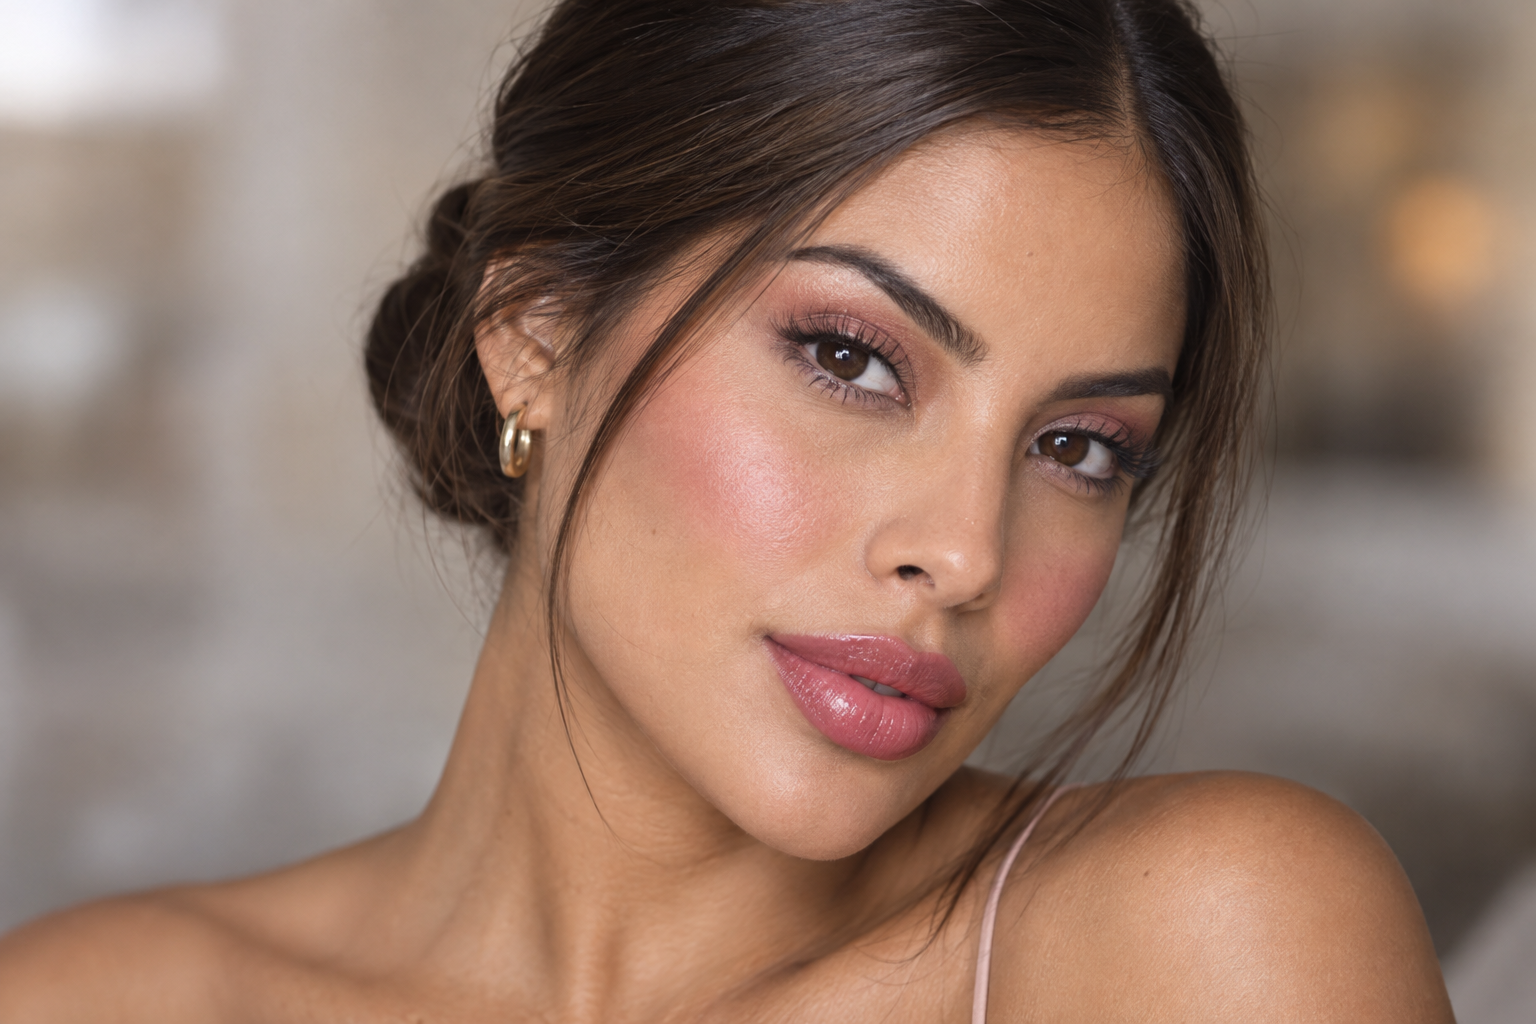
Your pink blush looks lovely until you add pink eyeshadow and lipstick, and suddenly every feature is asking for attention. The fix isn’t necessarily less pink. It’s giving each part of your pink makeup a different level of definition.
For a coordinated starting point, try diffused rose eyes, softly blended pink cheeks, and a slightly deeper satin rose lip. Related colors connect the look; differences in coverage and shine keep it from feeling uniform.
Quick answer: Choose one feature to carry the strongest pink. For a lip-led look, keep eyes softly shaded and blush translucent, then give the lips fuller coverage. Match the color mood, not every swatch.
Choose your pinks on your face, not in the packaging
Start with a lipstick you enjoy wearing. Apply a little and notice how it actually reads on your lips: peachy, rosy, mauve, berry, bright, or muted. That gives you a useful direction for the other two colors without requiring a matching set.
A mauve-rose lip might pair with a muted rose lid and a sheer rosy cheek. A warmer rose lip could work with peach-pink blush and softly shaded warm-pink eyes. These are starting points, not complexion rules.
Judge depth and color strength separately. A deeper rose can look restrained when applied sheerly, while a pale, opaque pink can be quite noticeable against your skin.
Across skin tones, preserve the roles rather than identical shades:
- Eyes: visible pink with a softened border.
- Cheeks: a lighter application that blends into the surrounding skin.
- Lips: the clearest pink shape, through depth, coverage, or both.
If a shade disappears, you don’t have to keep piling it on. You may prefer a deeper or more saturated pink. If it dominates, try less coverage or a more muted version before abandoning the whole color family.
Build a lip-led pink makeup look in four steps
Choose your lip color first, but finish its full application after the eyes and cheeks. This lets you build the supporting colors gently, then assess everything together.
1. Give the eyes a soft wash and a defined lash line
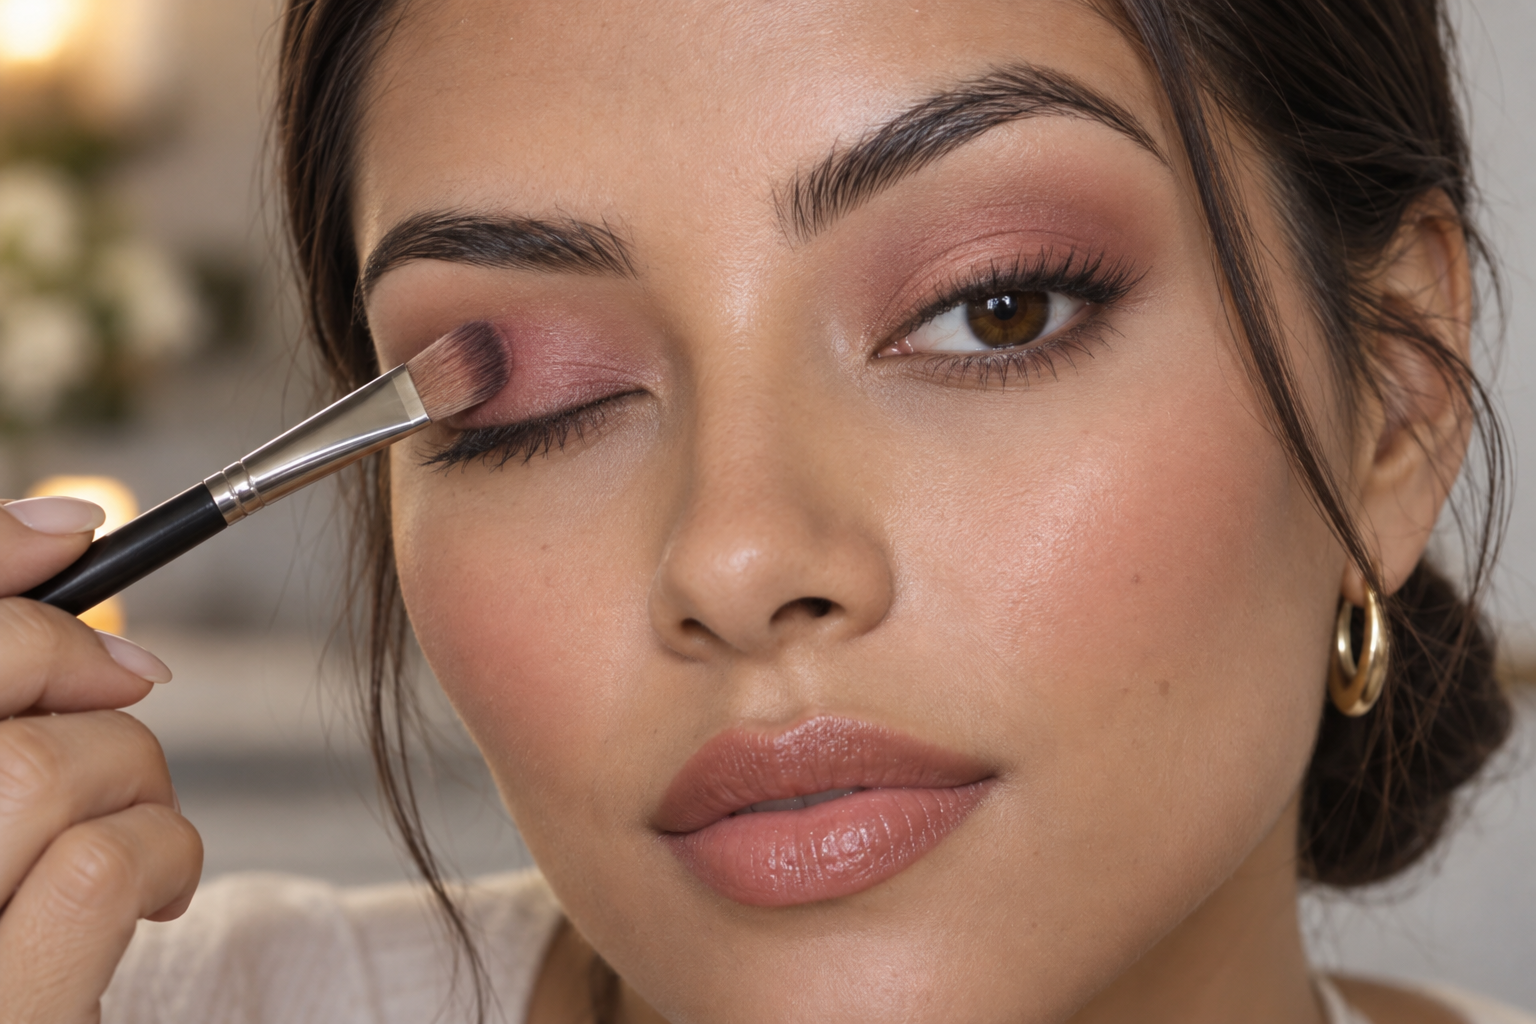
For powder shadow, pick up a small amount of rose and sweep it over the mobile lid, the part that moves when you blink. With a lightly loaded blending brush, soften the upper edge so the color doesn’t stop in a hard stripe.
If the pink looks too faint, change your brush motion before changing the shade. Press a little powder onto the lid with a flat brush, then blend only the perimeter. Repeatedly sweeping over the center can diffuse away the color you’re trying to build.
Keep the strongest color on the lid rather than spreading it equally toward the brow. For cream shadows or fast-setting liquids, follow the formula’s directions and work within its blending time instead of treating it like powder.
Add a narrow line of brown, cocoa, or another preferred neutral along the upper lashes. It gives the eye some definition without introducing another large area of color. Mascara is optional.
Choose soft-matte shadow or restrained satin for this version. If you want shimmer, place a little on the center of the lid rather than making the entire eye reflective.
Use only products intended for the eye area. A lip-and-cheek label doesn’t automatically include eyelids, as the FDA’s eye cosmetic guidance explains. Stop using an eye cosmetic if it irritates you; seek medical advice if irritation persists.
2. Build blush from the edge inward
For a blendable cream blush, transfer a little onto the back of a clean hand, then lightly pick it up with your brush, sponge, or fingertip. This gives you more control than placing a generous swipe directly on the cheek.
Tap onto the cheek’s rounded area, keeping the first placement away from the side of your nose. Blend outward and slightly upward, softening the boundary before adding another layer. Stop and look straight ahead with your face relaxed: blush placement can look different when you’re smiling broadly.
With powder blush, lightly load the brush, tap off excess, and build with gentle passes. Fast-setting liquid stains may need prompt blending in small areas; letting them sit on your hand can make application harder.
Aim for a low-shine cheek here. It doesn’t need to be pale, just less opaque than the finished lip.
3. Make the satin lip the clearest feature
Apply your rose lipstick with more coverage than the eye wash or blush. “More defined” doesn’t have to mean dark: a medium pink with a tidy outline can lead the look beautifully.
Use the lipstick’s edge or a lip brush to shape the border, then fill the center. If you prefer a softer outline, tap lightly along the edge without wiping away all the color.
Satin provides some reflection without adding a high-gloss finish everywhere. If gloss is your preference, use it on the lips and keep the eye shimmer minimal. You’re choosing where the shine belongs, not banning it.
4. Check the whole face before adding more
Step back from the mirror in even light and look at yourself from normal conversational distance. A close-up is useful for blending edges, but less useful for deciding whether the overall balance works.
Notice where your eye lands first. If you wanted a lip-led look but the cheeks dominate, soften the blush rather than automatically making the lipstick stronger. That small pause can prevent a cycle of adding more everywhere.
Adjust the specific thing that feels too much
Too bright: Reduce coverage in one supporting area. Tap over excess cream blush with a clean sponge, or gently buff powder blush with a clean brush. For your next application, start with less product.
Chalky or barely visible: Check both shade and formula. A pale, opaque base may remain conspicuous even after blending; a sheer formula may never give the definition you want. Try a different depth or opacity rather than assuming more blending solves everything.
Too shiny: Keep your favorite reflective feature and simplify the others. Glossy lips can sit alongside matte lids and low-shine cheeks; shimmering eyes can pair with a satin lip.
Bright pink isn’t inherently overdone. If you love it, let it be the focal point and adjust the supporting areas to your taste.
For your next attempt, keep one question beside the mirror: Which feature needs more definition, and which only needs a softer edge? Answer that before reaching for more pink.
