
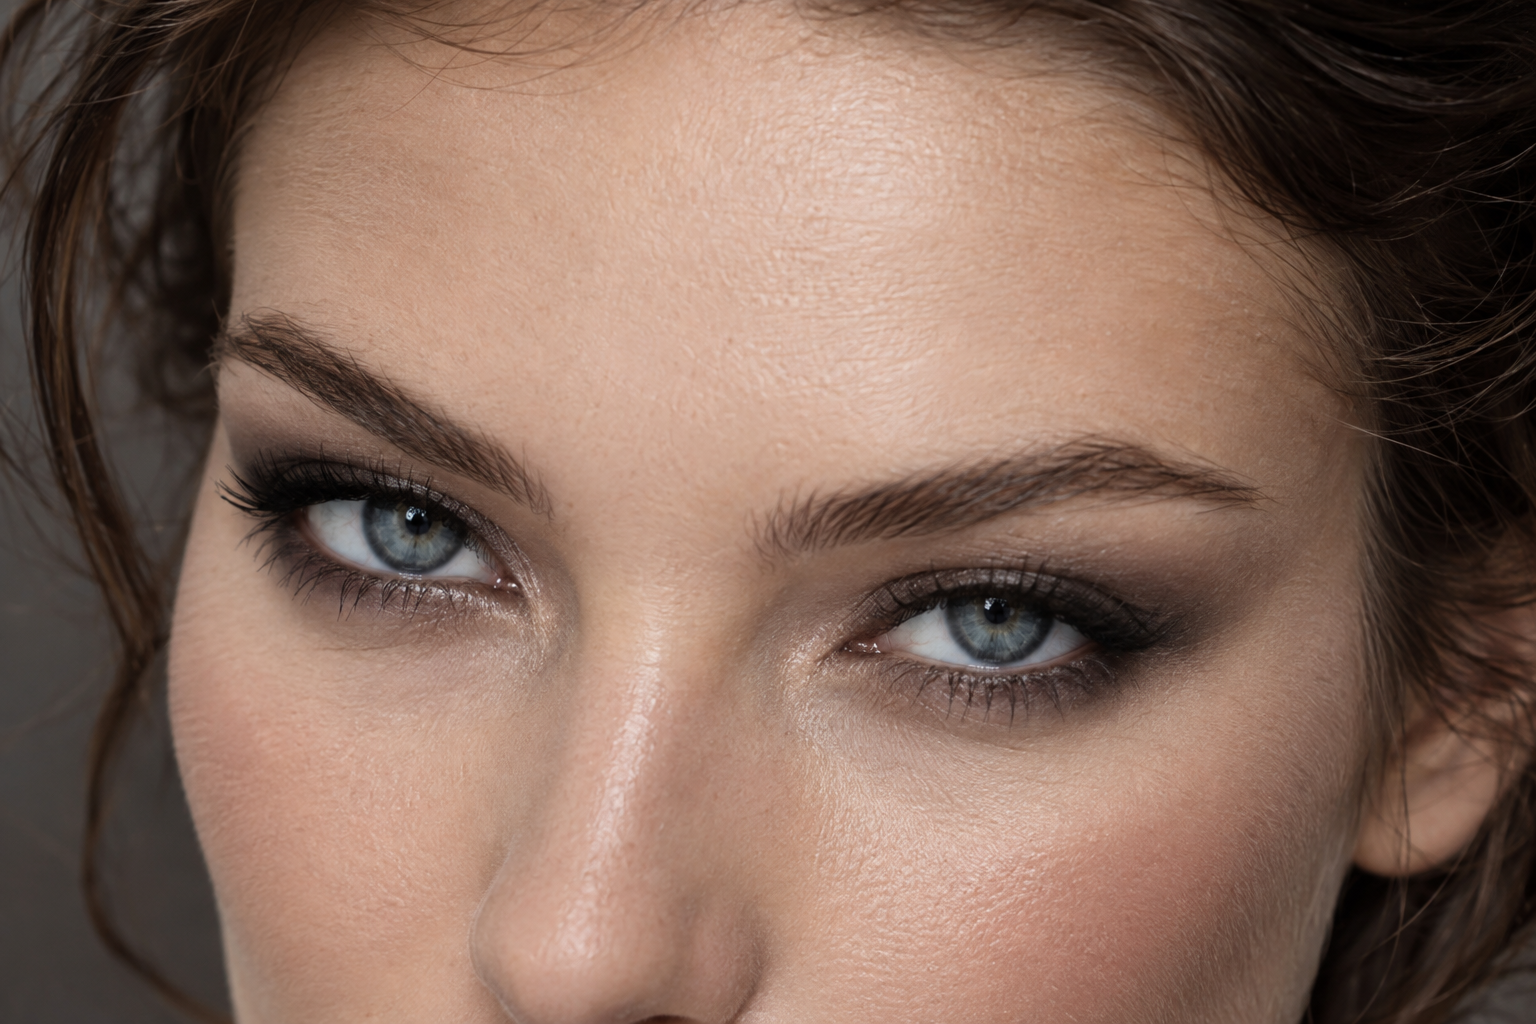
Your shadow looks softly blended, then one more sweep turns it into a dark patch. The trick to wearable smokey eye makeup isn’t blending endlessly. It’s keeping the deepest color close to your upper lashes, letting a medium shade carry the lid color, and softening only the boundaries.
That gives you haze without erasing the definition underneath. Checking the look with relaxed, open eyes helps you keep the shading where you actually want it, rather than following a crease map that doesn’t suit your placement preferences.
Quick answer: Start with a medium lid shade, add a narrow band of depth along the upper lashes, and blend its top edge with a small brush. Use a clean, soft brush for the outer boundary, then check the result with your eyes open before adding more.
Choose two shade roles, not a whole palette
You can build this look with two shades you already own:
- A medium shade: Noticeable on your skin, but not the darkest part of the look. Try brown, taupe, bronze, muted plum, or gray.
- A deeper shade: Enough contrast to define the lash line. Deep brown, charcoal, or dark plum can work without using black.
Judge the shades on your skin rather than by their names in the palette. A color labeled “transition” might barely show up, while a supposed “deep” shade might make a lovely medium wash. You don’t need a pale beige border.
Matte or satin finishes make the placement easy to see while you practice. Shimmer is welcome, too; it’s an optional finish, not something you need permission to wear.
For tools, a small, fairly firm brush places depth precisely, while a softer brush diffuses edges. Keep the softer brush free of dark pigment so it doesn’t turn every blending pass into another layer of color.
Build your smokey eye makeup in seven steps
1. Prepare without piling on base products
Begin with lids free of leftover makeup and excess skincare. If you use an eye primer, apply it according to its directions. You don’t need to automatically stack primer, concealer, and powder underneath everything.
Use products intended for the eye area. The FDA advises stopping an eye cosmetic if irritation occurs and seeking medical advice if it persists. Skip eye makeup over an active infection or inflamed surrounding skin.
2. Apply the medium shade across the moving lid
Place a light layer on the part of your lid that moves when you blink. With powder, tap excess off the brush and press color into place before lightly softening the perimeter.
Start near the lashes and work outward across the lid. Don’t chase a prescribed height above the crease. Open your eyes and decide how much of that soft color you want visible.
3. Put the deepest color beside the upper lashes
Use your small brush to press deeper shadow into a narrow strip immediately above the upper lashes. Start on the outer half, where it’s easier to build depth gradually, then carry the remaining pigment inward if you want.
Keep the brush on the lid skin, not inside the eye. A blendable eye pencil can replace this shadow step, but draw a slim line rather than a thick stripe that takes over the lid.
4. Blur the top of that dark strip
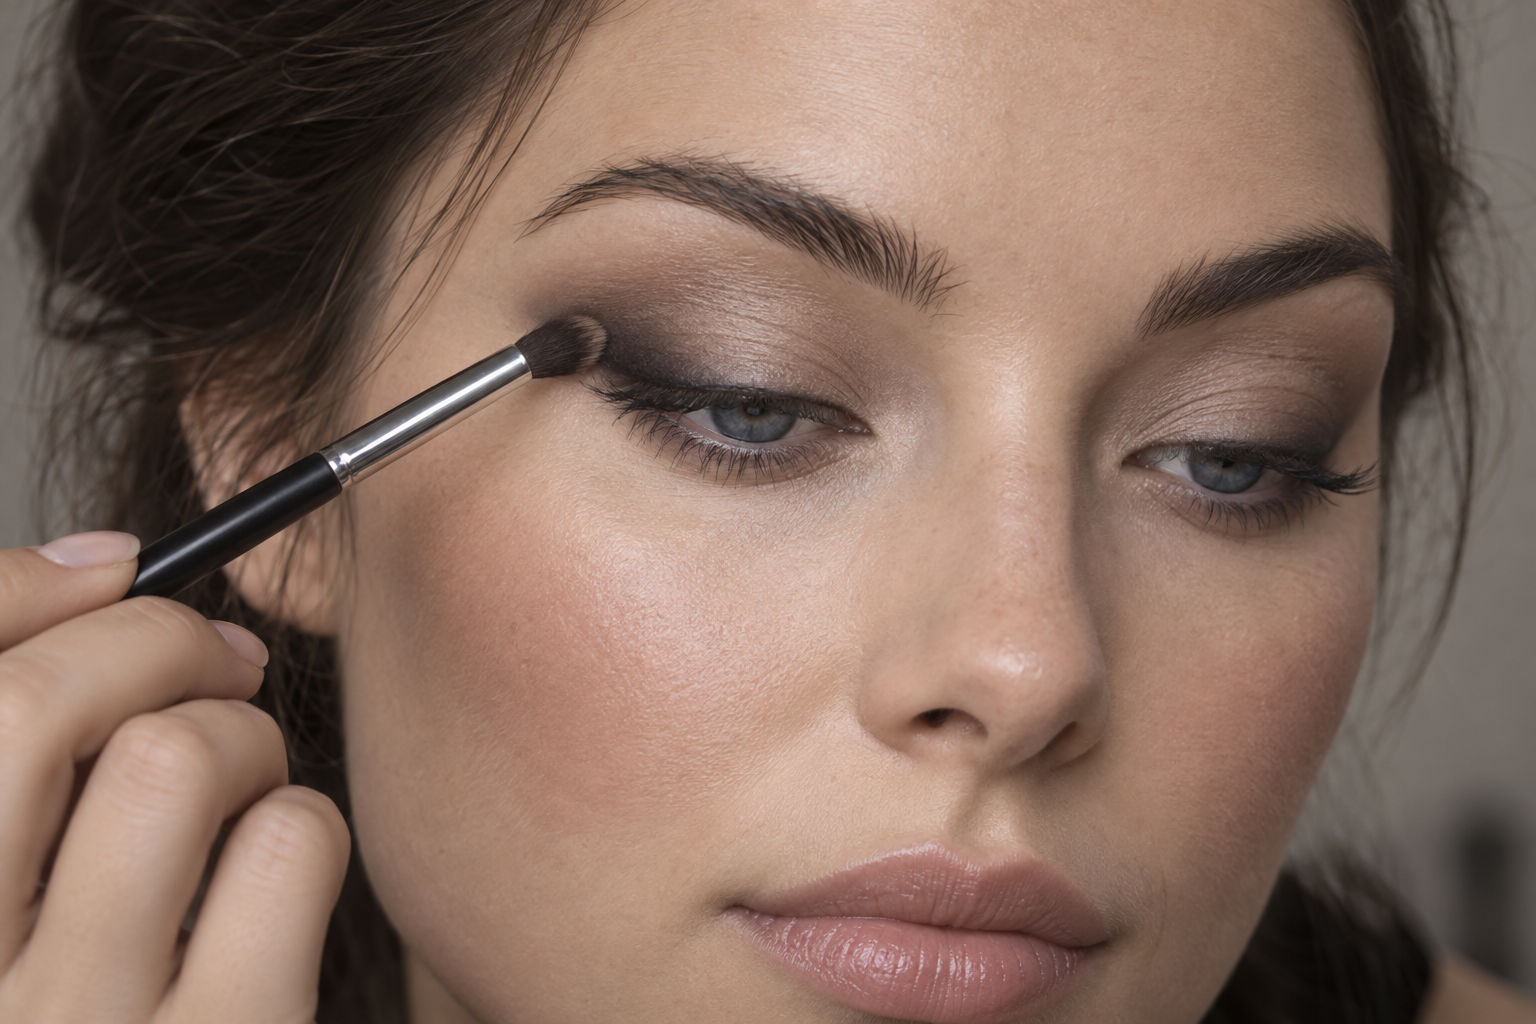
Work where the deep shade meets the medium shade, using tiny side-to-side movements. Leave the color nearest the lashes relatively concentrated.
For pencil, soften the upper edge while the formula is still workable. Follow your product’s directions rather than assuming every pencil gives you the same working time.
5. Soften the outside boundary with a clean brush
Switch to your softer brush and lightly skim the perimeter of the shadow. Avoid sweeping from the lash line to the brow: that carries the darkest pigment into places you meant to keep softer.
You can leave a rounded outline or gently extend the outer edge. Neither requires a wing. If the clean brush starts picking up lots of dark color, wipe it before continuing.
6. Check the placement with your eyes relaxed
Look straight ahead without raising your brows. Is there still definition beside the lashes? Can you see a softer area above it? Does the outer edge stop where you intended?
If your lid space is less visible with your eyes open, resist adding dark shadow higher just to make it show. First check whether the narrow lash-line depth and soft surrounding color already create the effect you want.
7. Add only the finishing details you enjoy
For lower-lash shadow, use the pigment left on your small brush along the outer section, just beneath the lashes. Stop there for a restrained look, or skip lower shadow entirely.
A little eye-safe shimmer pressed onto the center of the lid can add dimension without changing the whole placement. Finish with mascara if you like, then reassess before adding another layer of darkness. Sometimes the lashes supply the definition you were about to chase with more shadow.
Adjust your blending to the formula
Powder gives you room to build gradually. Place a small amount, soften its edge, and add more only where the color needs depth. If a patch looks uneven, a tiny press of pigment into that spot may be more useful than brushing the entire lid again.
Cream needs controlled placement. Apply a small amount with a fingertip or brush, as directed, and keep the initial patch smaller than your intended finished area. Diffusing it outward is easier than pulling back an oversized application.
Setting cream or liner needs timely blending. Working on one eye at a time can help you finish the edge while the product remains movable. Once it sets, repeated rubbing may make the finish uneven rather than softer.
Powder over cream isn’t a universal fix. If you choose to layer them, follow the product guidance and test the combination before relying on it for an occasion.
Fix the specific problem instead of blending everything
- The lash line has disappeared: Put a little deep shadow back immediately above the lashes. Soften only its upper edge, leaving the rest of the lid alone.
- The outside edge looks abrupt: With a clean brush, lightly trace that boundary. If necessary, add a tiny amount of your medium shade beside it, not another sweep of the darkest shade.
- The dark area has spread too far: Stop adding pigment. Carefully remove the unwanted outer section with a small applicator and suitable makeup remover, keeping it out of your eye. Let the area dry before rebuilding a lighter layer.
- The shadow creases or transfers: On your next attempt, try less product and reassess the base underneath. An eye primer used as directed may help, but no formula label guarantees crease-free wear.
Make your next practice look deliberately softer
Try your first version with a medium brown lid, deeper brown along the upper lashes, and no lower shadow. Keep two brushes nearby: one for placing color and one for softening edges.
Before adding more, check three things: depth beside the lashes, a softer lid above it, and a boundary you like with your eyes open. That’s a more useful stopping point than another minute of blending.
