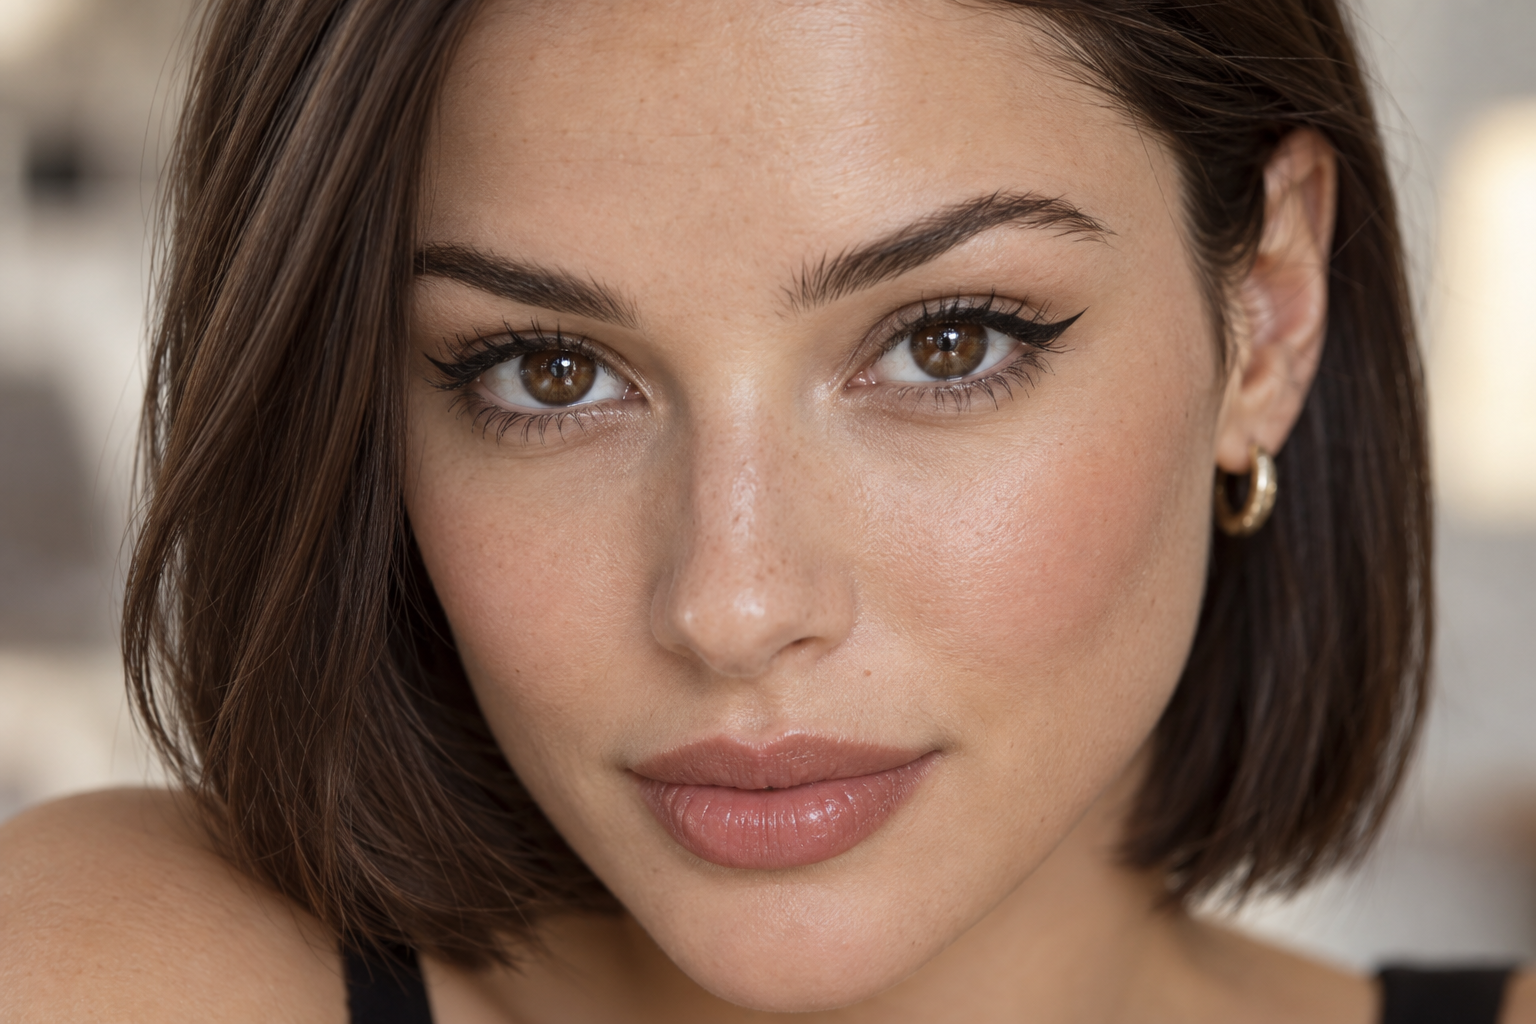
Your wing looks lovely with your eyelid closed, then takes a different direction when you open your eyes. The trick is to plan your cat eye makeup in the position you’ll actually wear it: eyes naturally open, looking straight ahead, with your brows relaxed.
Draw a small flick on each side first, compare them, then connect and fill. You can still lower your gaze to reach the lashes. The eyes-open part is your placement check, not a rule that makes application awkward.
Quick answer: Map both outer flicks with your eyes relaxed and open. Connect each tip to the upper lash line, fill the small outline, and add thin lash-line definition in short strokes. Check the visible shape before adding thickness.
Choose a liner you can control
You need a mirror, eyeliner intended for the eye area, and a small cotton swab or brush with eye-area-appropriate makeup remover for touch-ups.
Choose your applicator around the finish you want:
- Fine-tip liquid pen: Useful for a defined edge. Use light pressure at the tip, since pressing harder can widen the mark.
- Gel liner with an angled brush: Lets you place short, deliberate strokes. Load the brush lightly so you’re not depositing a thick blob at the corner.
- Eye pencil: An option for a softer wing. Sharpen it for a narrower mark; blending will soften the outline rather than preserve a crisp liquid-style edge.
A fast-setting formula leaves less room to adjust, so keep your first marks small. Support your elbow on a table and bring the mirror close enough that you don’t have to lean forward awkwardly.
How to draw cat eye makeup, step by step
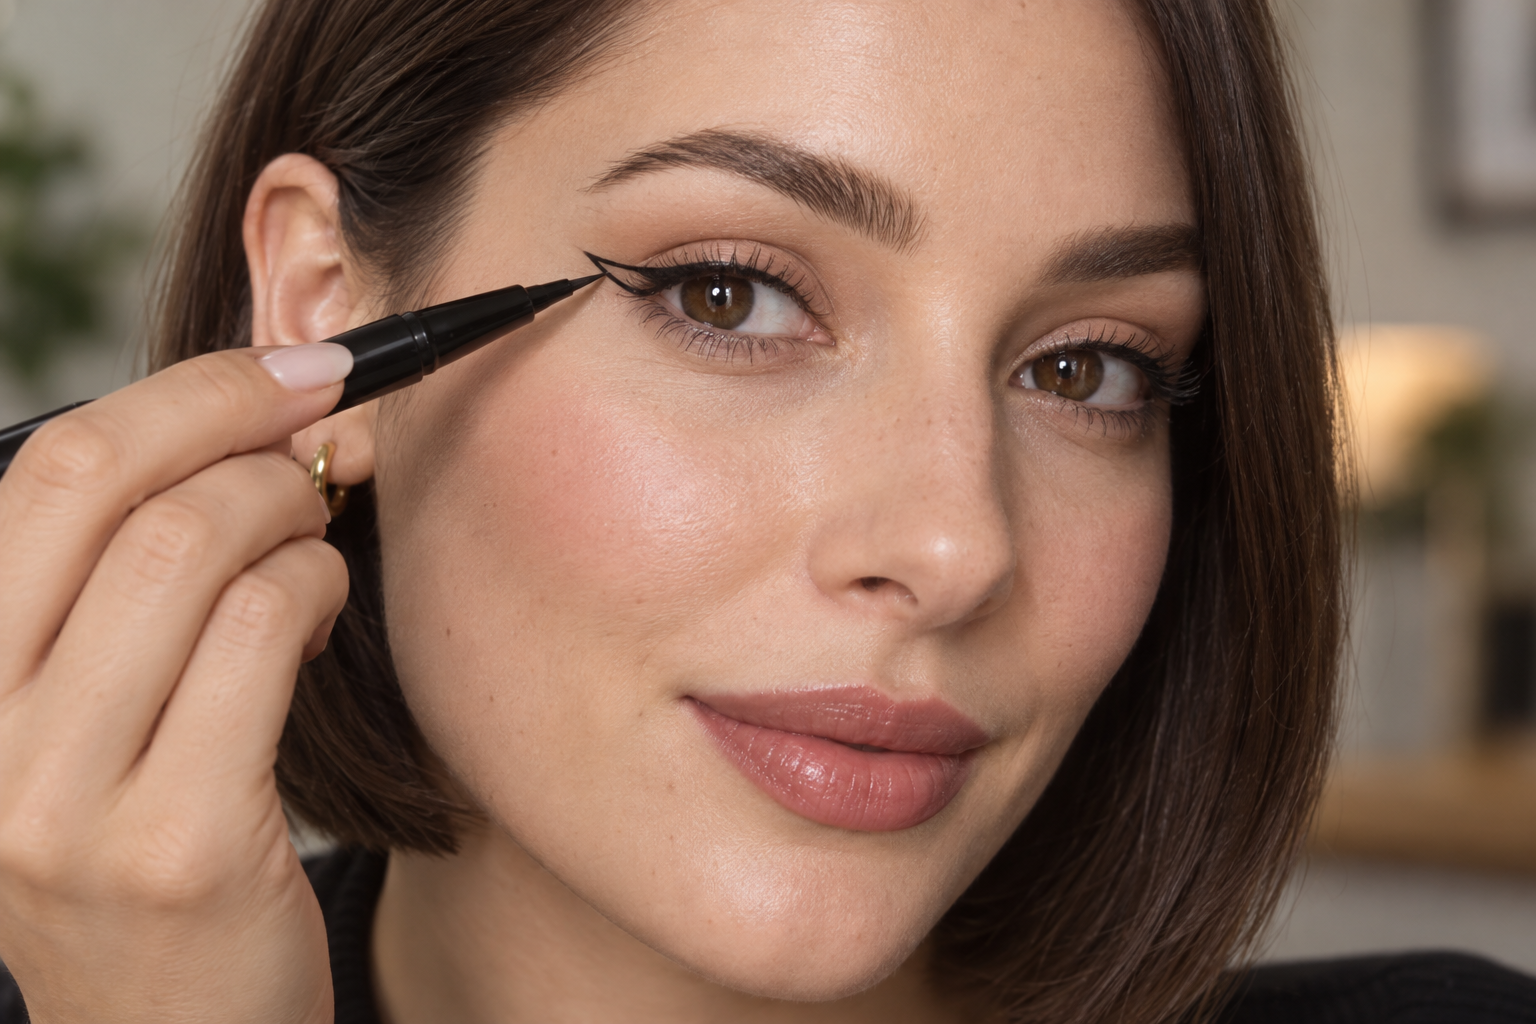
Step 1: Find your relaxed starting position
Look straight into the mirror with both eyes open. Let your brows settle instead of lifting them to reveal more lid, and don’t pull the outer corner taut. You want to see where the liner sits when your face is at rest.
Keep the application surface dry rather than freshly slippery with cream. Use eyeliner made for the eye area, and set it aside if it irritates your eyes.
Step 2: Sketch a short outer flick on each eye
Start where the upper lashes end and draw a small line outward in the direction you prefer. A gentle upward flick and a more outward extension create different looks; neither needs a prescribed angle.
Make the same small starting mark on the other eye before finishing either side. With opaque liquid liner, this is already a visible commitment, so resist making the first flick your full dramatic length.
Step 3: Compare the marks before building the wings
Look straight ahead again. Check whether the two flicks feel similar in visible length and direction, and whether either disappears into a fold.
Judge the overall effect rather than identical measurements. Your eyelids may sit differently, so matching the marks on closed eyes doesn’t necessarily create balance with them open.
Step 4: Connect each tip back toward the lashes
From the outer tip, draw a second line inward toward the outer upper lash line. Use small strokes to create a narrow outline, not a large triangle you’ll have to fill.
Keep the outermost point fine. If you’re using an angled brush, turn its narrow edge toward the tip rather than pressing its full width there.
Step 5: Fill inside the outline
Add pigment only within the shape you’ve mapped. Work in small sections and check that the base meets the outer lashes without a bare sliver between them.
If the tip already looks right, leave it alone. A little missing pigment near the base calls for a little pigment near the base, not another layer over the entire wing.
Step 6: Add a thin upper lash line
Lower your gaze or partially lower the lid if that helps you reach the lash roots. Draw short strokes along the skin immediately above the upper lashes, joining them to the wing.
Keep the inner section finer than the outer section for this look. You don’t have to carry the line all the way to the inner corner if a shorter stretch gives you the definition you want. Return to a straight-ahead gaze before deciding whether it needs more thickness.
Step 7: Check, then tidy one small area
Let the formula set according to its directions before attempting cleanup. Look at both eyes together, then identify the specific edge or gap that needs attention.
For excess liner, use a small swab or brush lightly dampened with suitable remover. Make a controlled pass along the unwanted edge instead of rubbing across the whole wing. Let the cleaned skin dry before redrawing so leftover remover doesn’t interfere with the next stroke.
Adjust the wing to the space you can see
You don’t need to identify an exact eye-shape category before trying a wing. Three visible details are more useful.
If little lid space shows: Keep the lash-line section narrow and let the outer flick carry most of the shape. A thicker band may cover the lid space you wanted to leave visible.
If a fold crosses your intended flick: Try a shorter or more outward direction while looking ahead. Check that small mark before connecting it. If the wing still crosses the fold, don’t keep filling blindly to force a conventional triangle.
If your outer corner slopes downward: Following that slope is an option, not an obligation. For a more upward-looking makeup effect, test a slightly higher flick direction before committing to the outline.
These are placement trials, not rules about which eyes “should” wear which liner. The useful question is whether you like the wing in your relaxed gaze.
Fix the problem without making the wing bigger
The wing disappears when you look ahead. Recheck with relaxed brows. Try changing the placement or direction of the small outer flick rather than thickening the entire lash line.
The wing looks detached from the lashes. Inspect the junction at the outer corner. Fill an actual gap there with a short stroke, preserving the tip and upper edge.
The line has become too thick. Remove pigment from the specific edge that widened. Covering it with concealer doesn’t remove the liner and can make a small correction harder to manage.
Both wings keep growing during corrections. Step back from the mirror and compare the overall look. If one side is noticeably longer, shorten that side with localized removal rather than automatically extending the other. Tiny differences are easier to overwork when you’re inspecting each eye separately.
Keep your next attempt small
For your next practice round, stop after drawing just the two outer flicks. Check them with your eyes open before you connect anything.
Keep liner, a small cleanup tool, and suitable remover within reach. Your most useful checkpoint comes early: settle the direction first, then build the wing around it.