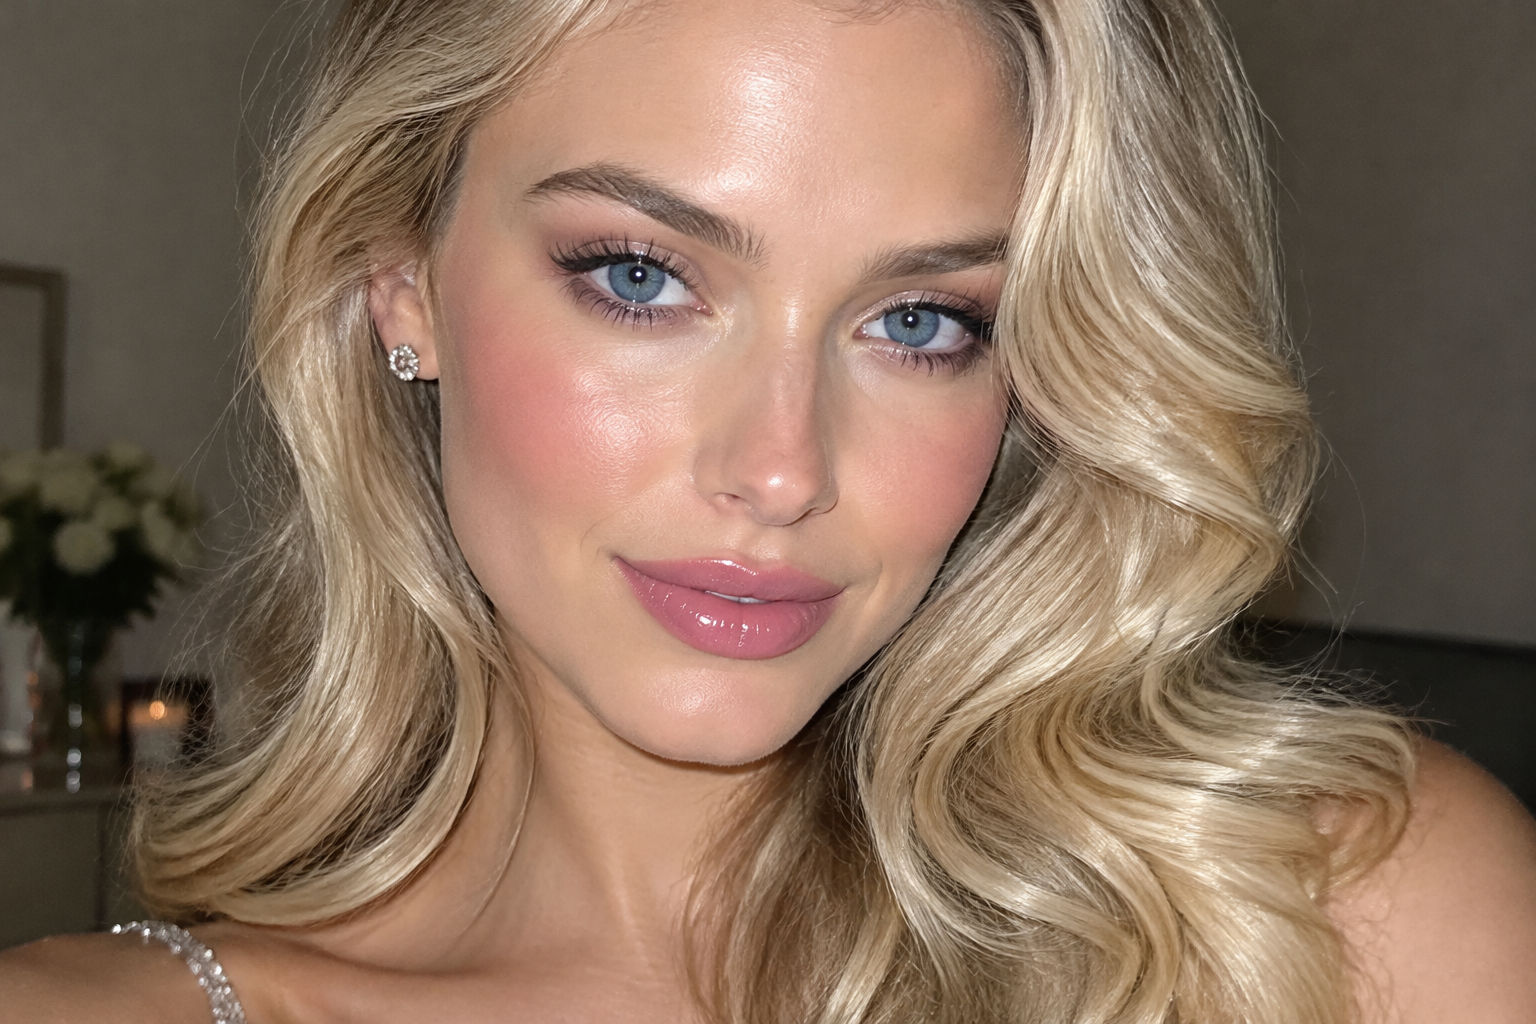
Your makeup looks lovely in the mirror, then a flash photo makes your under-eyes look unexpectedly pale. Before adding more coverage, check the finished look with and without flash. For birthday makeup, start with a skin-matched base, softly defined eyes, blush you can see, and powder placed only where you want less shine.
You can keep the cheek glow and the celebratory shimmer. The trick is to test their placement, rather than assume a “photo-ready” label will handle every camera.
Quick answer: Build your look in light layers, keep concealer and powder shades close to your skin, then take comparable flash and no-flash photos. Adjust one area at a time and carry only the products you’ll need for touch-ups.
Prep for comfortable wear, not a completely matte face
Use a familiar moisturizer and let it settle according to its directions. If your skin still feels slippery, avoid immediately layering on foundation. More product isn’t necessarily the answer to a base that’s moving around.
For a daytime celebration, keep your sun protection. The American Academy of Dermatology recommends broad-spectrum, water-resistant SPF 30 or higher. A tinted sunscreen that matches your skin tone can help with visible white residue, but that isn’t a guarantee about flash photos.
If you want balm under lipstick, apply a comfortable one now. Before lip color, gently blot excess so liner isn’t sliding over a slick surface.
Build your birthday makeup in six steps
Step 1: Even out the base where you want coverage
Start with a light layer of foundation or skin tint, blending outward from the areas where you want it most. Check the jawline against your neck and exposed chest before adding more. A clear shade mismatch is better addressed by changing the base shade than by covering more of your neck.
Place concealer only where you want extra coverage. For under-eyes, try a shade close to your base instead of a dramatically lighter one, especially if bright under-eyes have looked stark in previous photos. Blend the edges without spreading concealer across the whole cheek.
Step 2: Add blush and optional bronzer
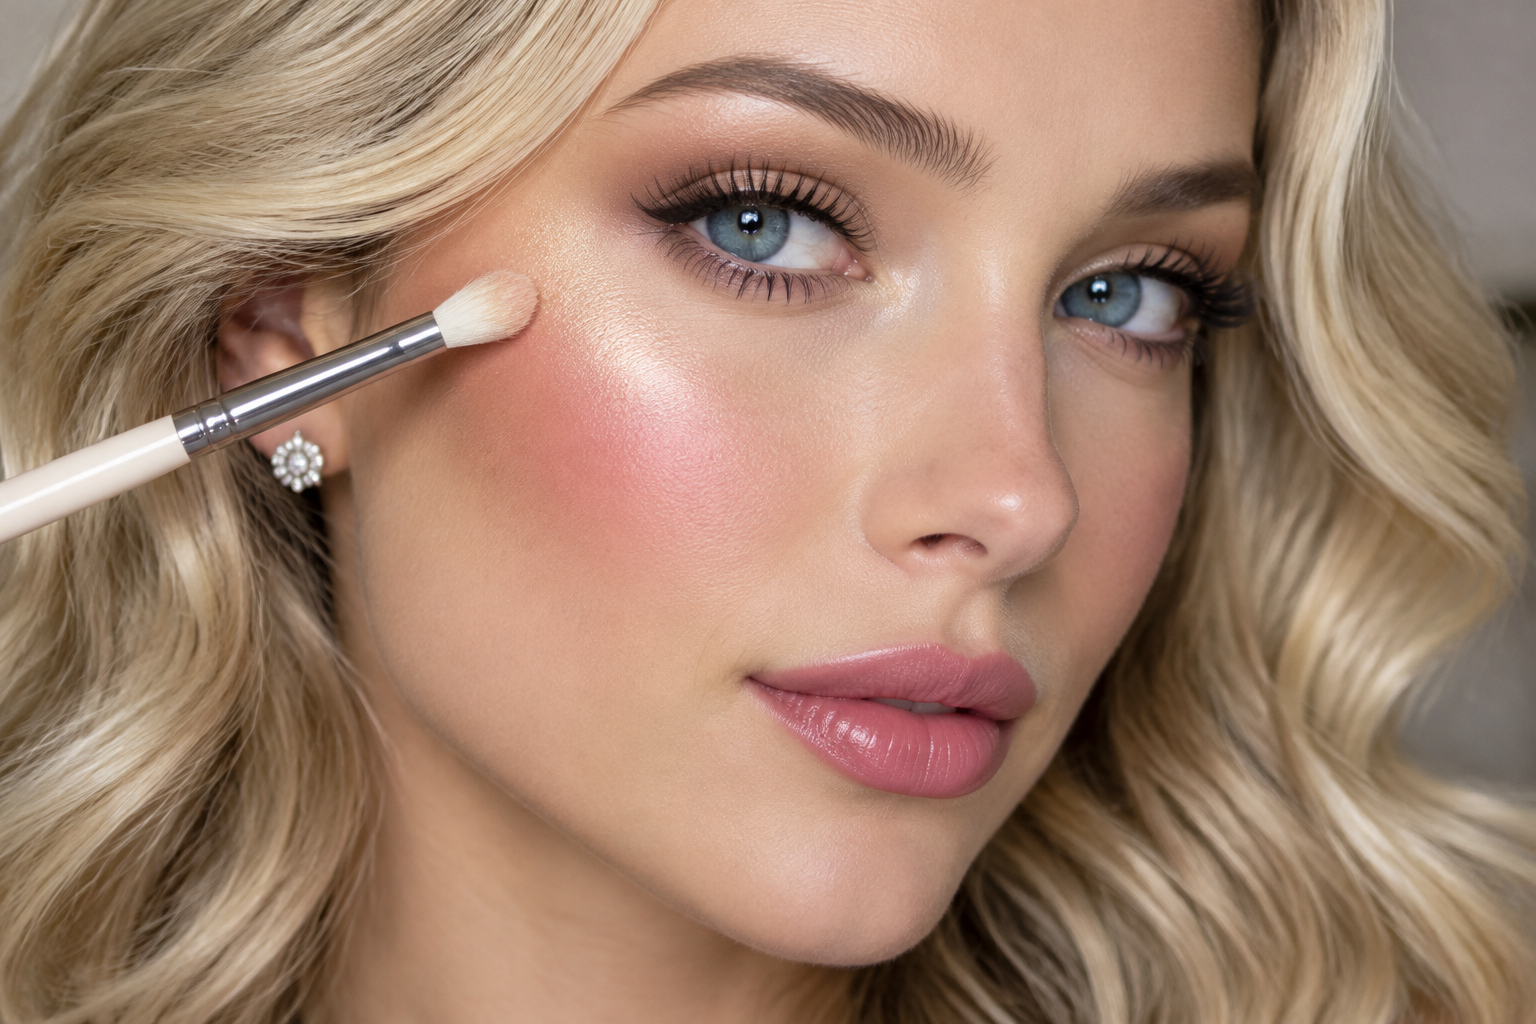
Choose a blush shade you already enjoy wearing. Start on the fuller part of your cheek and blend toward the outer cheekbone, adjusting the shape to your preference. Step back from the mirror to judge the overall balance before adding another layer.
Apply cream or liquid blush before powder unless its directions suggest otherwise. Use powder blush over a lightly set base if it catches on tacky foundation. Bronzer is optional; you don’t need a sculpted contour to make the look feel dressed up.
Step 3: Give your eyes one festive detail
Blend a soft shadow through the crease or just above the lid fold where you want definition. Press a small amount of shimmer onto the mobile lid, then open your eyes and check what’s visible. This helps you place the sparkle deliberately rather than scattering it everywhere.
Add liner if you like, followed by mascara. Brush brows into place and fill only the gaps you want defined. Use sparkle labeled for the eye area: the FDA advises using eye cosmetics only as intended. Stop if a product irritates your eyes and seek medical advice if irritation persists.
Step 4: Keep highlight intentional
Place a small amount on the upper cheekbone, then look straight ahead and turn slightly. If the reflection spreads farther toward your nose than you wanted, soften the edge before adding anything else. A narrow accent gives you a clearer distinction between chosen glow and shine you’d rather reduce.
Step 5: Set the areas that need it
Lightly load a puff or brush and gently press powder around the nose, central forehead, chin, or wherever your base feels tacky. Start with less than you think you need. Dry-feeling areas may not need more powder at all.
For loose powder, tap excess off the applicator; for pressed powder, use a light pickup rather than repeated heavy swipes. “Translucent” doesn’t mean invisible on every skin tone. If it visibly lightens your skin, reassess the shade or formula rather than adding a thicker layer.
Step 6: Finish with a lip you’ll enjoy wearing
Trace your lip edge with liner, then apply lipstick. There’s no required birthday nude: a rose, berry, brown, red, or softer tint can all fit the look.
For a traditional creamy lipstick, blot lightly and check whether you want another thin layer. Let film-forming long-wear formulas set as directed rather than automatically blotting them. If you add gloss, keep its placement intentional and expect to refresh it after food or drinks.
Take a matched flash-photo pair before leaving
Use the camera likely to take your party photos. If that’s a phone’s rear camera, ask someone to take the test shot rather than relying only on the front-camera preview.
In a dim room, take one photo without flash and one with flash. Keep your position, camera distance, and framing similar, turn off selectable beauty filters, and include your neck and upper chest where practical.
Check both images for:
- Shade transitions: Does your face look noticeably different from your neck?
- Pale patches: Are they visible in both images or mainly with flash?
- Shine placement: Is it your chosen cheek highlight or an area you’d prefer matte?
- Finishing details: Check lip edges, brow balance, and any visible powder buildup.
This catches issues in that setup, not every possible photograph. Camera settings, distance, and lighting can change the result.
Adjust the specific issue, not your whole face
If you see a localized pale patch where powder has collected, gently sweep away visible excess with a clean, soft brush. Don’t immediately cover it with more concealer. Retake the pair before deciding whether you need a different powder.
If your face-to-neck mismatch appears without flash too, revisit the base shade or blending. That points you toward a different adjustment than a flash-only change, though a photograph can’t identify the responsible ingredient.
If the whole image looks washed out, try a slightly different distance or a brighter spot before redoing your makeup. For unwanted shine, gently blot first, then press on a little powder only if needed. Leave the cheek highlight alone if you like it.
Pack a tiny kit that matches your plans
Bring plain tissue or blotting paper, your tested powder and applicator, lip color, and a small mirror. Add liner if you’re wearing a defined lip and expect to eat.
At the party, press rather than rub when blotting; even gentle blotting can lift some makeup. Check what remains before adding powder, and refresh lipstick on a clean lip edge rather than layering over food residue.
Your last check is simple: blot unwanted shine, inspect, then touch up only what needs it. The birthday sparkle can stay exactly where you put it.