
A drawer full of beauty products can still leave you doing the same rushed routine every morning. If you’re wondering how to glow up in one week, start by choosing one thing you’d like to do differently, then spend seven days practicing with familiar products you already own.
Maybe you want lighter-looking makeup, a lip color you actually reach for, or an easier makeup-free morning. The goal is a routine you enjoy, not a different face by Sunday.
Quick answer: Pick one beauty goal, set aside the usable products that support it, and try one small change each day. Keep your familiar care steady, test the routine during everyday life, and save only the steps you like.
Choose what “glow up” means to you
Make your goal specific enough to guide a decision. “Look better” gives you very little to work with. These preferences are more useful:
- “I want coverage around my nose without a full-face layer.”
- “I want to feel comfortable wearing the lipstick I already have.”
- “I want a morning routine that doesn’t involve rummaging.”
- “I want to pair my usual hairstyle with a look that feels intentional.”
Choose one, not all four. You don’t need makeup to participate, and you don’t need an event on the calendar.
A week gives you time to organize, practice, and notice preferences. It isn’t a reliable timeline for clearing acne or healing irritated skin. Your chosen “glow” is a cosmetic finish or styling preference, not a measure of health.
Your seven-day no-buy beauty plan
Allow roughly five to fifteen minutes for each day’s task, depending on your routine. These are practice sessions, not treatment times. Keep useful changes from earlier days rather than starting a completely different routine each morning.
Day 1: Give your goal a small, usable kit
Pull out only what supports your chosen goal: perhaps your usual concealer and brush, or a comfortable balm and two lip colors. Leave the unrelated bottles in the drawer. Owning something doesn’t mean you owe it a place in your routine.
Check available expiry or opening-period guidance, and skip anything questionable. The FDA’s cosmetic shelf-life guidance notes that shelf life varies with storage and handling; changes in smell, color, or texture can signal deterioration. Normal appearance alone doesn’t establish safety.
Clean the tools you’ll use according to their care instructions. Dried mascara isn’t a restoration project: discard it rather than adding liquid.
Day 2: Make familiar care easier to repeat
Put your usual, comfortable basics where you can reach them. Avoid introducing every unopened serum just because this week has a theme.
The American Academy of Dermatology’s budget skin-care advice favors a simple routine of cleansing, moisturizing, and sun protection. It also recommends applying moisturizer to damp skin. Keep clinician-directed treatment unchanged.
If you already have usable sunscreen, follow its directions; the AAD recommends broad-spectrum SPF 30 or higher. If you don’t, don’t improvise one from makeup or moisturizer. Use shade and protective clothing, recognizing that they don’t recreate sunscreen coverage.
Your task today is arranging the routine, not making it longer.
Day 3: Try more selective coverage, or skip base entirely
If lighter-looking base is your goal, place a small amount of your existing foundation or concealer only where you want coverage. For example, start beside the nostrils rather than automatically coating the whole nose. Blend outward with your usual clean tool, letting the edges fade into uncovered skin.
Check near a window before adding more. A pigmented concealer may need only a tiny dab; a sheer tint may look more even with broader distribution. Blend fast-setting formulas one section at a time instead of dotting them over your whole face first.
If the shade visibly differs from your skin, selective placement may make that mismatch more obvious. Don’t dilute foundation or sunscreen to force a different finish.
Going makeup-free? Use this session to practice a familiar hairstyle or remove an unnecessary morning step.
Day 4: Find your comfortable lip finish
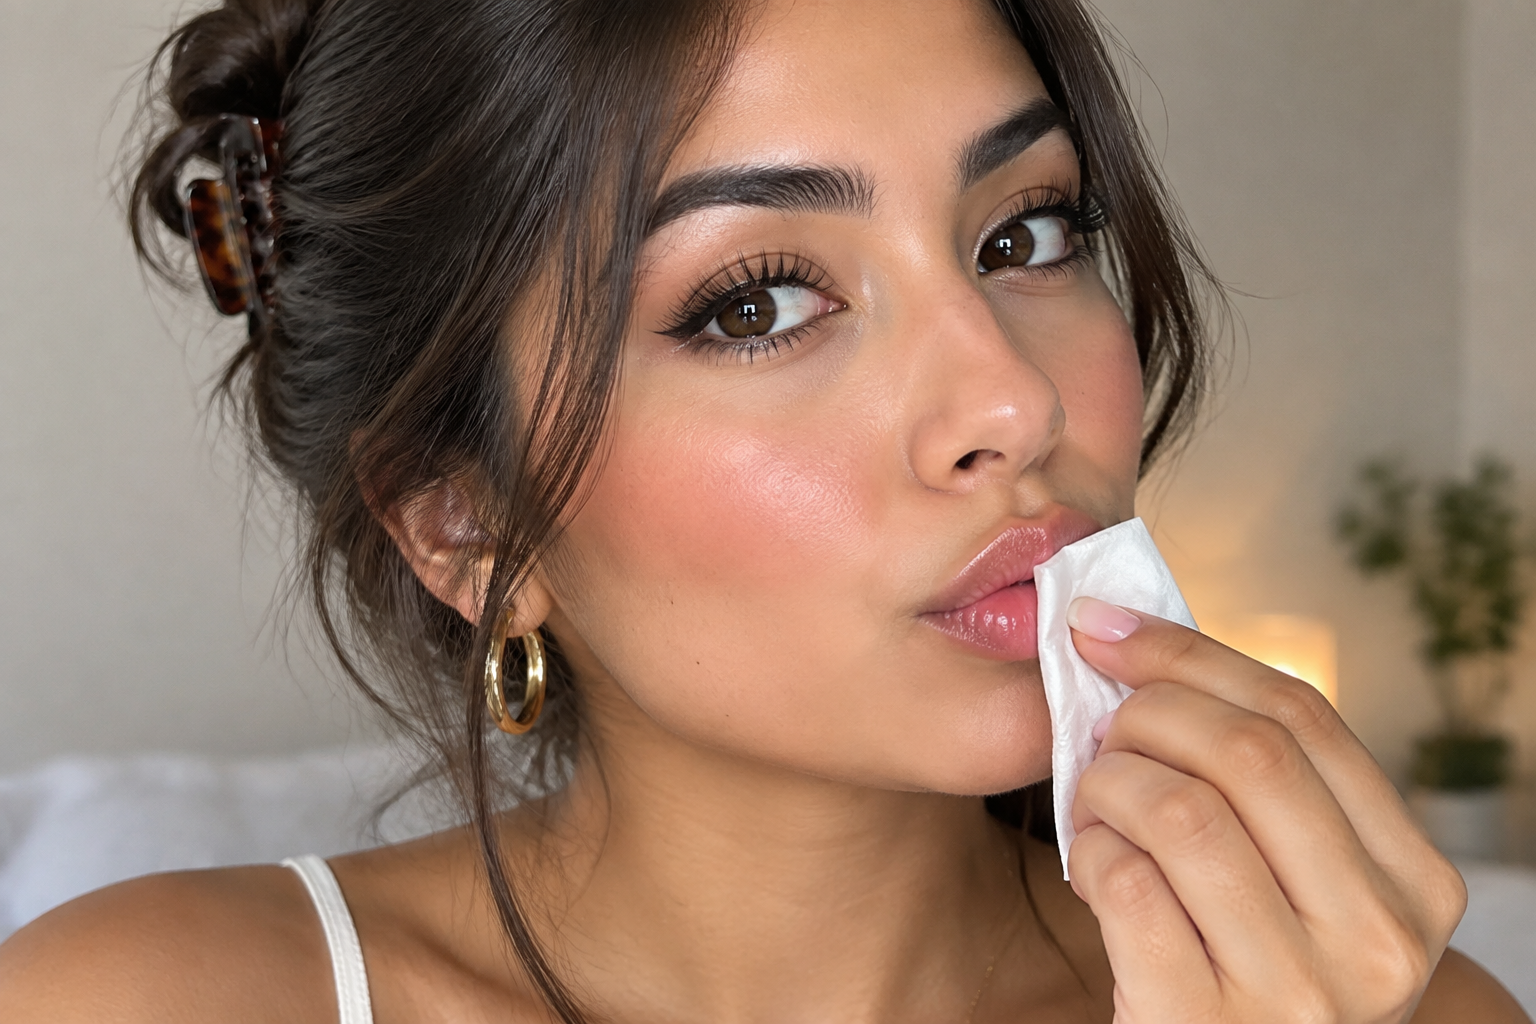
Choose one familiar color, or simply choose balm. If you like balm before lipstick, apply a comfortable one earlier in your routine, then gently blot excess surface slip with a tissue before adding color.
Cream lipstick may work well over a little remaining balm. Long-wear liquid formulas may require clean, dry lips, so follow their directions instead. If you’re wearing balm alone, there’s no need to blot it away.
Don’t scrub or pick flakes to create a smoother canvas. The AAD’s chapped-lip guidance recommends non-irritating care and stopping products that burn or sting. Lip problems that don’t improve with appropriate care over two to three weeks deserve dermatologist advice.
An uncomfortable lipstick can sit this week out.
Day 5: Coordinate without adding more steps
Pair your chosen routine with a hairstyle you already know how to maintain. Work with your hair’s texture and established wash schedule; daily washing or heat styling isn’t part of the assignment.
Try one existing clothing or accessory pairing. Perhaps your lip color feels right with a favorite T-shirt, or pulling your hair back lets earrings become the focus.
Look at the combination in ordinary daylight. Do you enjoy the color, feel comfortable, and want to repeat it? That’s more useful than whether it follows a styling rule.
Day 6: Let an ordinary day test the routine
Wear your preferred version through your normal activities. Notice one specific issue rather than inspecting every feature: coverage gathering beside your nose, lipstick feeling too dry, or a hair step taking longer than expected.
Change one variable next time. For creasing, try less product in that exact spot before adding another layer. For uncomfortable lipstick, try your balm-only option. For a slow routine, remove the least useful step.
Remove makeup before bed. Don’t turn an application experiment into an overnight wear test.
Day 7: Repeat the version you’d actually keep
Follow your favorite version without adding a final-day flourish. Notice whether the steps feel easier now that you know where products go and which ones you prefer.
An optional photo in similar lighting can help you remember placement or a color pairing. Skip filters if you’re using it as a reference; this isn’t proof of a physical transformation.
Put the products you kept together. Return the others to their usual places, or discard them if they’re no longer usable.
Save a routine note, not a shopping list
Write four lines in your phone: my goal, products I used, technique I liked, step I skipped.
For example: “Lighter base; usual concealer and brush; blend beside the nostrils and leave cheeks bare; skip the full-face layer.”
That little note makes tomorrow’s routine easier to repeat. Keep the steps that earn their place through comfort, usefulness, or enjoyment. The rest can stay in the drawer.
