
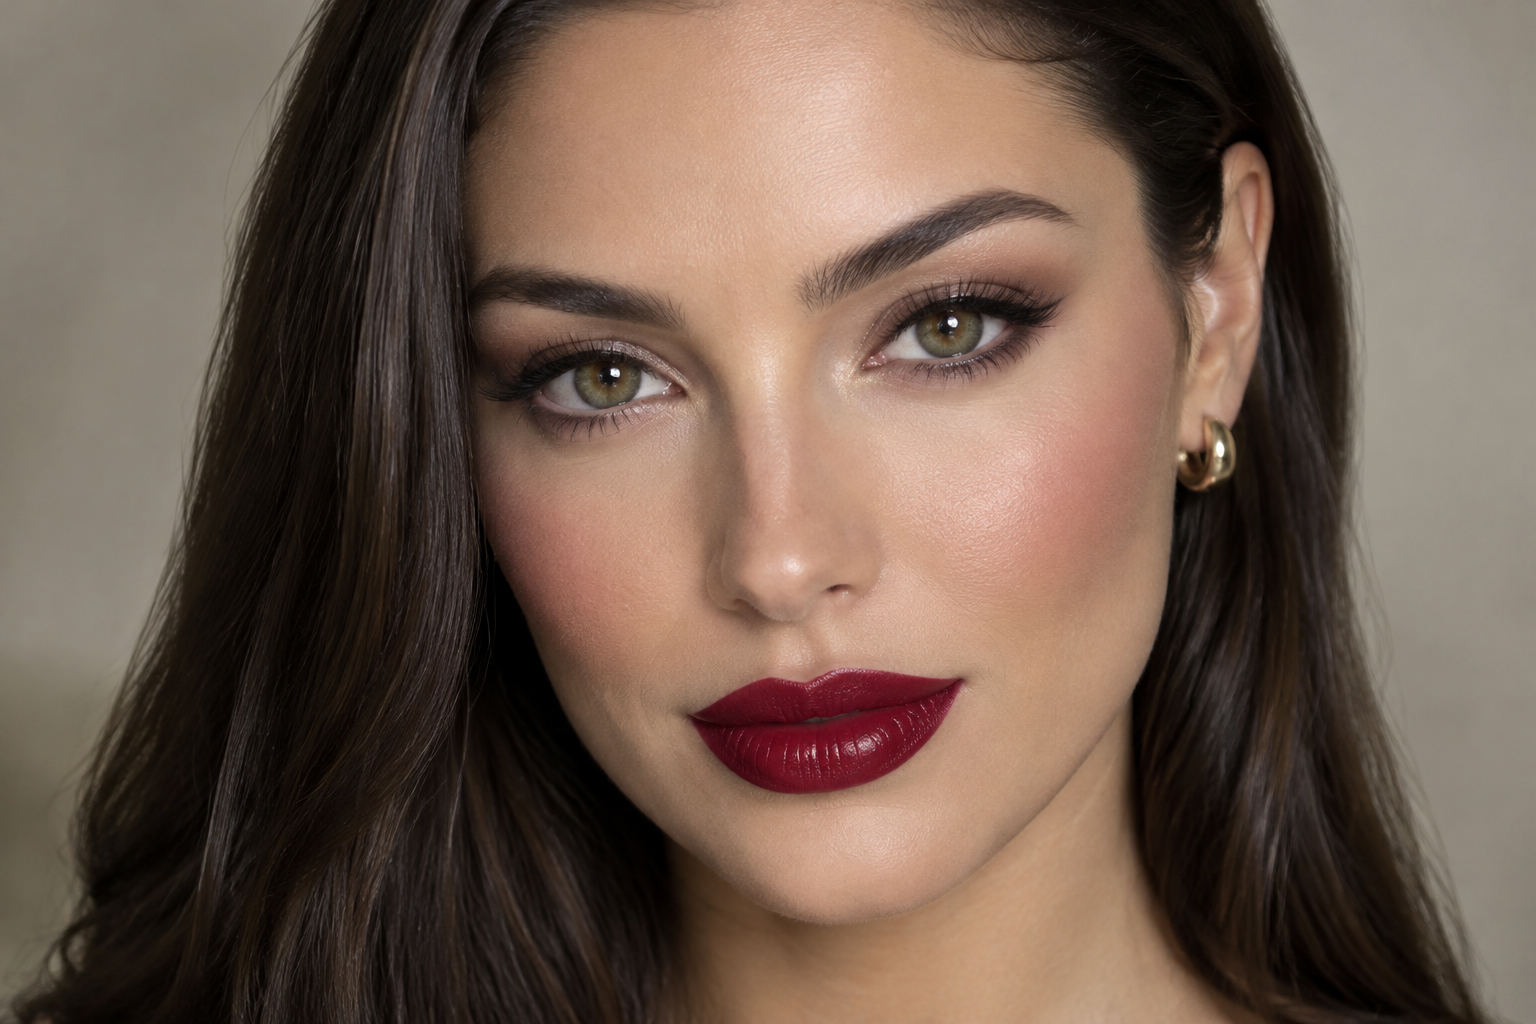
Sometimes the extra swipe of eyeliner leads to darker shadow, then stronger lipstick, then more foundation to balance everything. Suddenly, your quick date night makeup has become a much bigger project.
Try choosing your focal point first: softly defined eyes or a statement lip. Keep your complexion comfortable and let the other feature stay simpler. “Shine” means draw attention here, not necessarily add shimmer. Makeup is optional, and this is a styling shortcut, not a rule against wearing strong eyes and lips together.
Quick answer: Choose defined eyes if you’d rather keep lip touch-ups easy. Choose a statement lip if you enjoy color and don’t mind checking it after eating. Pair either with selective coverage, blush, and powder only where you want it.
Choose your date night makeup by the upkeep you prefer
Think about what you enjoy applying and what you’ll want to maintain later.
- Choose eyes if you like blended definition, prefer a relaxed lip finish, or don’t want to monitor a precise lipstick outline during dinner.
- Choose lips if lipstick is your favorite part of getting ready and you’d rather skip detailed shadow blending.
- Choose comfort first if your lips are currently chapped. The eye route leaves more room for simple, non-irritating lip care.
Use products you already know when possible. A familiar pencil or lipstick is easier to plan around than a new formula with an ambitious wear claim. You don’t need to buy a different makeup bag for the evening.
Build a comfortable base for either look
Start with your usual skin preparation, giving it time to settle before makeup. If you’re heading out during daylight, keep your usual sun protection in the routine.
Apply foundation or skin tint only where you want coverage, then blend outward so there isn’t a noticeable boundary. You can also skip foundation and use concealer alone. For a small area, tap concealer onto that spot and soften its edges rather than spreading it across the surrounding skin.
Add blush where you like its effect. Start lightly, then look at your face straight on before adding more. Stronger eyes or lips may change how much cheek color you want.
Finally, press a small amount of powder onto areas where you prefer less shine, such as around the nose or the center of the forehead. Leave the rest alone if it already feels good.
Check everything in ordinary room light. Visible skin texture doesn’t call for another layer, and an all-over matte finish isn’t required.
Route one: define your eyes without a full smoky-eye routine
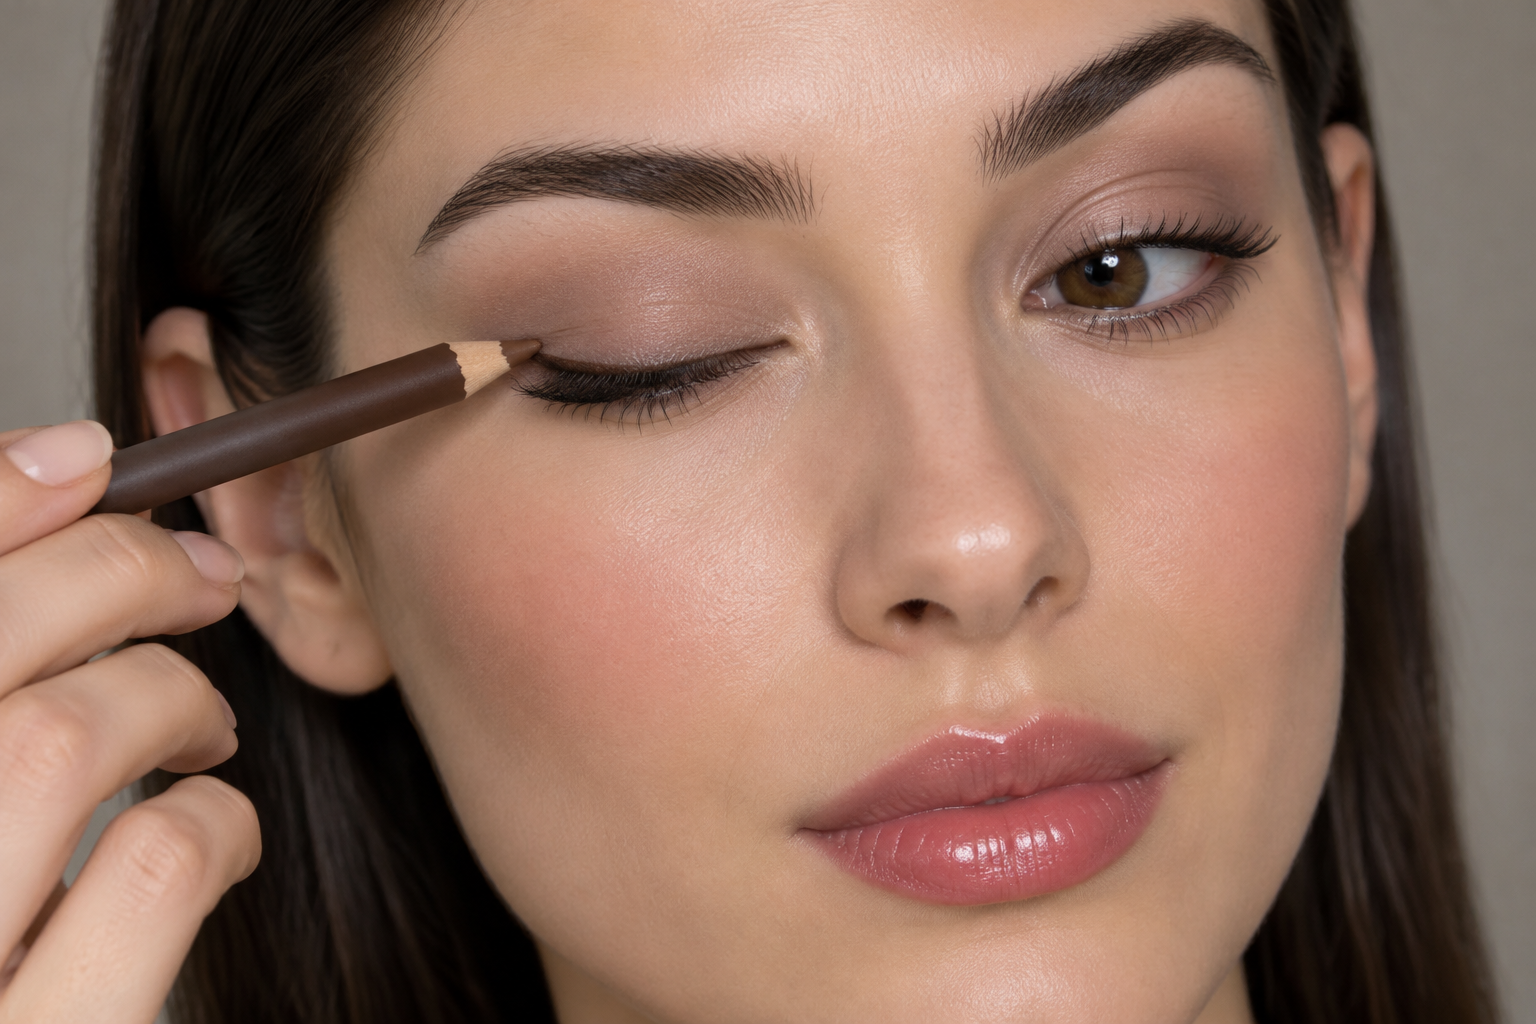
This version concentrates the depth near your upper lashes, so you don’t need several shadows or an elaborate wing.
Give the lid a simple wash of color.
Choose one shade that shows up the way you want on your skin, whether that’s taupe, bronze, cocoa, plum, or something else. Blend its border with a clean brush so there isn’t a hard edge above the lid.
Draw a thin line close to the upper lashes.
Use short strokes with a blendable pencil or gel instead of trying to draw one uninterrupted line. Keep the product on the lid, outside the waterline. Start narrow; you can add a little depth at the outer corner afterward.
Soften only the liner’s upper edge.
With a small brush and a little coordinating shadow, gently blend along the top of the line while the formula is still workable. Leave the part closest to the lashes more defined. That distinction gives you softness without blending away all the depth. Work one eye at a time if your liner sets quickly.
Finish with mascara and a quieter lip.
Apply mascara according to its directions. Pair it with a sheer lipstick, comfortable tinted balm, or softly applied color that doesn’t need a sharp outline.
If your eyes are hooded, check the placement with them open and your face relaxed before extending the liner. The visible shape matters more than how it looks with your lid closed.
A crisp liquid liner is another option, but keep it crisp rather than expecting it to blend like pencil. Your quieter lip doesn’t have to be pale beige, either; rose, berry, and brown can all look understated when applied sheerly.
Route two: make your lip color the focus
A statement lip can be brick, red, berry, plum, brown, or any color you love seeing on yourself. Choose the finish by how it feels and behaves, not by assuming matte always lasts longer.
If your lips are chapped, use bland, fragrance-free care rather than scrubbing or picking flakes to prepare for lipstick. The American Academy of Dermatology advises avoiding irritating lip products: burning or stinging is a reason to stop, not something to push through. Persistent soreness or cracking deserves care rather than heavier coverage.
Keep the eyes uncomplicated.
A softly blended lid shade and mascara are enough. You can skip shadow entirely if you prefer.
Map the lip outline if you want precision.
Use liner to follow your natural border, starting at the Cupid’s bow and the center of the lower lip. Connect those points toward the corners with short strokes. Relax your mouth when checking the shape so you can see how it sits naturally.
Fill with your chosen color.
Apply lipstick inside the outline, using the tip or a lip brush for the corners. Start with an even layer rather than repeatedly sweeping over the same area.
Finish according to the formula.
With conventional lipstick, a gentle tissue blot can remove excess. With a setting liquid lipstick, follow its drying directions instead of automatically blotting or adding another coat. Don’t assume balm or gloss layers are compatible with every formula.
Before leaving, check the corners and inner lip edge in your mirror. Those little areas are easy to miss when you’re concentrating on the outline.
Pack for small repairs, not a full redo
Neither route needs a guarantee of surviving every meal, drink, or kiss untouched. Pack your lip product, a small mirror, and tissue or blotting paper. Add powder only if you actually use it.
For shine, gently press away excess first, then decide whether a little powder is needed. For lipstick, check where color has worn and repair that area rather than covering everything with another thick layer. If a setting formula has become patchy, follow its reapplication guidance rather than repeatedly coating it.
Before you zip your bag, make one decision: eyes or lips? Then pack the lip product that belongs with that look. That’s more useful than bringing five “just in case” shades.
